United States
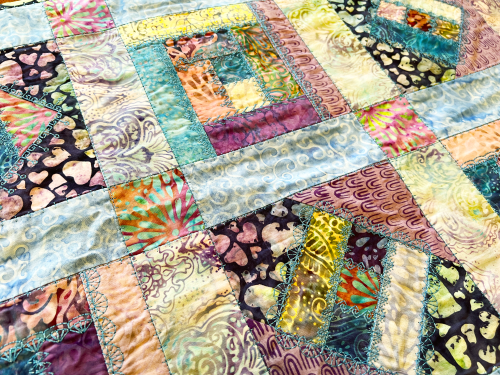
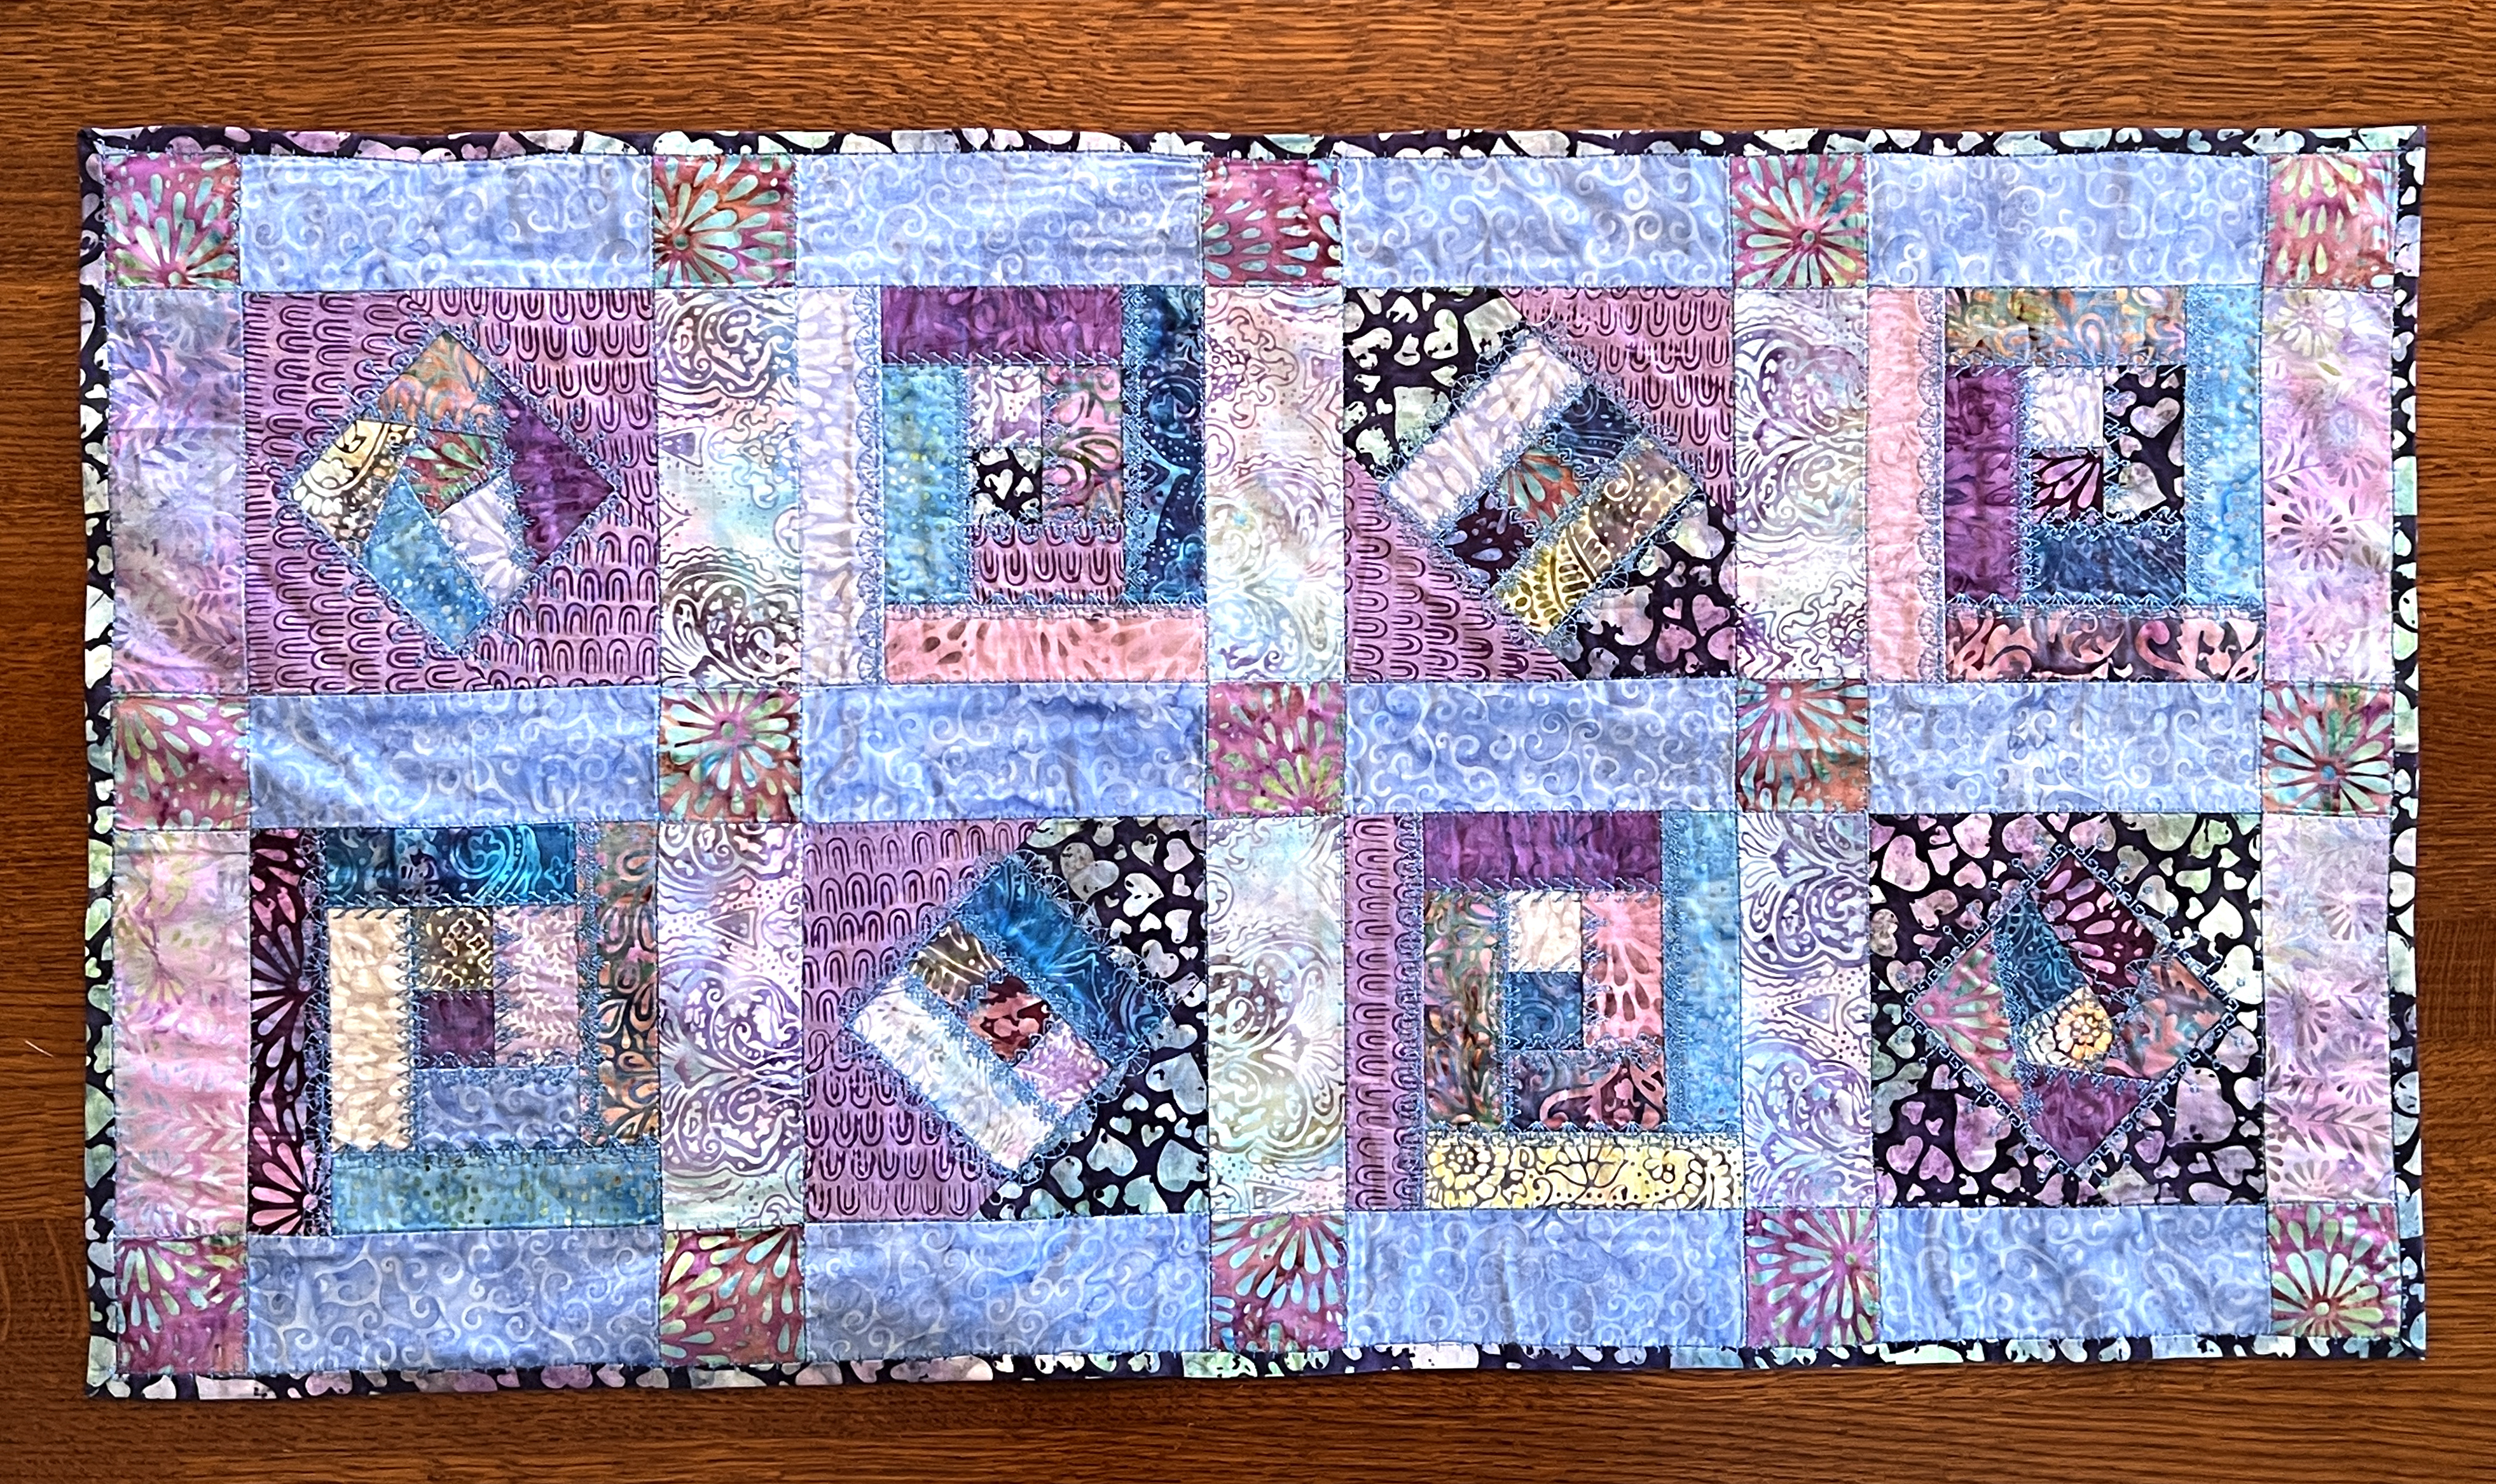
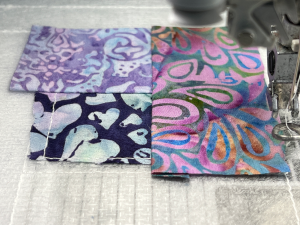
Crazy for Batiks Mini Quilt
Looking to add a touch of cheerful whimsy to your habitat with some colorful batiks and pretty thread?!
This mini quilt is perfect for a seasonal wall hanging or pretty table accent. Piecing-in-the-hoop makes perfect piecing easy even for beginners! A simple wrap around faux binding makes finishing quick and easy too. Finished dimensions 17.5” x 33” (44.5cm x 84 cm).
What you need:
- Backing fabric 5/8 yds
- Fabric for blocks 9 batik jelly roll strips in assorted colors (each 2 ½” x 44” [6.4cm x 112cm]) or assortment of scraps at least 2” (5cm) wide. Also 8 5” (13cm) squares cut in half diagonally.
- Fabric for sashing 2 sets of 2 batik jelly roll strips (each 2 ½” x 44” [6.4cm x 112cm]) or 12 pieces Color A 6” x 2.5” (6.4cm x 15.25cm), 10 pieces Color B 6” x 2.5” (6.4cm x 15.25cm), plus 15 2.5” (6.4cm) squares
- Sewing thread in coordinating color
- Embroidery thread in coordinating color
- MySewnet Embroidery Designs 200130005, 200130006, 200130007
- Crazy for Batiks Project Piecing Templates (PDF)
- Lightweight cutaway stabilizer
- 200mmx200mm (8”x8”) Quilters Hoop
- Embroidery Foot
- Rotary cutting mat
- Rotary cutter
- Quilting ruler, at least 6” (16cm) long
- ¼” (6mm) Piecing Foot
- Edgestitching, Narrow Edge, or Bi-level Foot
- Washable glue stick
- Batting (optional; not used for sample project) to fit 17.5” x 33” (44.5cm x 84 cm)
Create the Pieced Blocks
1. Hoop a piece of lightweight cutaway stabilizer in the 200x200 Quilters Hoop.
2. Thread the embroidery machine with construction thread.
3. Load MySewnet Embroidery Design #200130005 into the embroidery machine.
4. Start stitching MySewnet Embroidery Design #200130005. The machine will stitch an outline of the design and stop.
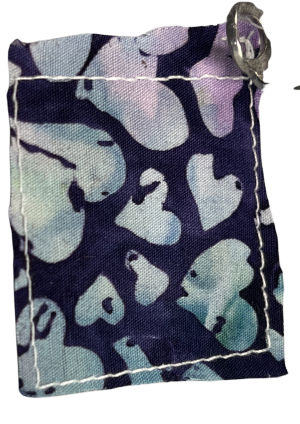
5. Place a piece of fabric onto the central square, according to the design. Consult the Crazy for Batiks Project Piecing Templates for the design if you are unsure which is the first square.
6. Stitch the central square into place. The embroidery machine will stop after stitching around the square.
7. Consult the Crazy for Batiks Project Piecing Templates for the next piece in the design. Place the next piece of fabric according to the template on top of the central square, raw edge aligned and right sides together. Stitch the next seam.
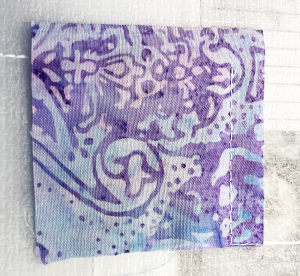
8. Turn the second piece right side up along the stitching line and finger press into place. Tip: use the washable glue stick to secure the fabric in place.
9. Add the third piece of the design according to the diagram, in the same manner as the second piece, with right sides together. Stitch into place, and then finger press open just like the second piece.
10. Continue in the same manner with the remainder of the block pieces, according to the embroidery design piecing template. When all of the piecing is finished, the embroidery machine will stitch around the block and stop.
.png?language_id=1)
11. Change the thread to embroidery thread. The embroidery machine will now create decorative “crazy patch” stitching along all of the pieced seams.
.png?language_id=1)
12. Remove the finished block from the embroidery machine, and rehoop the 200x200 Quilters Hoop with another piece of lightweight cutaway stabilizer.
13. Repeat steps 3 – 13 to create three more blocks of design #200130005.
14. Use the Crazy for Batiks Project Piecing Templates as your guide to also create 2 blocks each of designs 200130006 and 200130007 for a total of 8 blocks.
15. After all blocks have been stitched, trim the blocks to size using the stitched outline as your guide. Trim just under ¼” (5mm) away from the stitching lines. This will ensure that the stitching lines do not show when the quilt is pieced together.
.png?language_id=1)
Assemble Mini Quilt Top
16. If using jelly roll strips, cut the jelly roll strips into 10 6” (15.25cm) long pieces from one color, and 12 6” (15.25cm) long pieces from the remaining color.
17. Set up your sewing machine with construction thread and a ¼” (6mm) Piecing Foot.
18. First, piece the 6” x 2.5” (6.4cm x 15.25cm) strips of Color A with the pieced blocks as shown in the diagram, using a ¼” (6mm) seam. Press seam allowances away from the pieced blocks.

19. Next, piece the 6” x 2.5” (6.4cm x 15.25cm) strips of Color B with the connecting 2.5”x2.5” (6.4cm x 6.4cm) squares into 5 sets, as shown in the diagram, using a ¼” (6mm) seam. Press seam allowances toward the strips.

20. Assemble the 4 sets of pieced blocks together with the 5 sets of sashing, as shown, using a ¼” (6mm) seam. Press seam allowances away from the pieced blocks.
21. Change the thread in your sewing machine to embroidery thread and topstitch down the center of all pieced seams using a decorative stitch. Tip: An Edgestitching/Narrow Edge/Bi-level foot can be helpful in guiding the stitching down the center.
Finish the Mini Quilt
22. Center the pieced top on the backing fabric, wrong sides together. (If using batting, first trim the batting to fit the top and place between the mini quilt top and the backing.)
23. Trim the backing fabric so that it extends past the quilt top by ¾” (2cm) on all sides.
24. Fold the edges of the backing fabric in toward the quilt top (wrong sides together) so that the raw edge is almost touching the quilt top. This will create a 3/8” (8mm) fold.
25. Turn the fold onto the quilt top to create a ¼” wide (6mm) faux binding, Miter the folds at the corners. Use clips or pins to hold into place. Tip: Washable glue stick can help to baste the faux binding in place.
26. Stitch the faux binding into place using a decorative stitch. An Edgestitching/Narrow Edge/Bi-level foot makes this easier.
Enjoy decorating your home with your fun new mini quilt!