United States
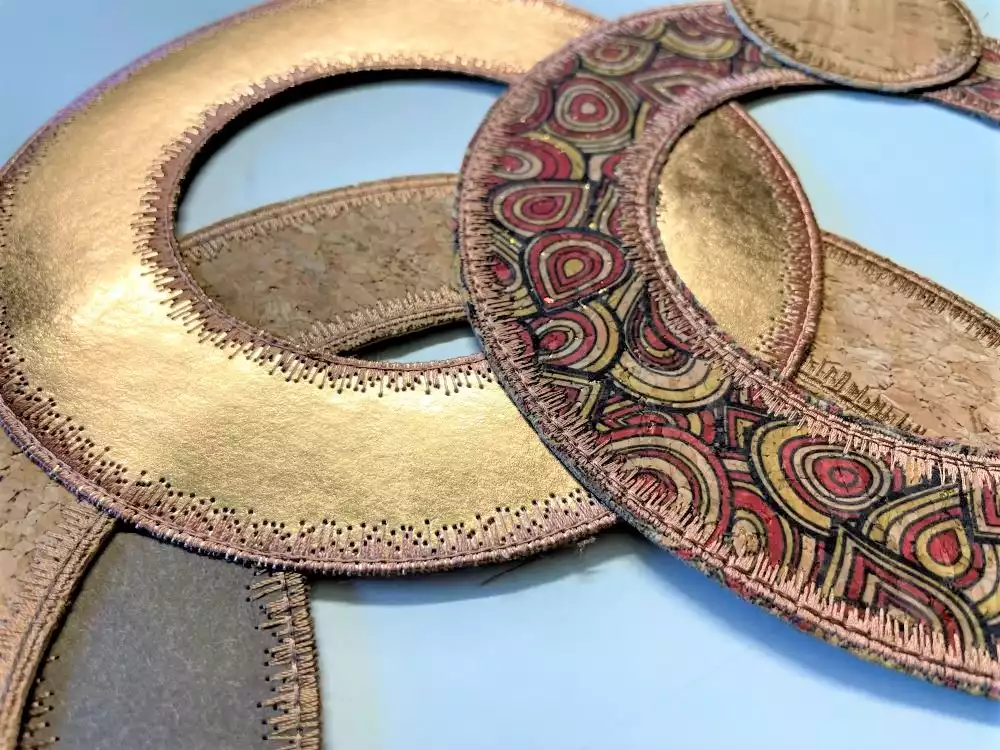
Cork and Leather Paper Circle Quilt
This circle table runner/skinny quilt is so fun to make. It can be varied in so many ways! The sturdy leather paper makes it freestanding and it can hang on a wall with no extra support! And it is washable too!
What you need:
- Leather paper (vegan leather) 6 squares 10x10” (25x25cm)
- Cork fabric 3 squares 10x10” (25x25cm)
- Circular attachment accessory
- Sewing thread
- Glue gun (optional)
Making the project
Install the circular attachment accessory on your sewing machine following the instructions included with the attachment.
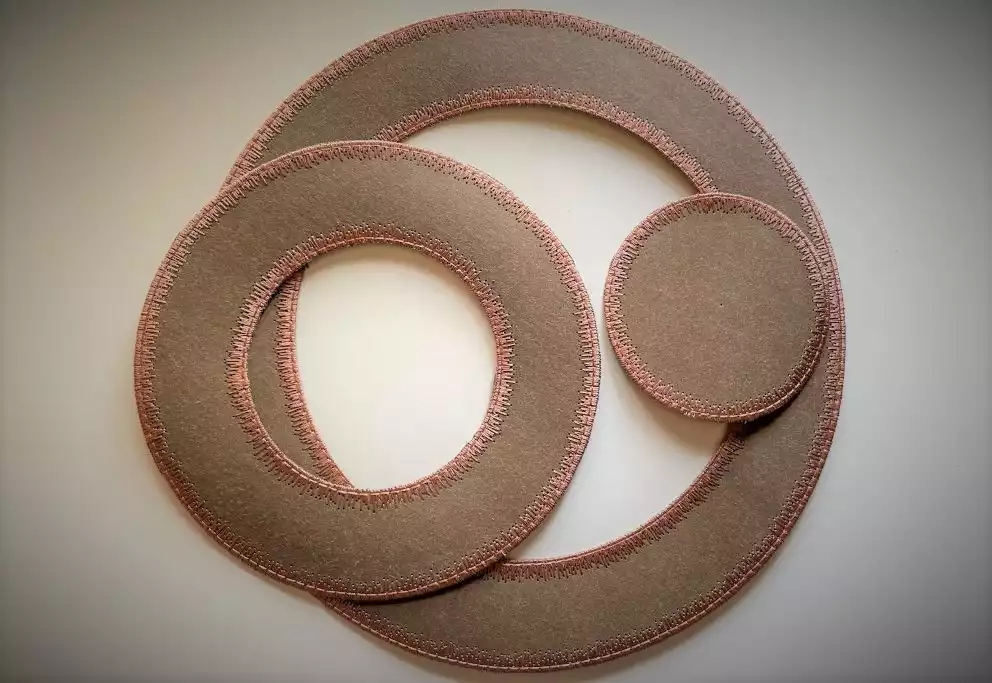
Leather paper circles:
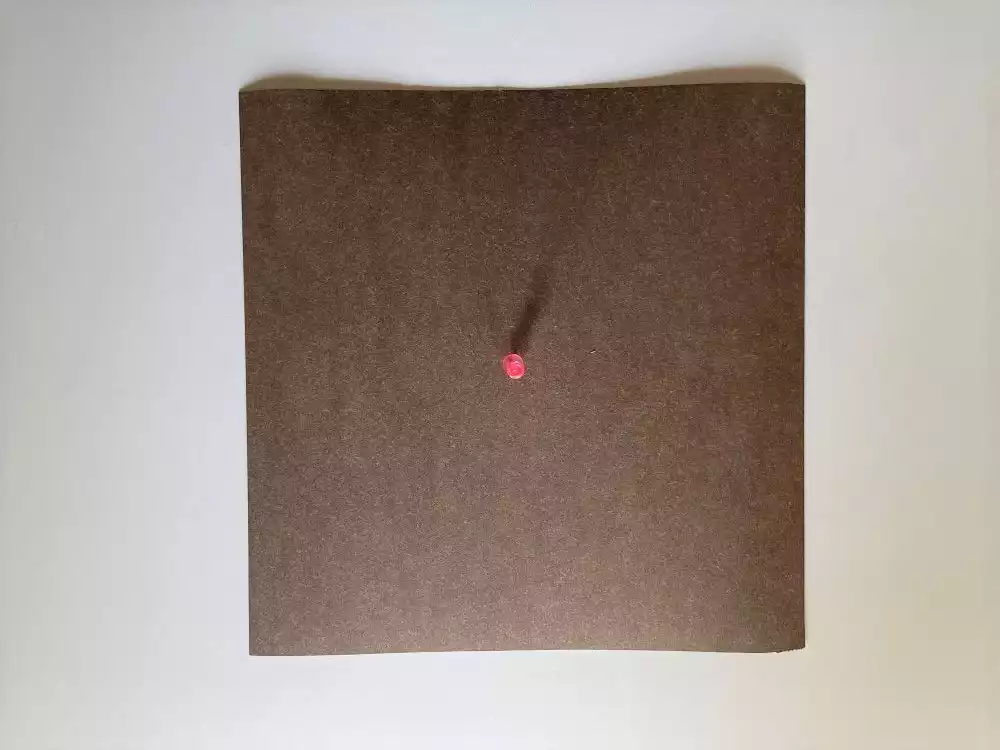
1. Mark the center on the back of one of the leather paper of the squares and place the circular attachment pin there.
2. Adjust the size of the circle (make the largest circle first)
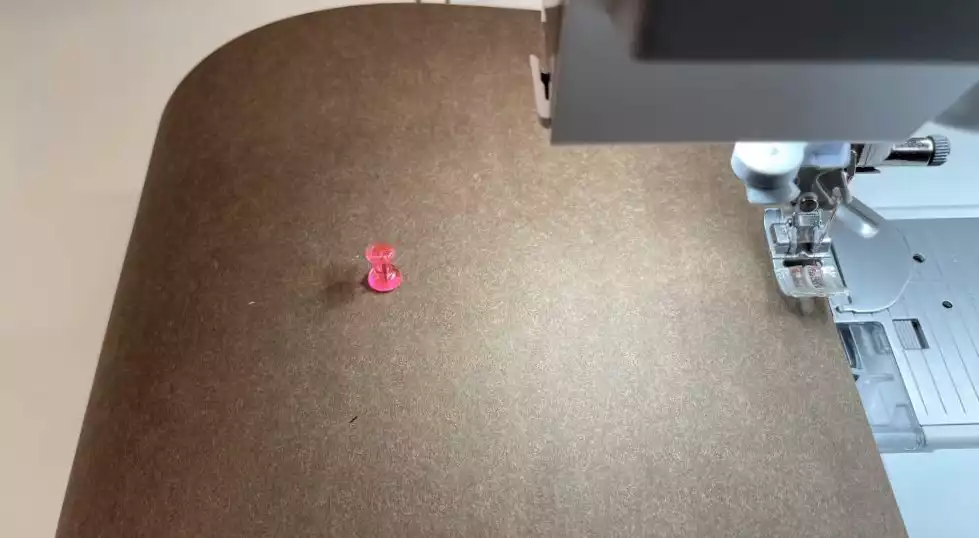
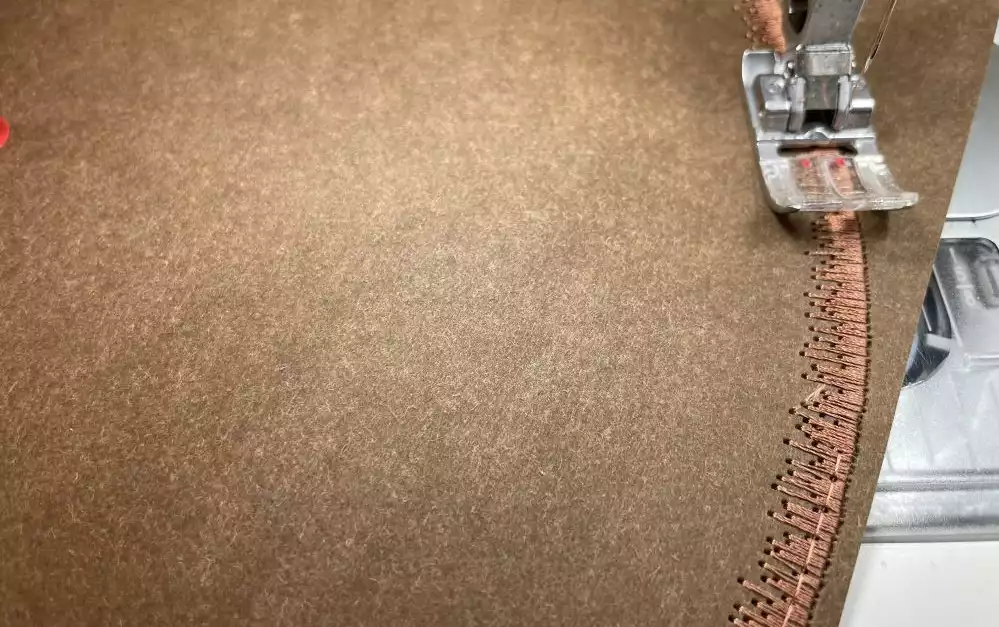
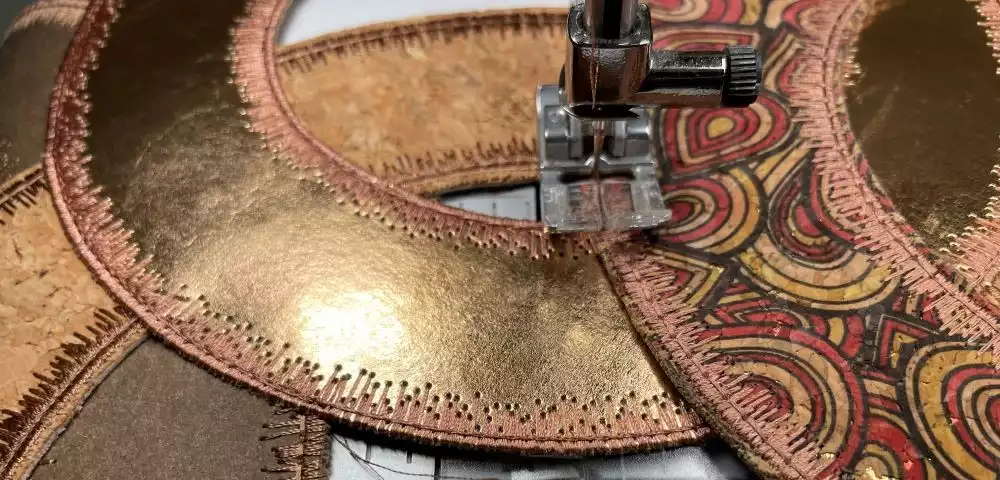
3. Select a suitable stitch for the circle, it could be a zig zag or other stitch. I used an irregular satin stitch with one straight edge. Make sure the straight edge is facing to the center of the circle if you choose this stitch.
Make the first row of stitching
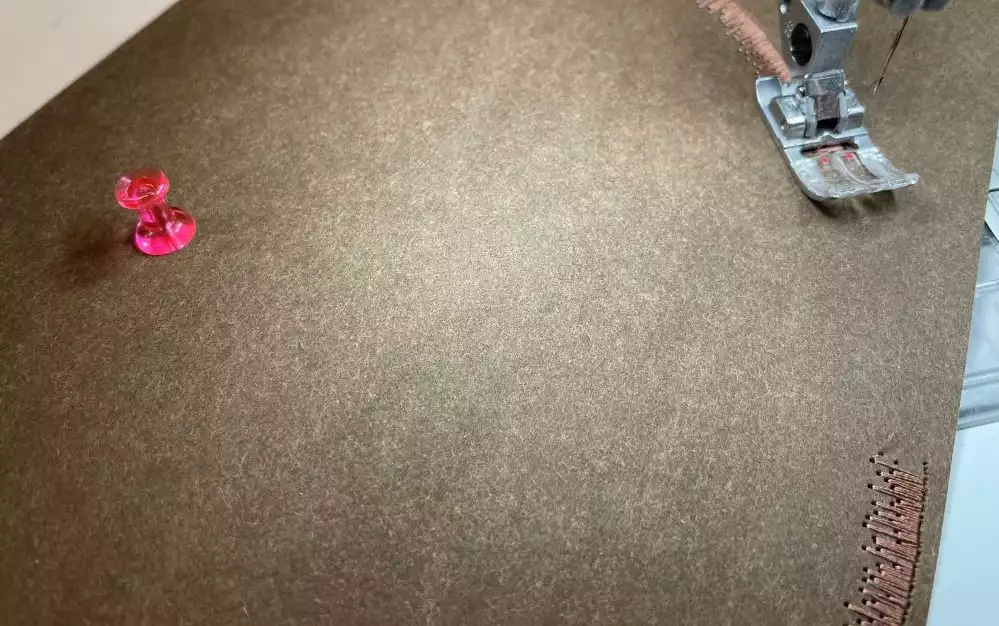
4. Change to triple straight stitch, move the needle a little to the left and make another row of stitching on top of the first.
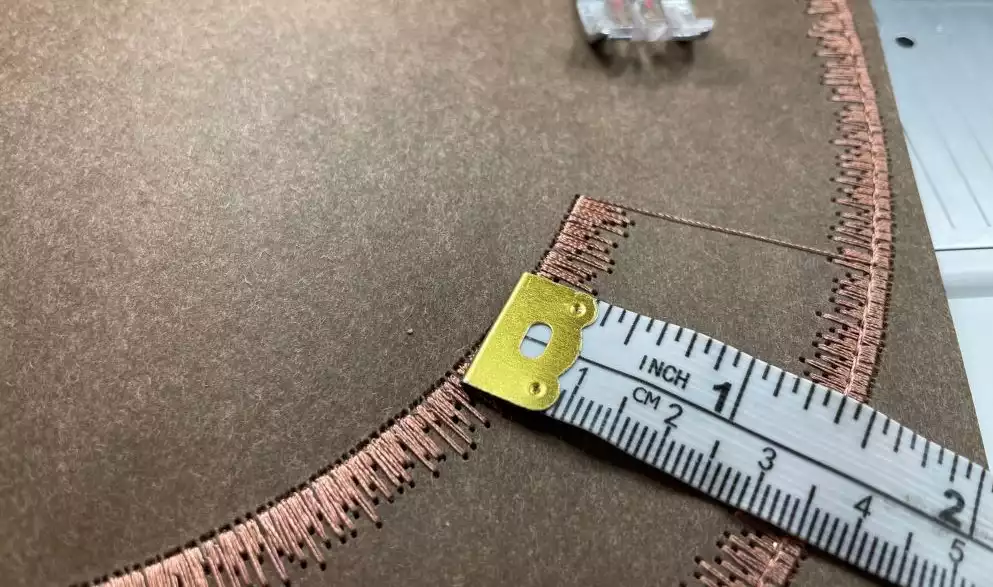
5. Move the leather paper to decrease the circle width, I moved it about 1½” (3,5cm)
Repeat the stitches from earlier steps, but remember to mirror the stitches of the satin edge. Your first circle is now complete.
6. Move the leather paper again, but this time just enough to make a row of stitching inside the first circle, there should be a gap of at least 3mm between the stitch lines. Repeat the process from before.
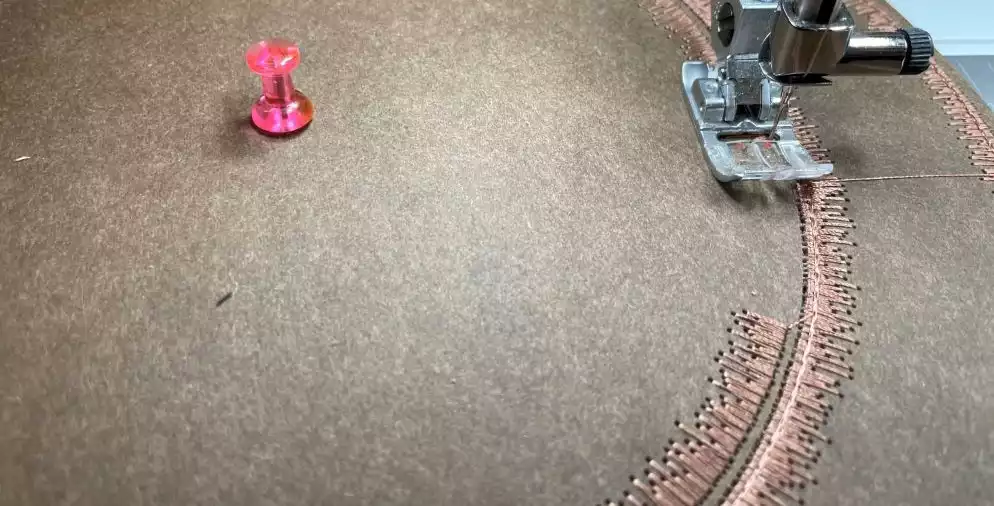
7. Continue to make circles in the same manner inside the previous ones.
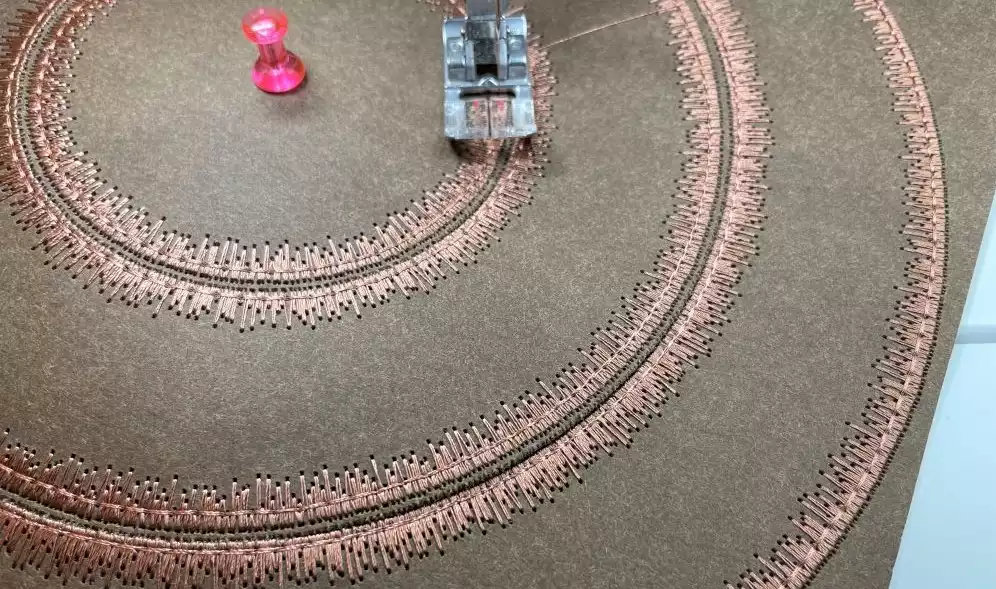
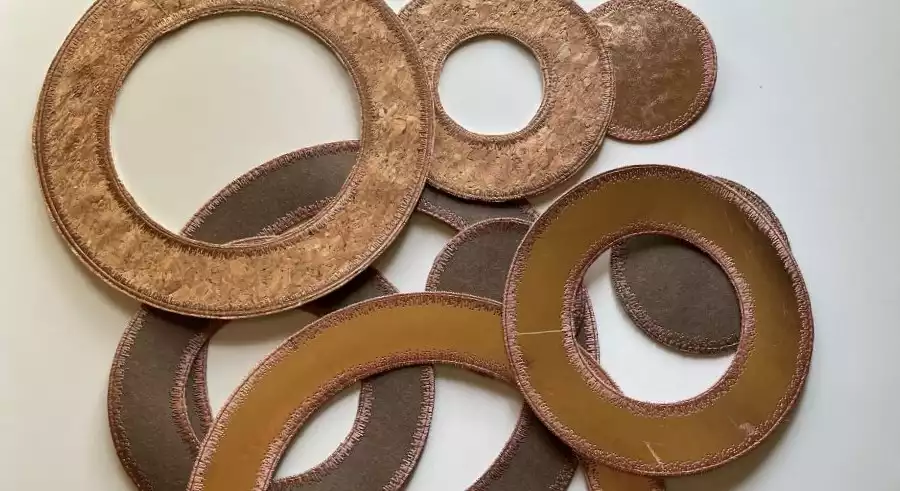
8. Cut out the circles when finished stitching, be careful not to cut any threads.
Cork fabric circles
9. Place one cork fabric piece on top of one leather paper piece. The leather paper will act as a support for the cork fabric. Topstitch close to the edge to hold the cork fabric in place
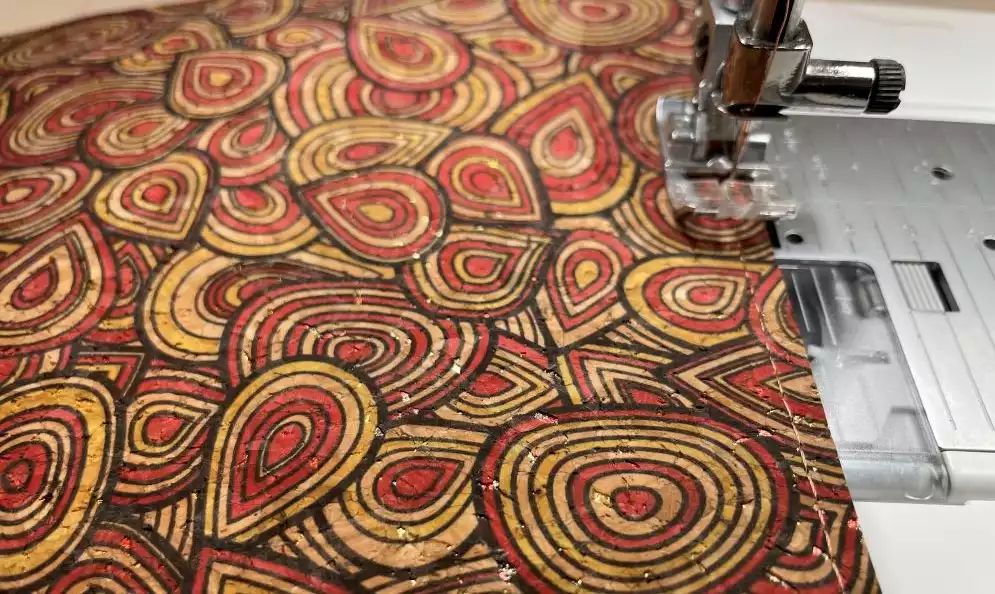
10. Make the circles in the same way you did the leather paper circles.
Finishing steps
11. Arrange the circles as you want them.
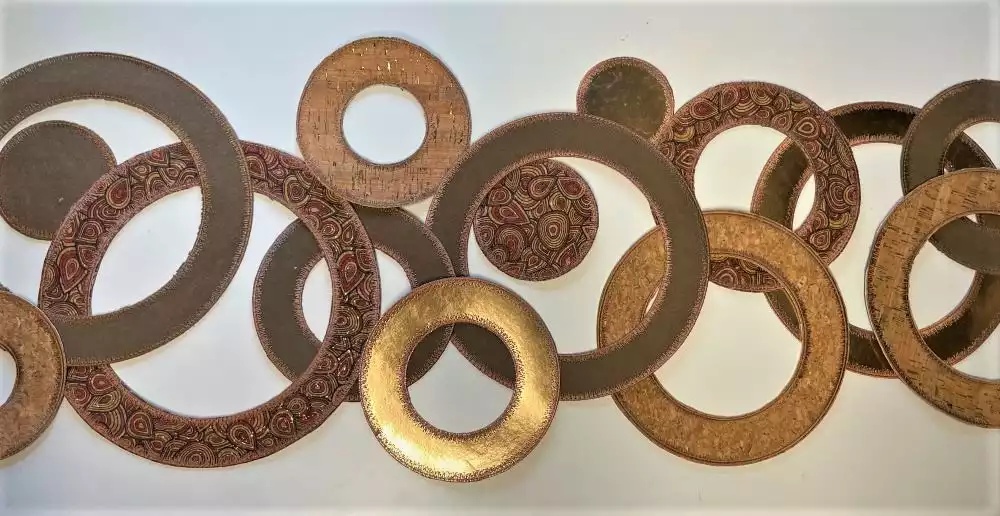
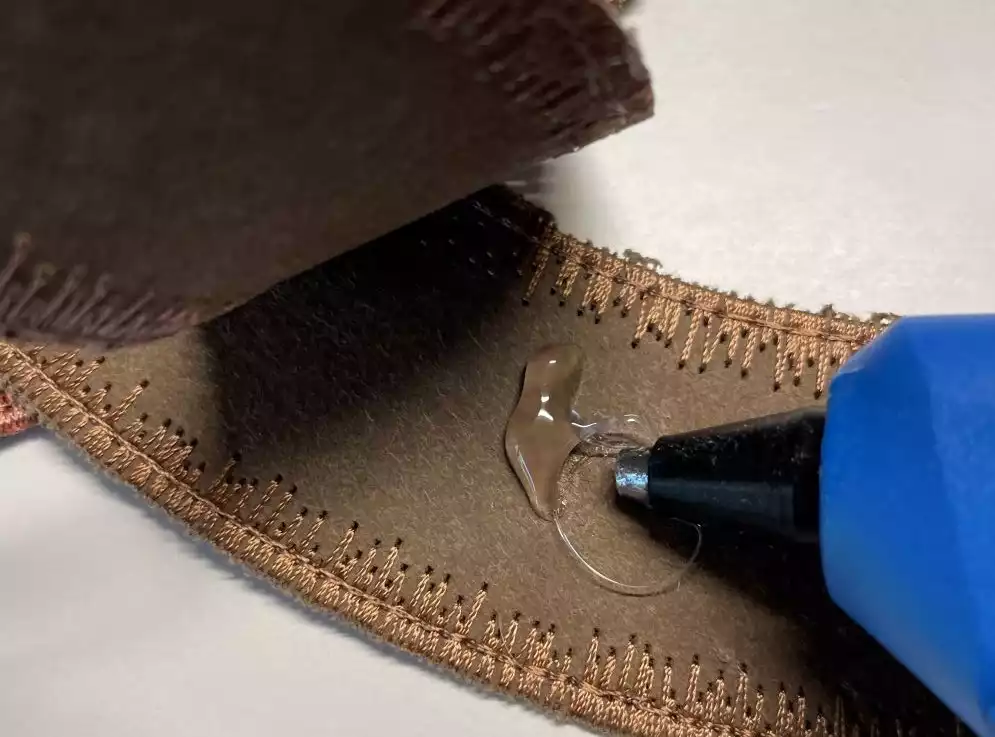
12. Use a hot glue gun to attach them to each other. Just use a little glue and leave the edges free.
13. (optional) topstitch the circles together using a straight stitch. Stitch on top of the triple stitch line to make the topstitching invisible. This step is necessary if you want to wash the quilt later.
Your leather/cork skinny quilt/Table runner is now finished!