United States
Chair Seat
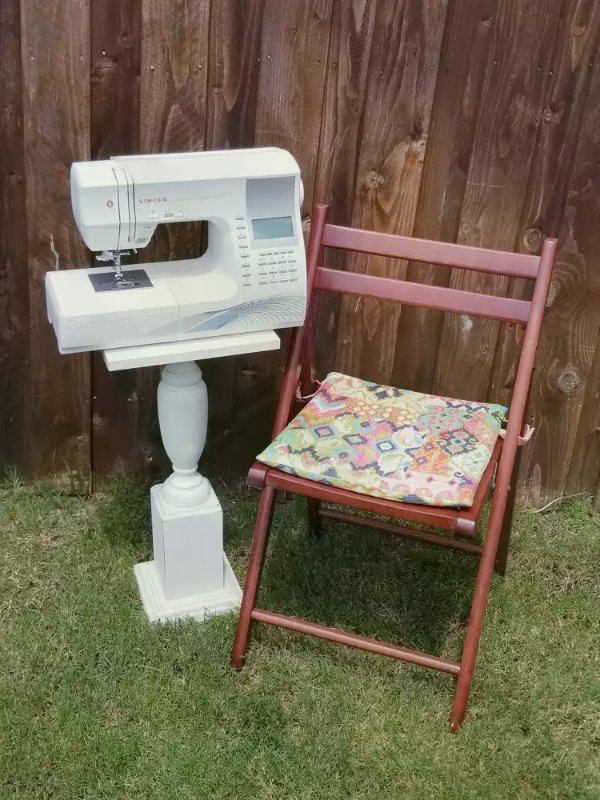
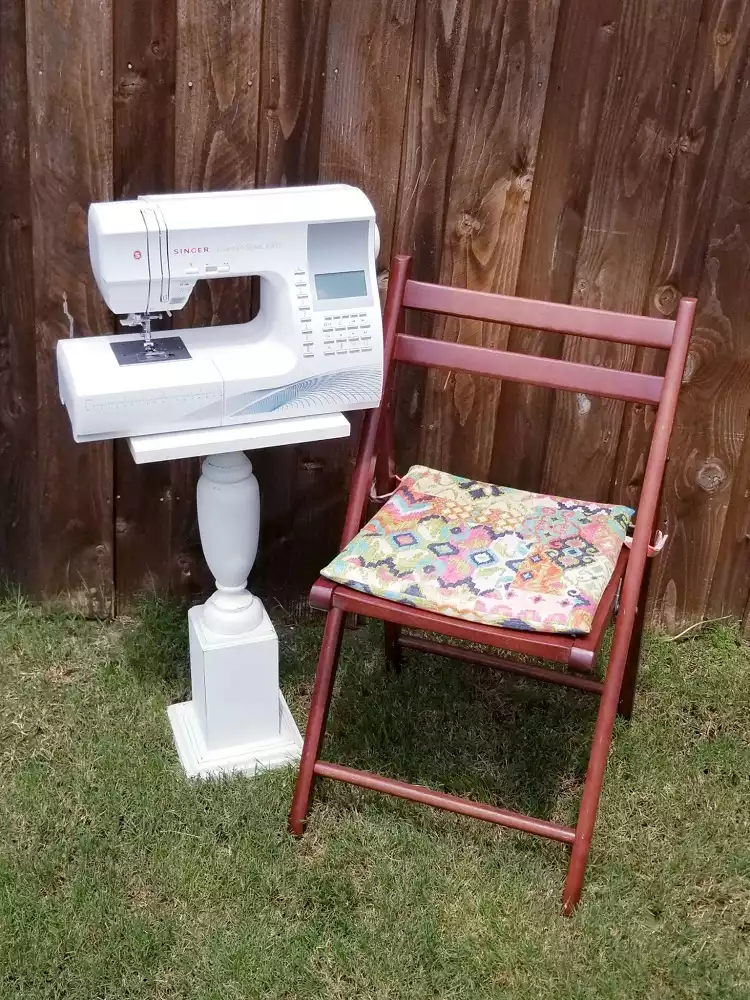
Whether you’re having a backyard dinner party or sitting outside to read a good book and enjoy
the weather you should be comfy! Make this quick and easy, changeable and washable seat cushion for your patio chairs to match your style.
Shopping List
Everything you need to complete this project in one place. Use this convenient checklist to ensure you have all required materials in your sewing room, or take it with you while you shop for supplies.
- Sewing Machine
- Overcasting Foot
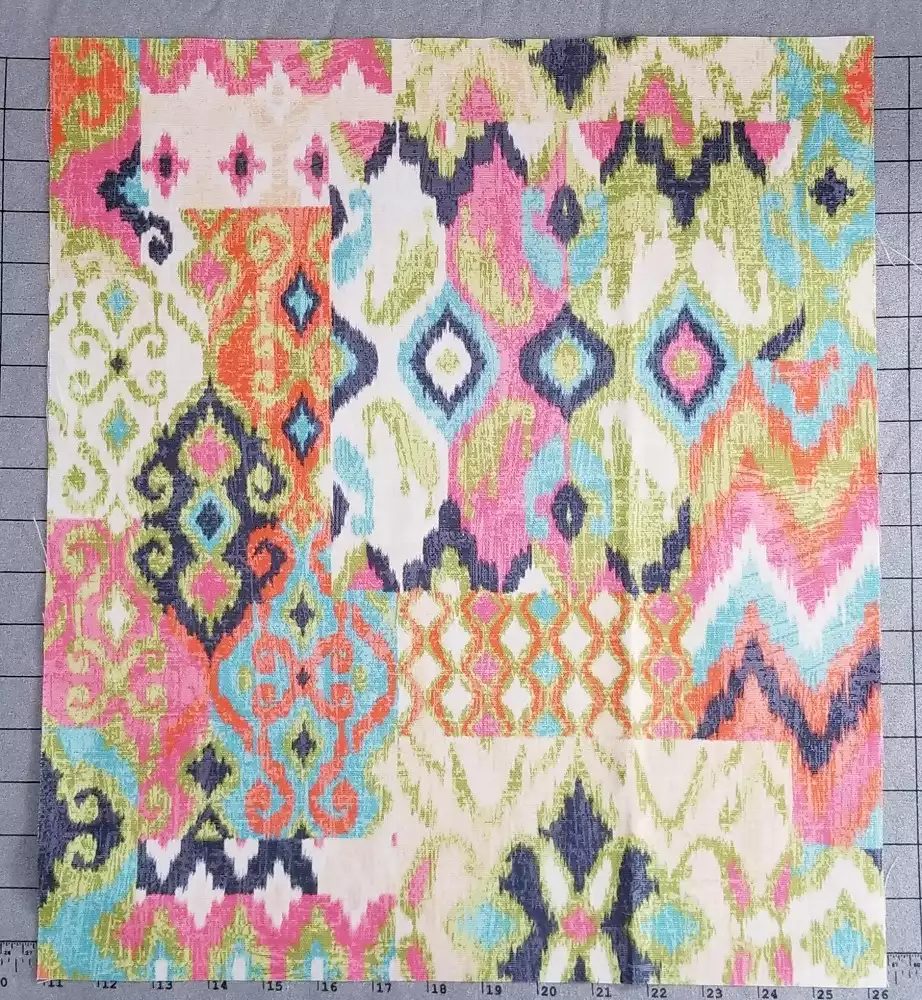
- ¾ yd Outdoor/Home Decor Fabric
- x1 pkg of ⅜” Velcro
- x1 - 1” x 15” x 17” Polyfoam
- Coordinating Sewing Thread
- Garden Chair
- Singer® SteamCraft Steam Iron
- Singer® Ironing & Crafting Station
- Measure Tape
- Rotary Cutter & Mat
- Pin or Clips
Optional: Serger
**Supply list is for one garden chair cushion.**
Project Steps
1. Gather materials.
2. Measure chair from side to side & back to front. (Our chair measured 15” W x 16 ½” H.)
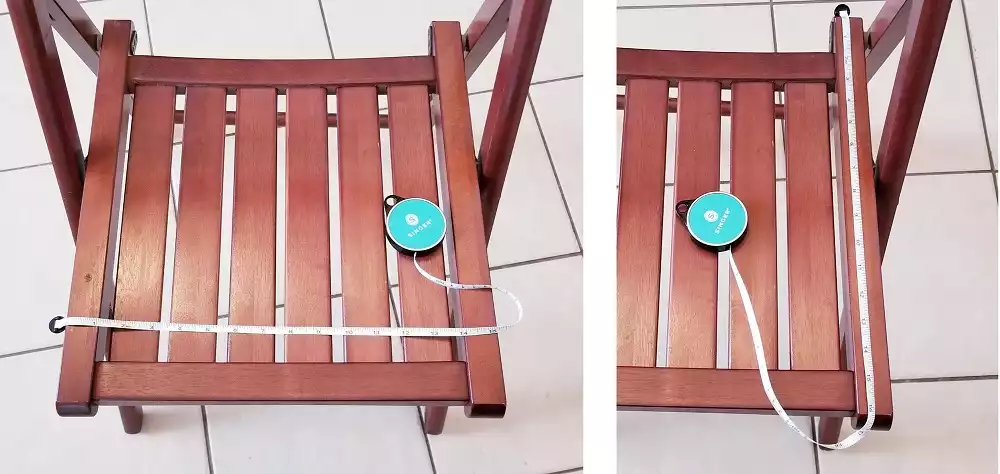
3. Cut foam down to 1” smaller than chair measurement. (Our foam was cut down to 14” W x 15 ½” H.)
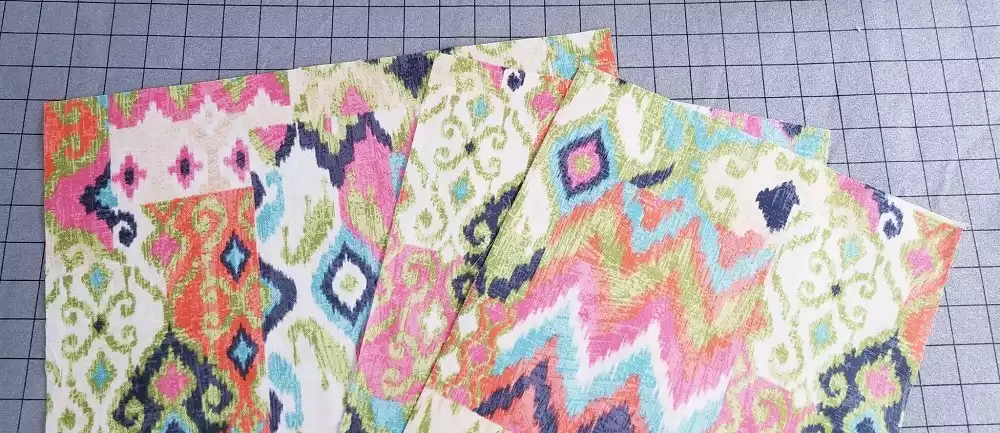
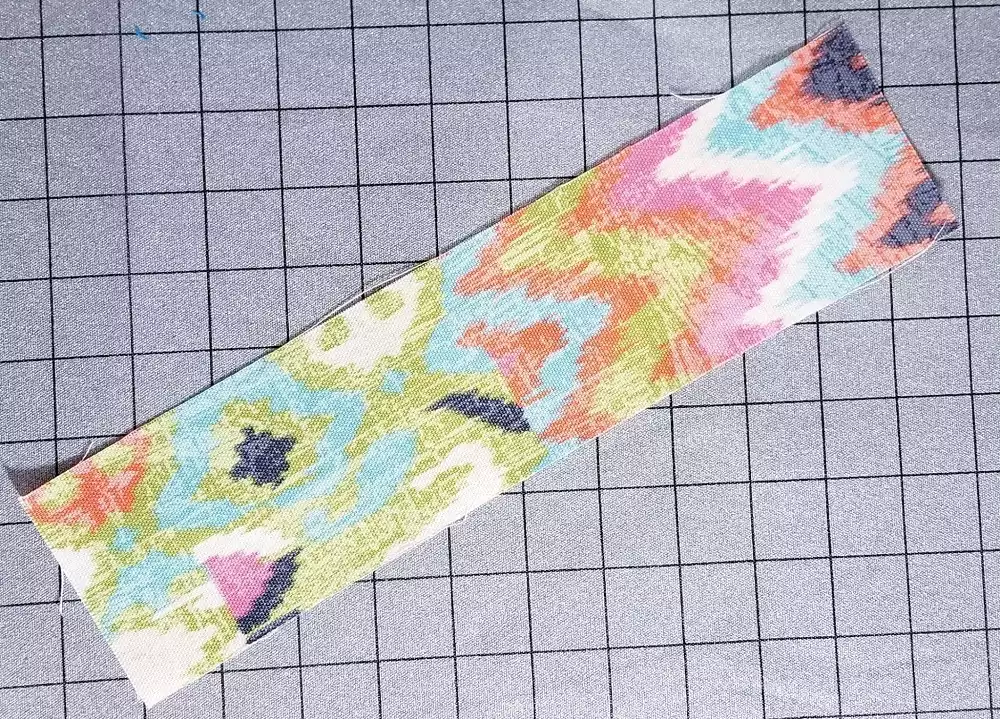
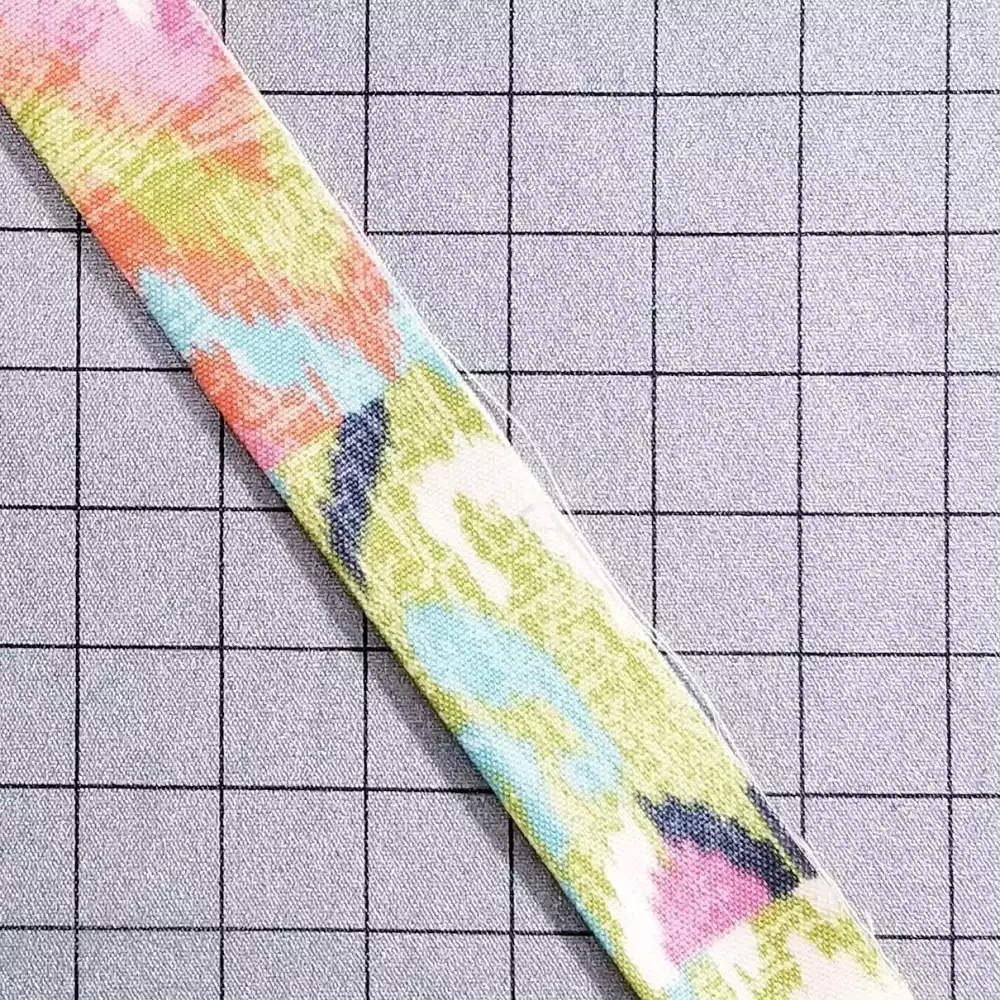
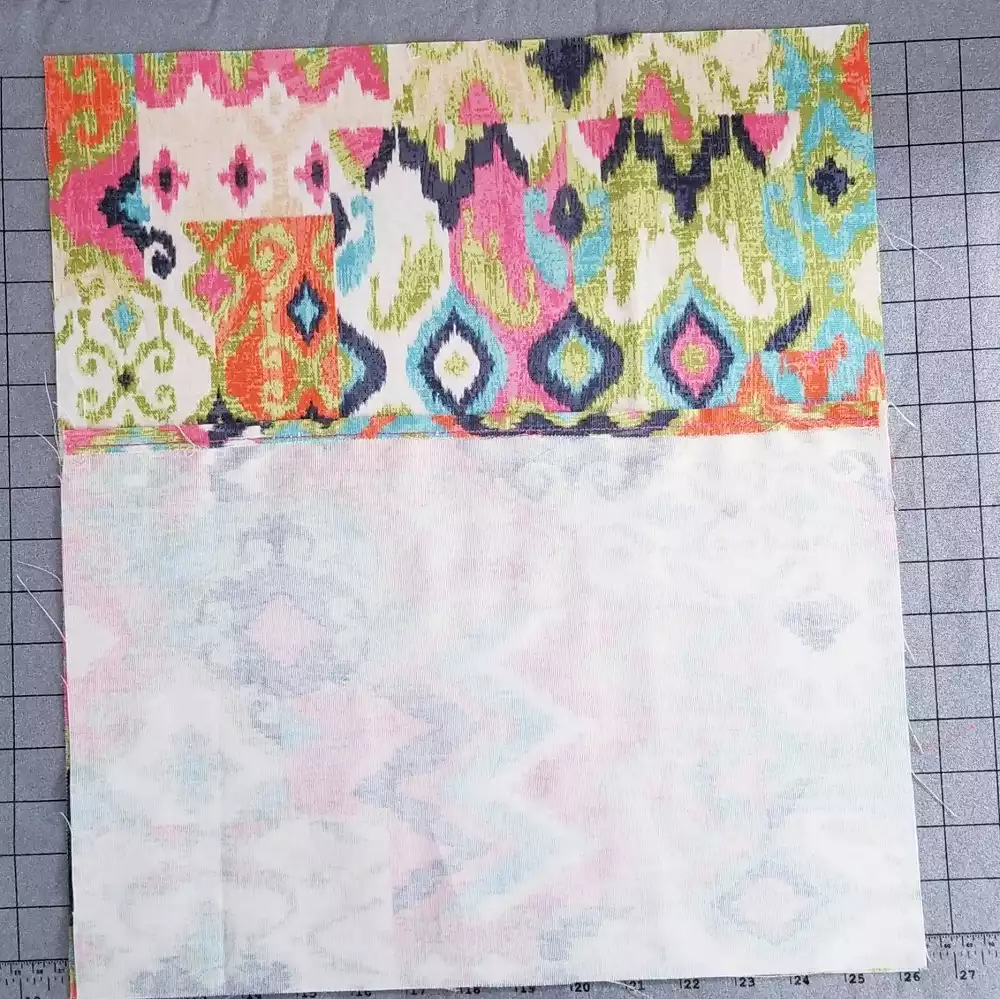
4. Cut fabric to one piece measuring ½” larger than chair measurement from step #2. (Our
piece was cut down to 15 ½” W x 17” H.)
5. Cut two more pieces for the pocket section. You’ll want the fabric crossover to go horizontally so that you don’t see the crossover of the fabric from the front of the cushion. To figure out the measurement of each piece, take the height measurement from step #4 (ours was 17” H) & divide it in half, then add 3 ½”. (Our sections were cut at 15 ½” W (the width of the square cut from step # 4) x 12” H (the height from the equation below).)
Equation: (Fabric height measurement from step #4) ÷ 2 = (Answer) + 3 ½” = (Fabric height for pocket piece)
Our equation for reference: 17 ÷ 2 = 8 ½” + 3 ½” = 12”
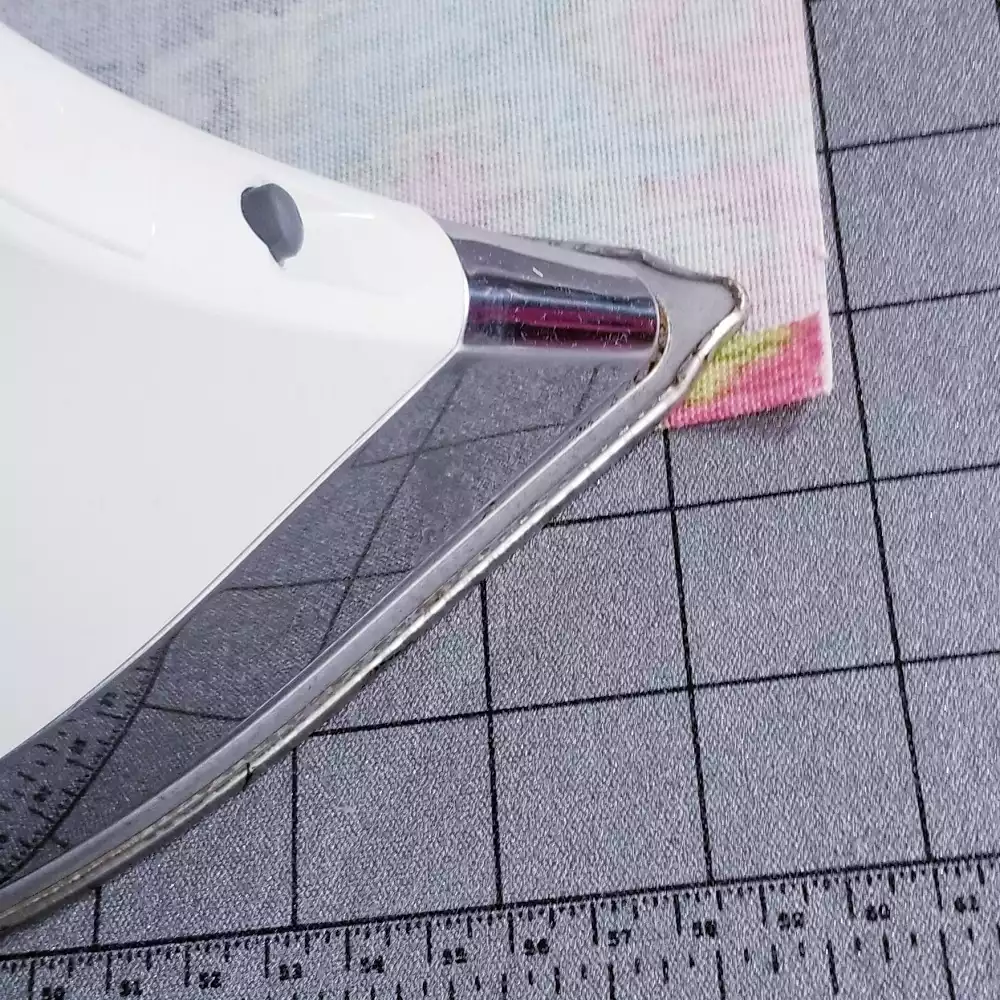
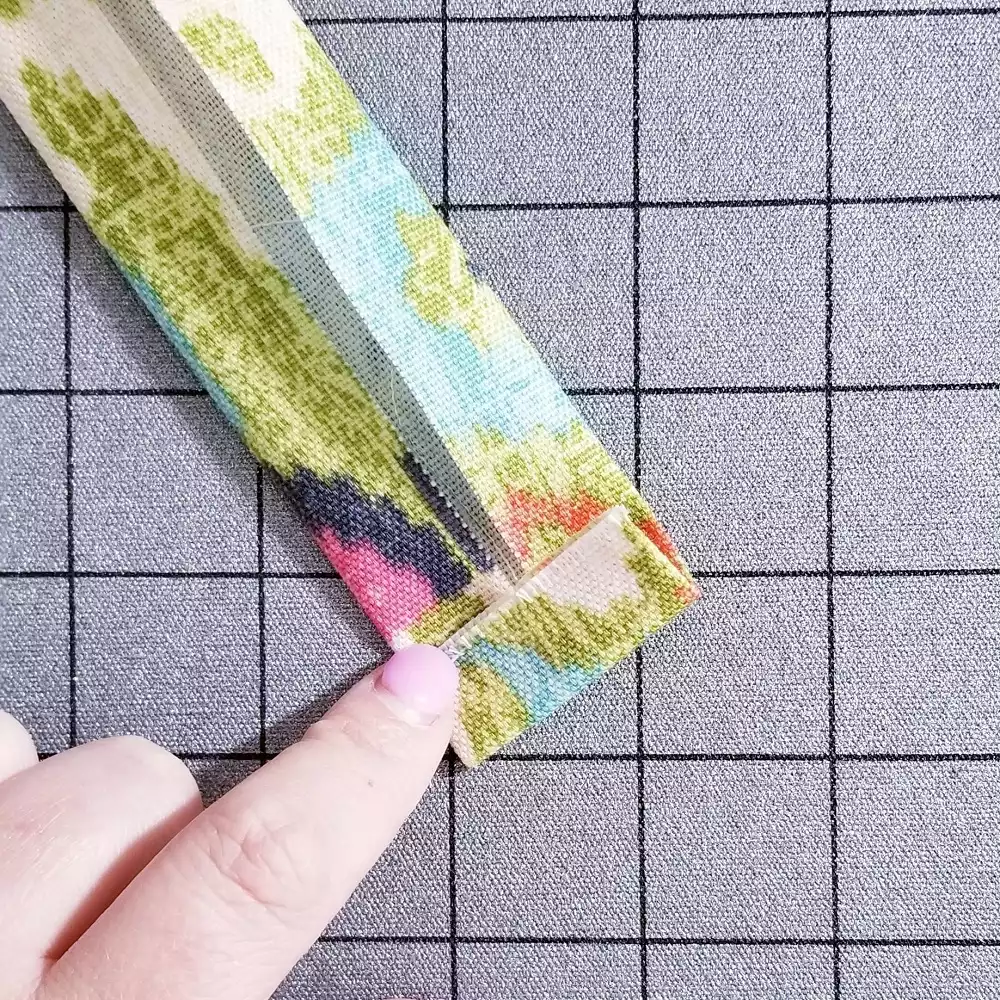
6. Take one of the pocket section pieces from step #5 line it up along the grid lines of the Singer® Ironing & Crafting Station right side down. Using your Singer® SteamCraft Steam. Iron press the long side (our is 15 ½” side) up ½”. The fine tip point of the Singer® SteamCraft Steam Iron is great for small seams like this.
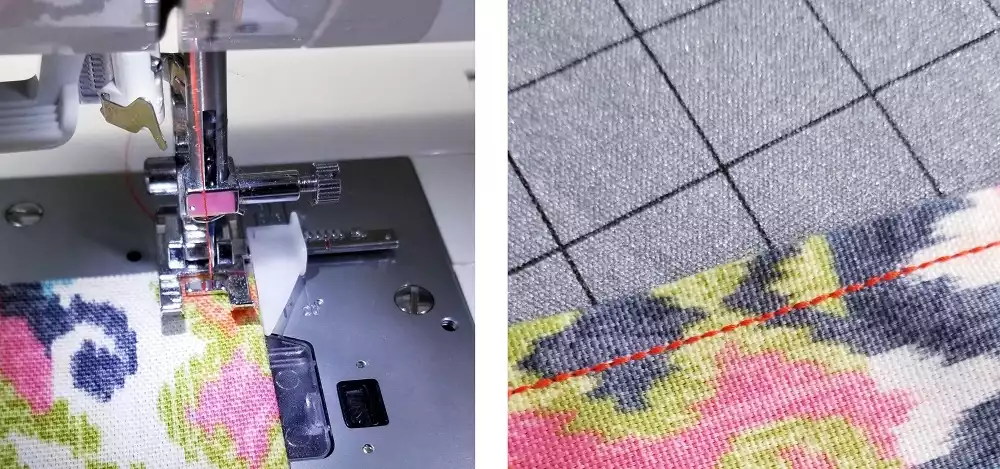
7. Top stitch down the seam with a reinforced stitch.
Making the velcro straps:
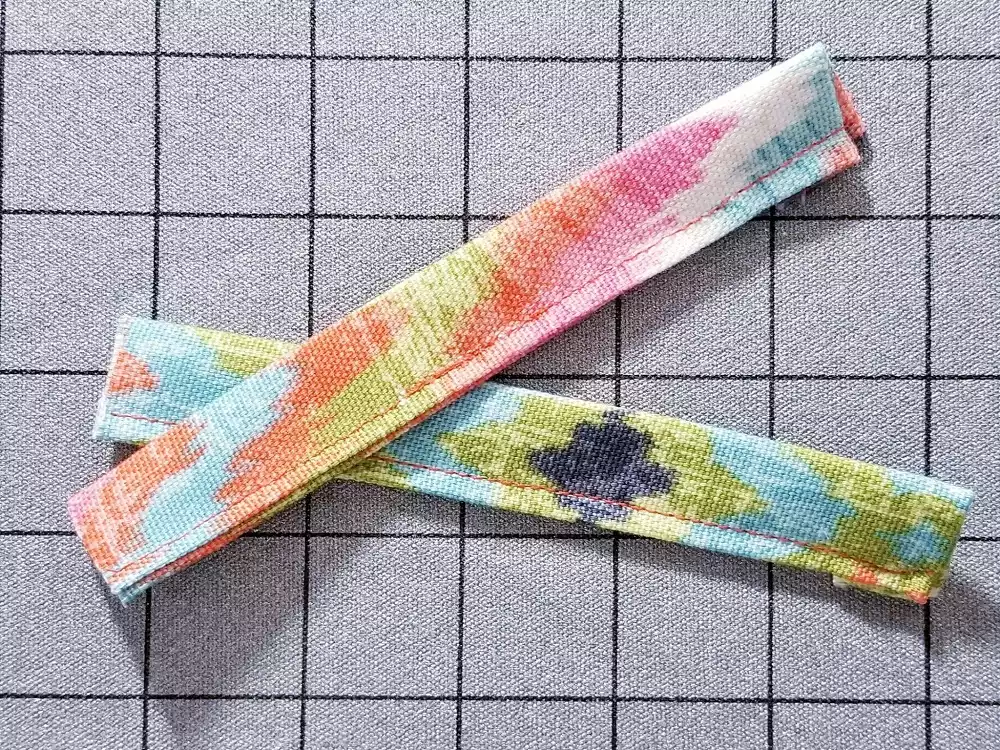
8. Cut two pieces of fabric measuring 3” x 8”.
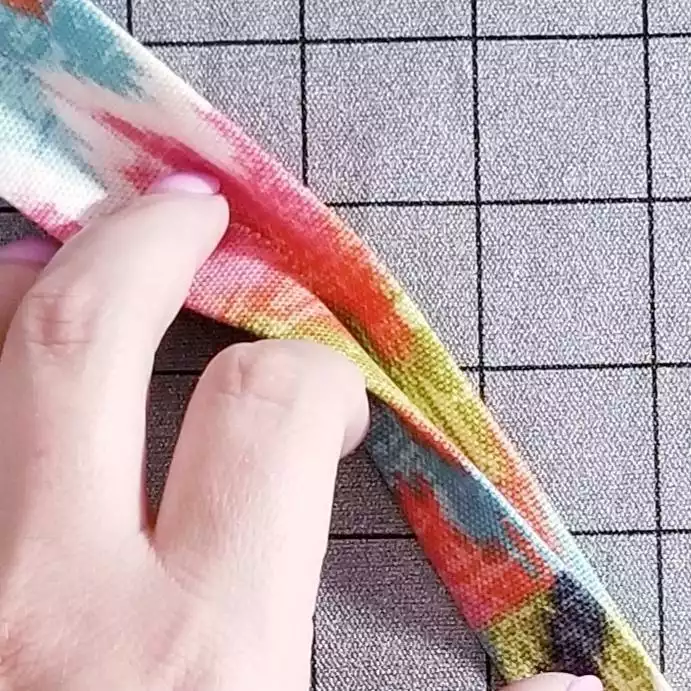
9. Using your Singer® SteamCraft Steam Iron press the strip in half lengthwise with the wrong
sides together.
10. Open up & press each long side into the center seamed just pressed.

11. Fold the short ends in ½” to hide the raw edge & press.
12. Fold the strip in half onto itself again lengthwise & press.
13. Top stitch down close to the edge.

14. Cut in half to create two pieces.
15. Cut one piece of velcro at 1 ½”.
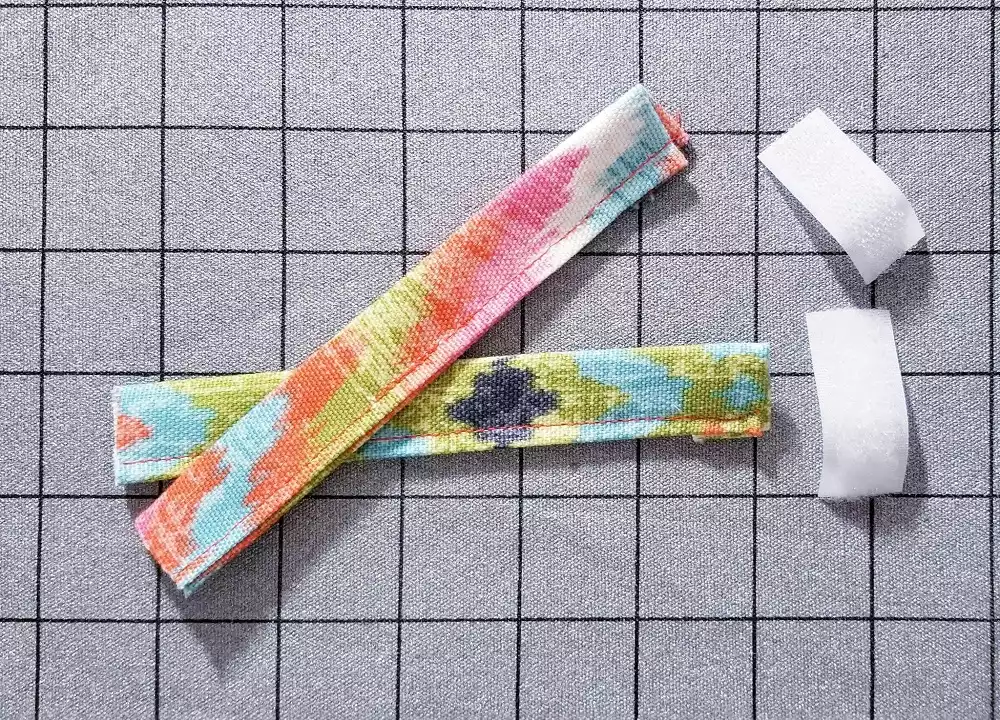
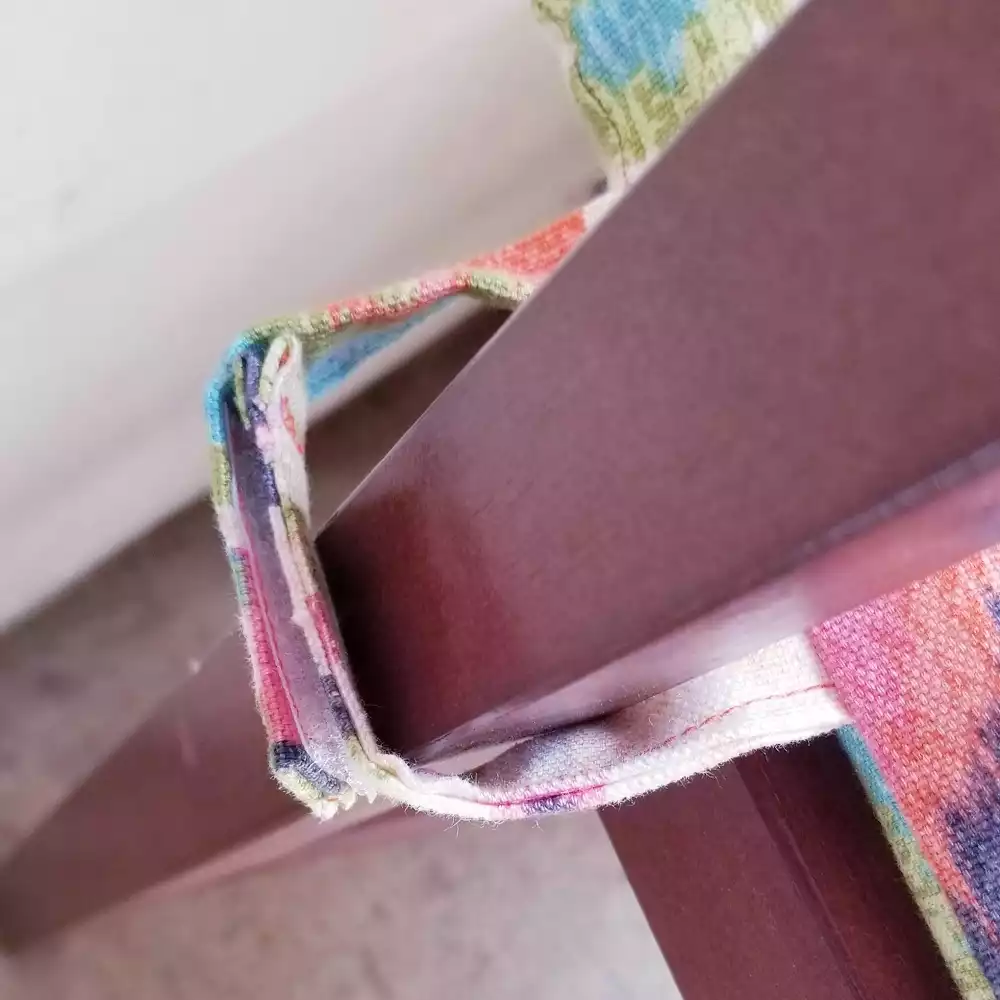
16. Sew one side of the velcro down to each strip on the end where the raw edge was folded under.
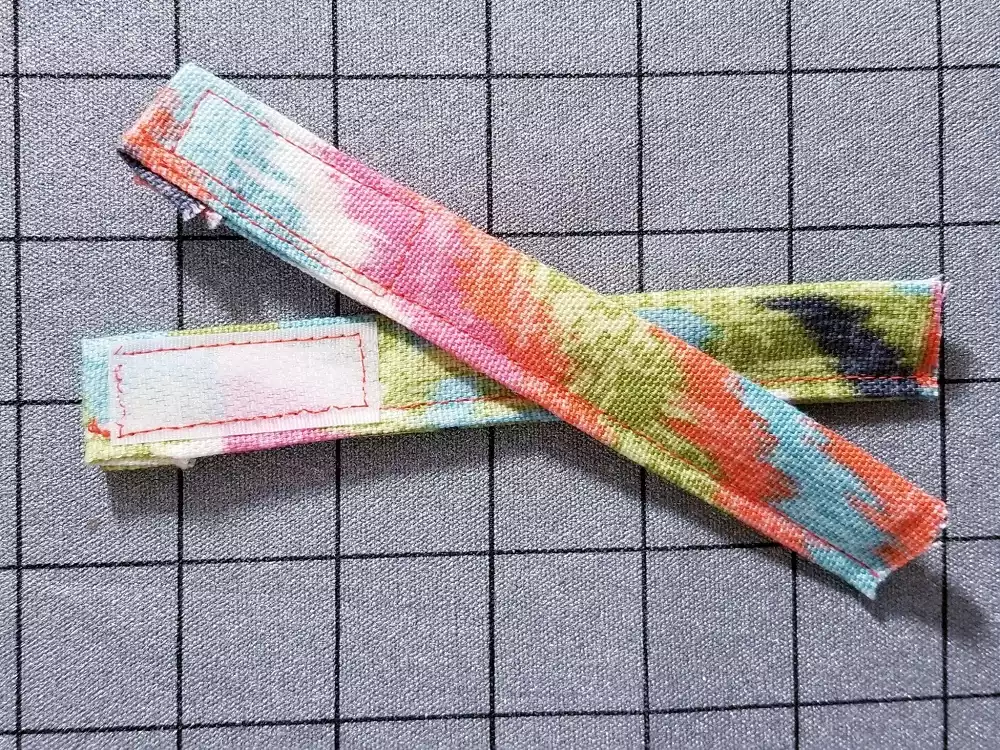
17. Repeat steps 8-16 for a second set of straps on the other side of the cushion.
18. Lay the top fabric piece (15.5 W x 17 H) down with right sides up.
19. Measure the distance from the back of the chair to the leg of the chair where the straps will be attached. (Ours measured 2”)
20. Place the first strap on the edge of the fabric 2” up. We placed the second strap 2” further from the first strap. The straps will be inward, on top of the top fabric so that when it’s flipped right side out the straps will be on the outside. Clip or pin in place.
Pro-Tip: Using the Singer® Ironing & Crafting Station can be helpful with the measurements.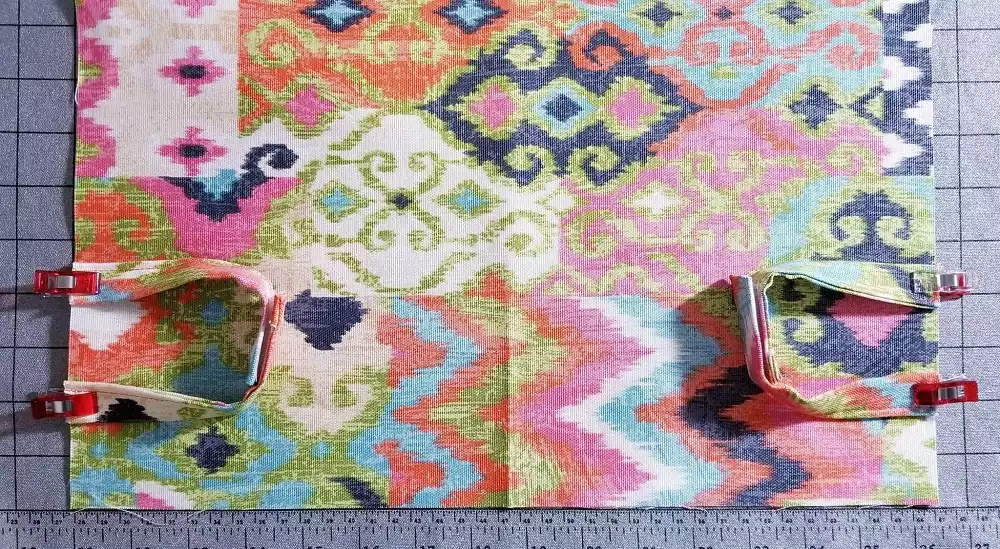
21. Take the fabric piece from step #7 and place it rightside down with the raw edge lining
up with the bottom edge of the large square. Pin or clip in place.
22. Take the second pocket piece & place it right side down lining it up with the top raw
edge of the large square. Pin or clip in place.
23. Select the seam & overcast stitch on your sewing machine. We widened the stitch completely to get better coverage. This stitch helps prevent the fabric from fraying.
24. Sew around all 4 sides, removing pins & clips as you go.
Optional: You can also use a Serger to serge around the edges.
25. Turn the cushion cover right side out & stuff with foam cushion.
26. Attach velcro straps to the chair leg & enjoy!