United States
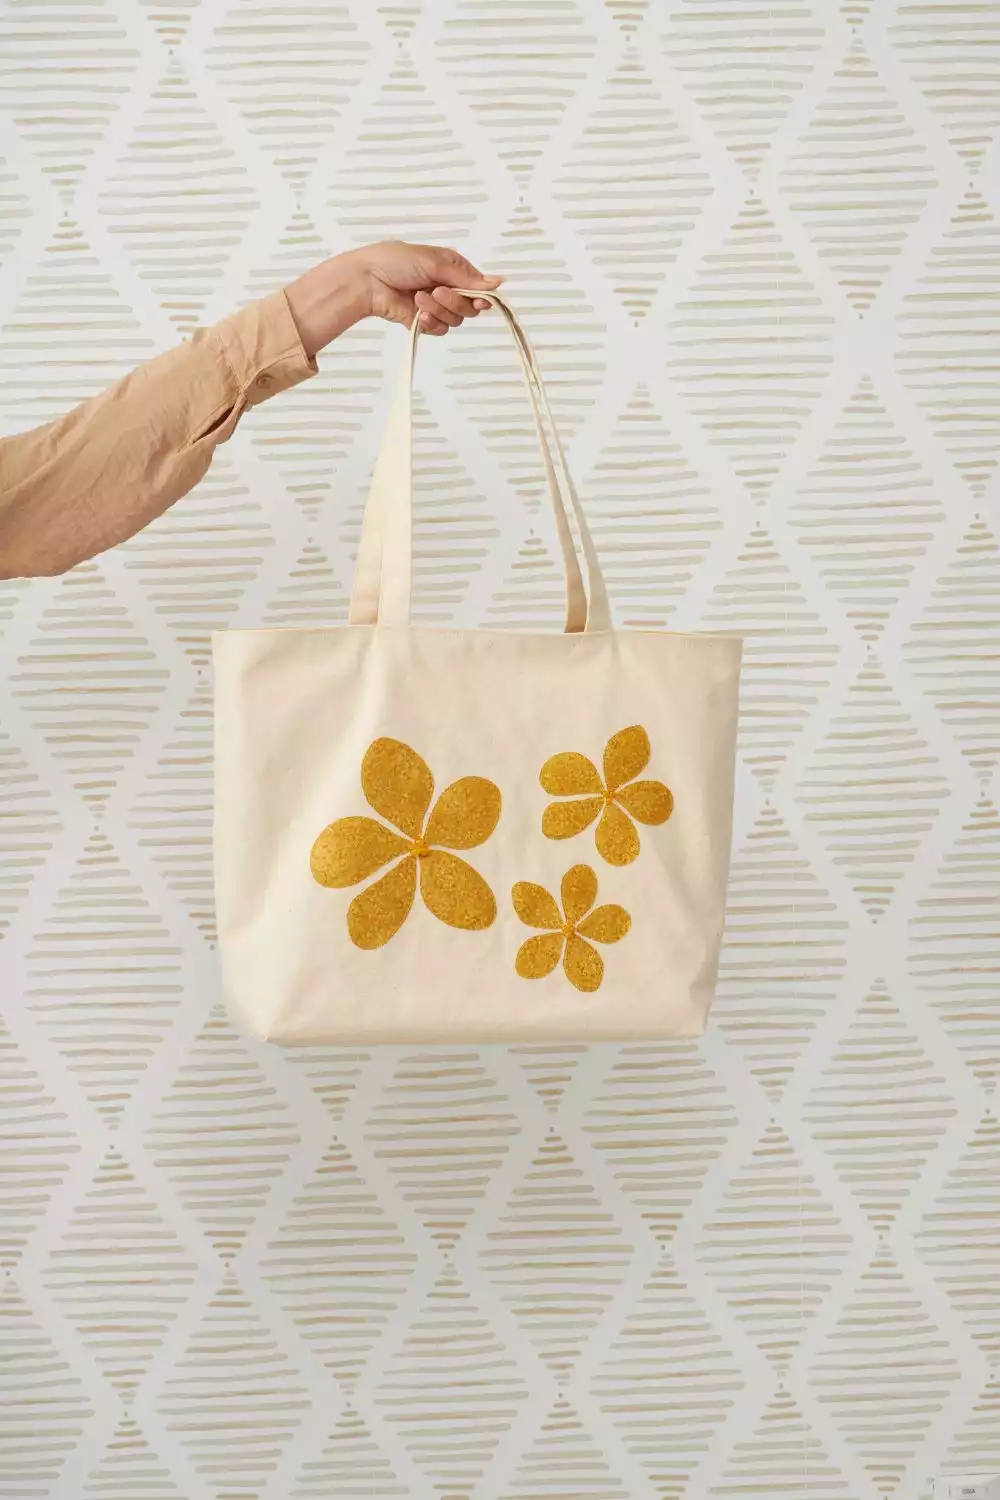
Canvas Tote with Applique
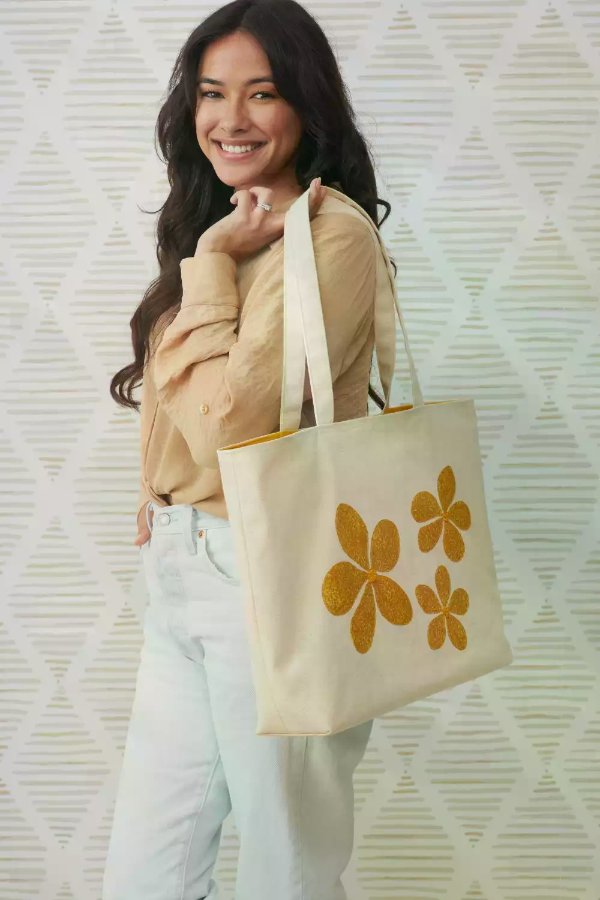
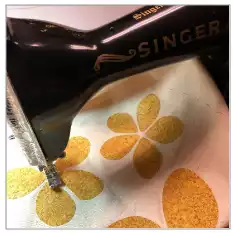
This canvas tote with raw-edge appliques was sewn using a vintage-style, SINGER 15 Class sewing machine. The SINGER 15 Class machine sews a straight stitch only, which is used not only to construct the tote, the lining, but also to add the raw-edge appliques. The hand-stitched bead accents add a bit of dimension to the floral design.
What you need:
- Canvas for main bag, cut one 20” x 32” (50.8cm x 81.3cm)
- Canvas for bag handles, cut two 4” x 24” (10cm x 61cm)
- Cotton for lining, cut one 20” x 32” (50.8cm x 81.3cm)
- Cotton fabric scraps for flower appliques
- Fusible web (to bond appliques to bag front)
- Applique templates applique flower for canvas tote.pdf
- Pencil (to trace around applique templates)
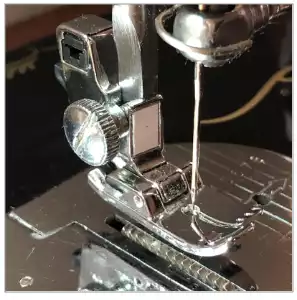
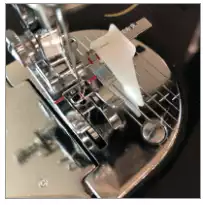
- Universal Shank
- Straight Stitch Foot
- Sew Easy Foot
- Hand sewing needle
- All-purpose thread for construction
- Thread in desired color to stitch around appliques
- Removable fabric marker and ruler
- Optional: Pinking shears for trimming seam allowances
- Optional: Beads for embellishing flower centers
- Optional Base: One 4” x 15” (10cm x 38cm) base (e.g., basswood, foam core board, etc)
- Optional Base: One 10” x 16” (25cm x 41cm) fabric to cover base
Sewing Directions
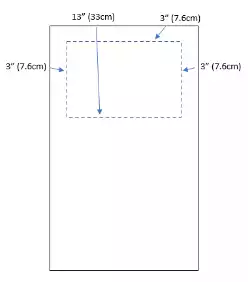
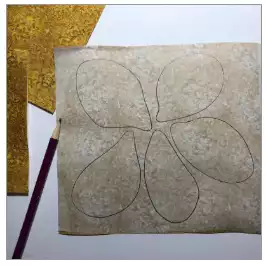
1. The area in which to place flower appliques should be marked by hand basting some stitches, to be used as references. Mark an area that is 3” (7.6cm) down from the top of the 20” x 32” (50.8cm x 81.3cm) piece, another line that is 13” (33cm) down from the top, another line 3” (7.6cm) in from the left side, and another that is 3” (7.6cm) in from the right side.
2. Print the Applique Flower Patterns, which can be found at the end of these instructions. Adjust sizing, if desired, then cut out the paper petals. Set aside for now.
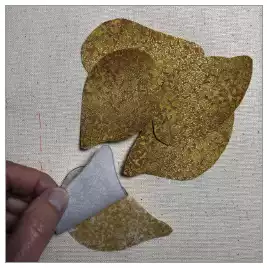
3. Apply fusible web to the wrong side of the fabric that will be used to create the flower appliques, following the fusible web manufacturer’s recommendations for application.
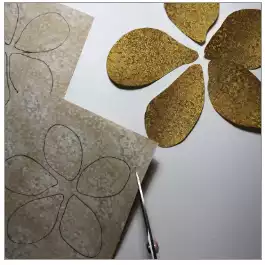
4. Place the petal templates onto the fusible web, wrong side down. Trace around the templates with a pencil.
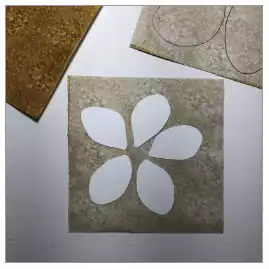
5. Cut out each of the petals. Remove the paper from the fabric’s wrong side.
6. Arrange the paper petals on the bag front, within the area of the basting stitches, to determine where you would like the fabric appliques. Experiment with the arrangement of the petal templates until you are pleased with the layout.

7. Secure the appliques in place with an iron, following recommendations of the fusible web manufacturer for pressing.
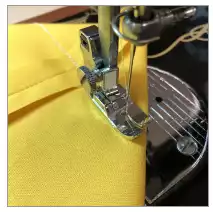
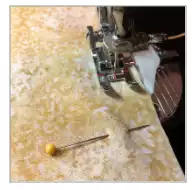
8. Thread the top of the machine and bobbin with the thread color desired for stitching around the appliques. Attach the Universal Shank and Straight Stitch Foot. Set the stitch length to 10-12 stitches per inch.
9. Stitch around each flower applique, taking care not to sew too closely to the raw edge.
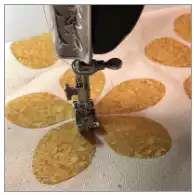
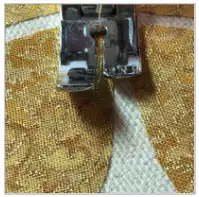
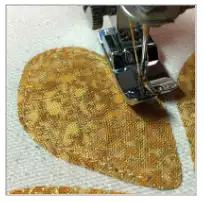
10. Stitch around all flower petal appliques.

11. If desired, hand sew a few beads in the flower centers. When finished adding beads, set this piece aside for now to prepare the bag’s handles.


12. Press the handle fabric in half, lengthwise to create a center crease. Open it back up and fold in the raw edges on each side to meet at the center crease, then press again.
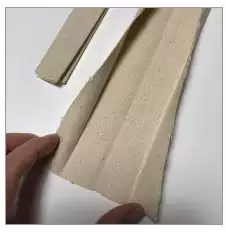
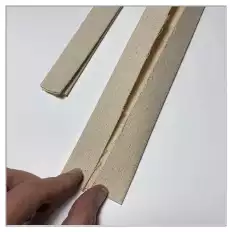
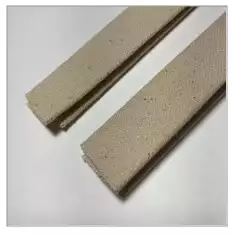
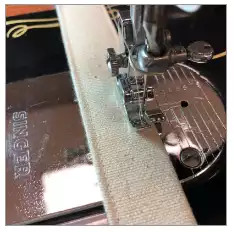
13. Fold again and press to create a strap 1” (25mm) wide. Stitch along each long side. Note: It is helpful to sew the “open” side first, to help eliminate any shifting of the fabric.
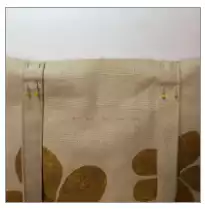
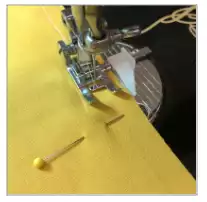
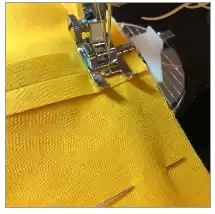
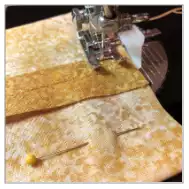
14. Pin bag handles onto the bag front at each end. Measure 6” (15cm) from each side and pin, making sure handles are not twisted. Use a hand sewing needle to baste ends in place.
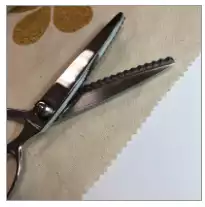
15. Before sewing the side seams, it can be helpful to trim the fabric edges with pinking shears to reduce fraying. After trimming the two long sides, attach the Sew Easy foot. Set the adjustable guide to ½” (13mm) seam allowance. Fold the bag in half. Sew the two side seams, lining up the edges with the foot’s adjustable guide. Press seams open.
16. Fold the bag lining in half and sew one side seam. Sew the other side seam, but leave a 5” (13cm) opening in the seam - this will be used for turning the bag right side out after the bag and lining have been sewn together. Press seams open.
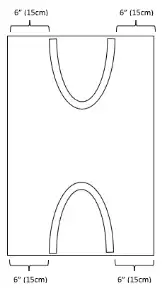
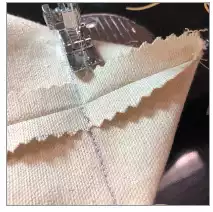
17. Lay the bag corners flat. Use a ruler and fabric marker to draw a stitching guideline 4” (10cm) long at each corner. Do the same for both corners of the bag lining.
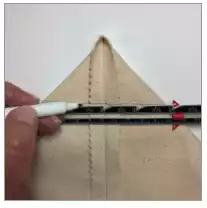
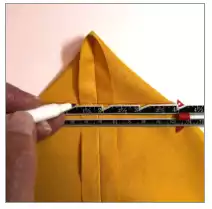
18. Sew along the marked lines for both the lining and the main bag. For extra stability, sew a second row of stitching on the main bag, about ¼” (7mm) from the first row of stitching.
19. Place the main bag and bag lining together, right sides facing. Line them up, starting by matching them at the side seams, then pin around the top of the bag. Sew around the bag.
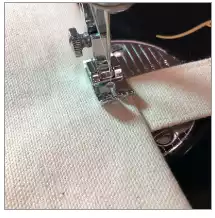
20. Turn the bag right side out through the opening in the lining. Press. Stitch around the top edge of the bag, which will help keep the lining tucked inside the bag and secure the handles. To add even more stability to the bag handles, sew a second row of topstitching. Sew the opening of the lining closed, either by machine or with a hand sewing needle.
OPTIONAL BASE
21. Fold the base covering fabric lengthwise. Sew the lengthwise seam using a ½” (13mm) seam allowance, then press the seam open.
22. Center the seam, then sew one short end. Clip corners to help reduce bulk.
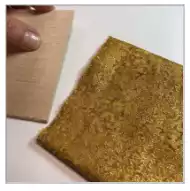
23. Turn the piece right side out and insert the firm base.
24. Fold in the remaining seam allowance and hand sew to finish. Insert into the bottom of the bag.

Your canvas tote is now finished!