 United States
Book Mark with Decorative Stitches
The pocket created on each side of your pretty stitched panel is perfect for holding your pens and pencils. Whether you use it in your journal, or your favorite novel, it is certain to be enjoyed!
What you need:
- 40 wt. rayon embroidery thread
- Cotton thread
- Cotton batting
- Foot that your machine uses for decorative stitches
- 1⁄4” Foot
- Tear Away Stabilizer
- ¼ yard of main fabric
- ⅛ yard of fabric for stitched panel
- 1” wide Elastic
- Fabric Marker
Cut:
- From stitched panel fabric: 4” x 9” for stitched panel
- From main fabric 4 ½ ” x 13 ½ ” and 4 ½” x 10”
- From cotton batting: 4 ½ ” x 6 ¾ ”
- Elastic 12”
Sew:
Decorative Stitches:
1. Find a large decorative stitch for the center band of fabric. I suggest that you try several of the stitches on scrap fabric before starting on your bookmark, to get a feel for the way the stitches sew out.
2. Mark a line down the center of that fabric with a removable fabric marker. Place the tear away stabilizer under the fabric. Stitch the decorative stitch along that line.

3. Trim the stitched panel to 2 ¼ ” x 7” with the stitching centered. Press under ¼ ”on all four sides of the rectangle.
4. Fold over the 4 ½ ”x 13 ½ ” main fabric rectangle, right sides together, to measure 4 ½” x 6 ¾ ”.
5. Place on top of the 4 ½ ”x 6 ¾ ” batting.
6. Put on ¼” foot. Stitch the two long sides and the short side with a ¼” seam, leaving a 3” opening along the short side for turning.
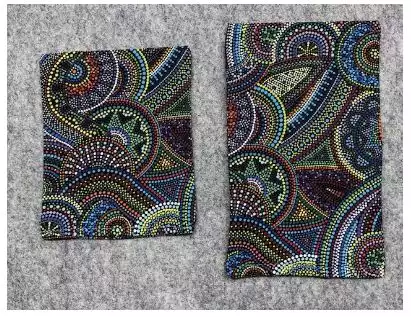
7. Repeat with the 4 ½” x 10”rectangle, folding it to measure 4 ½” x 5”.
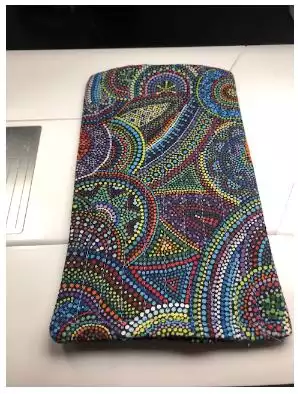
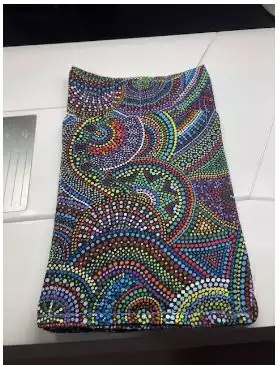
8. Trim away excess batting from the seam allowance and turn both rectangles right sides out. Press. Hand sew or topstitch the opening closed. You now have two finished rectangles.
9. Quilt the larger rectangle as desired.
10. Place the smaller rectangle on top of the larger rectangle. Match the bottoms, and stitch 1⁄4” in from the edge to attach the smaller rectangle.
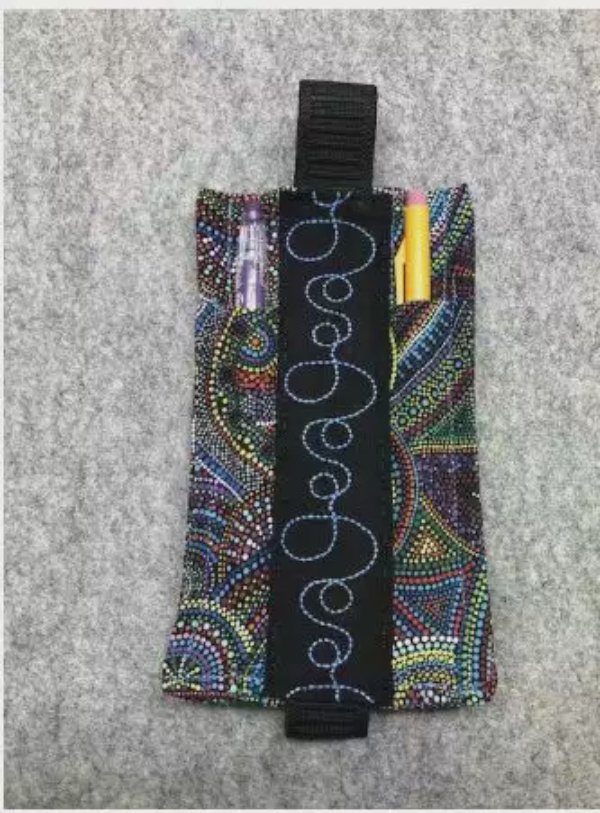
11. Place your stitched panel on top of the base piece. Insert the elastic under each end of the stitched panel as shown. If your decorative stitching has an up or down, be sure the stitches are facing in the correct position.

12. Pin the panel in place through all the layers and the elastic. You may want to do a “fitting” on a book if you have a particularly small or large book in mind and adjust the elastic accordingly.
13. Stitch near the edge of the stitched panel, all the way around it.
14. Now, insert a fun pen or pencil set, and mark that place in your favorite book!