United States
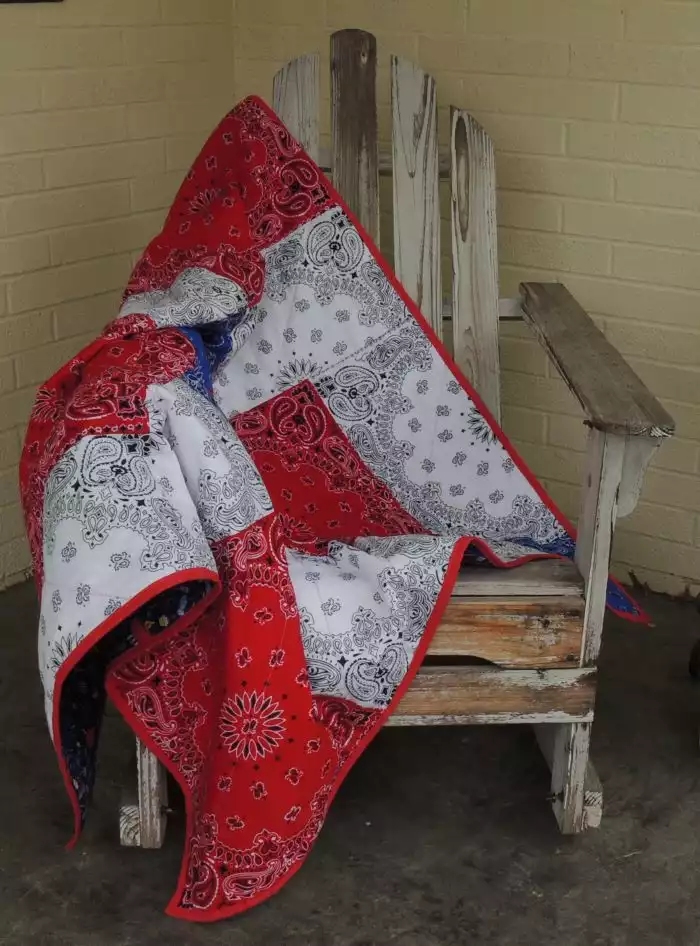
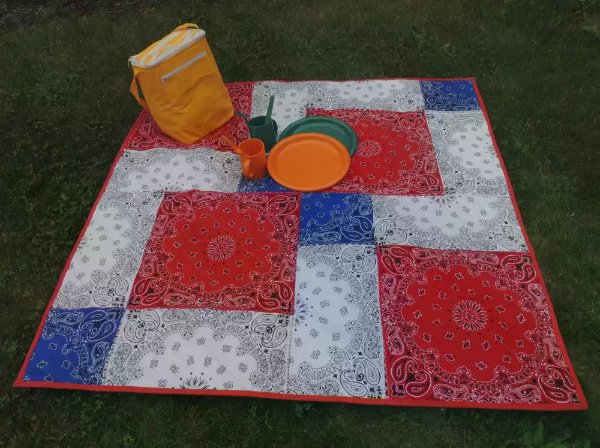
Bandana Picnic Quilt
Add some interest to the traditional bandana quilt with this simple to do nine-patch design. This quilt was so fast and easy to make, it can truly can be complete in one day!
What you need:
- 9 Bandanas
- 1 Blue
- 4 White
- 4 Red
- Backing Fabric -large enough for the quilt top with at least and 2 inches all the way around (yardage depends on the fabric width)
- Batting-large enough for the quilt top with at least and 2 inches all the way around (yardage depends on the batting width)
- 3/8 yard fabric for binding
- Thread to match
Assemble the quilt top:
It is best to wash, dry and press the bandannas before sewing. All seam allowances are ¼” unless stated. Quilt measures approximately 64” x 64” based on 22” x 22” bandanas
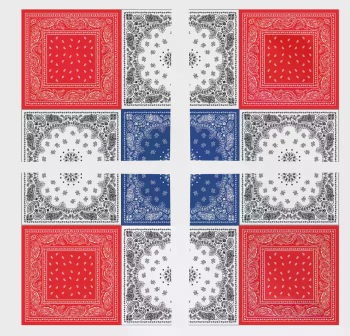
1. Lay the bandannas in a nine-patch formation (see image)
2. Stitch the bandana right sides together across the row. Do this for all the rows. Press seams to one side alternating the direction on the rows. (Press top row to the right, press middle row to the left, press bottom row to the right) Tip: By alternating the pressing direction, this will help with lining up the seams and create more accurate seams and corners)
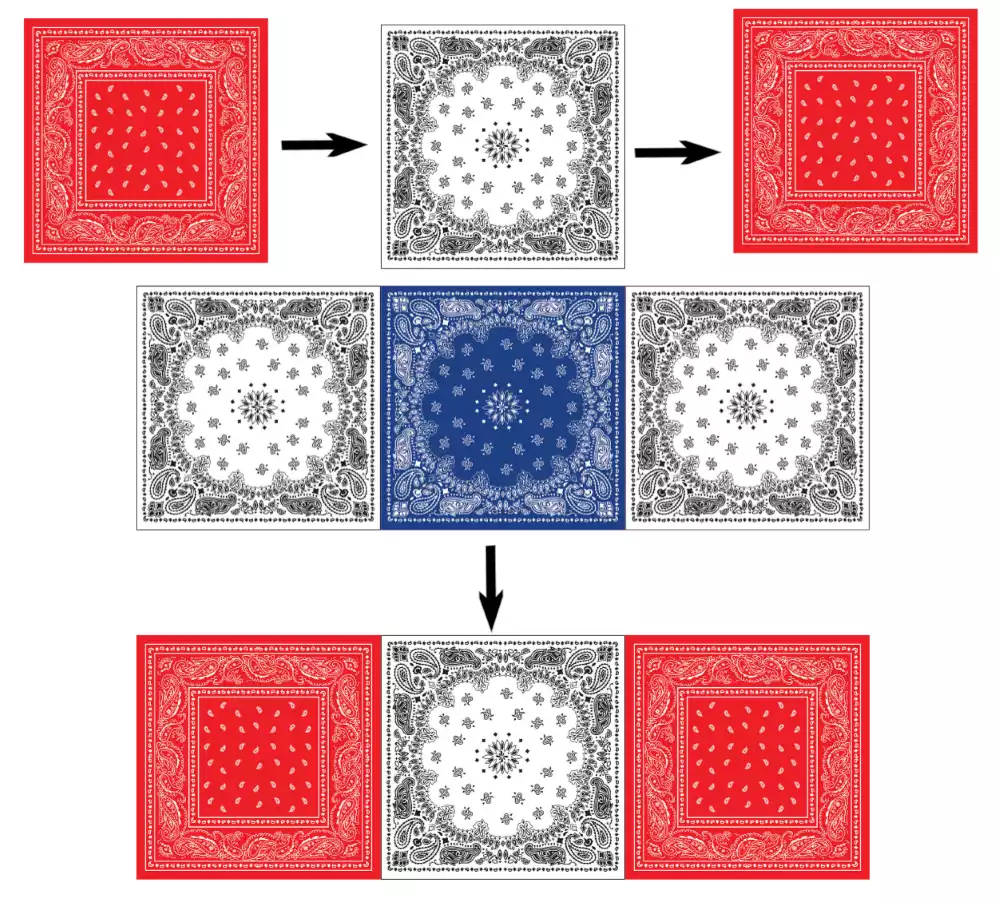
3. Stitch the rows, right sides together. Press seams to one side.
4. Lay the quilt top out flat and find the vertical and horizontal center and mark. Cut on the marked line. This will create four new quilt blocks.
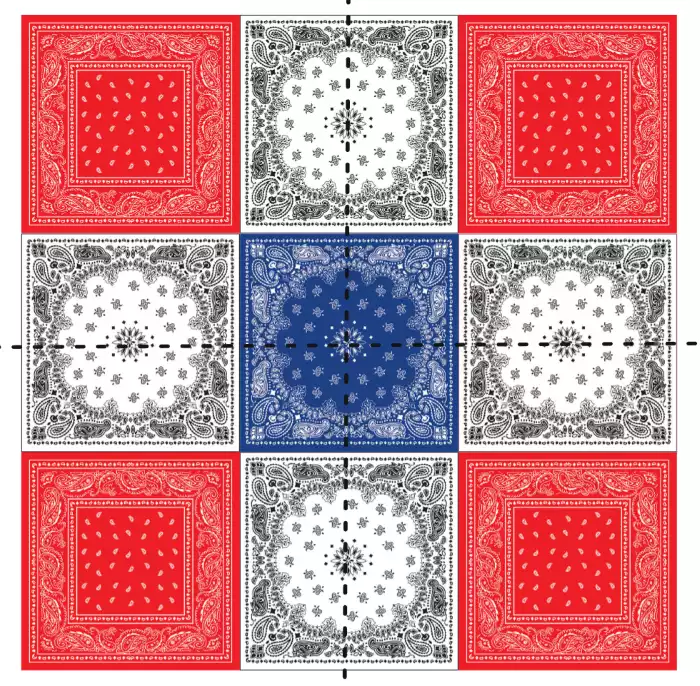
5. Arrange the four quilt blocks in a new formation.
Tip: This is a great opportunity to play with the layout. It does not need to be the same lay out as the sample quilt.
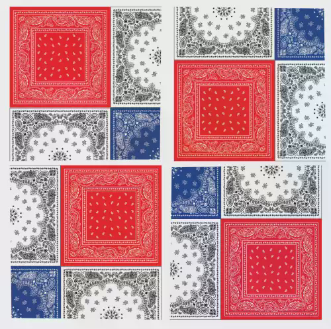
6. Once you have chosen the lay out. Stitch the two top blocks, right sides together and press seams to one side. Stitch the two bottom blocks, right sides together and press the seams to the opposite side as the top. Stitch the top and bottom blocks, right sides together and press seam to one side.
7. Press the quilt top and quilt backing. (Depending on the width of your fabric, you may need to do some piecing to achieve the width required)
8. Let’s make the “quilt sandwich”. Lay the backing fabric down, wrong sides up, lay the batting on top of the backing, and lay the quilt top on top of the batting, right sides up. Pin baste or spray baste. (Tip: When spray basting, I find it best to give the backing and top a quick press to eliminate any gathers or wrinkles.)
9. Quilt as desired. (Straight stitch quilting with a walking foot would be the quickest and easiest way to quilt this size quilt. Other options would be free motion, quilting in the hoop.)
10. Square the quilt and bind.
Time to take your quilt out for a picnic!