United States
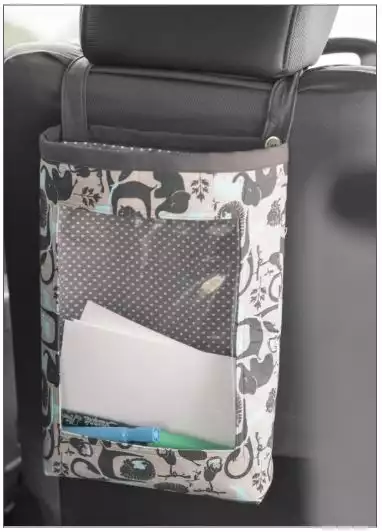
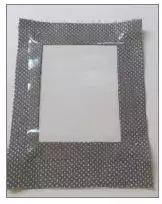
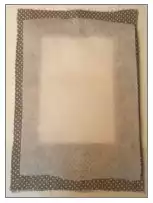
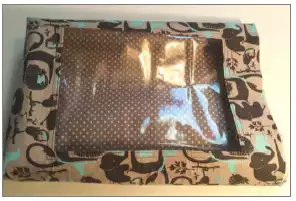
Backseat Car Caddy
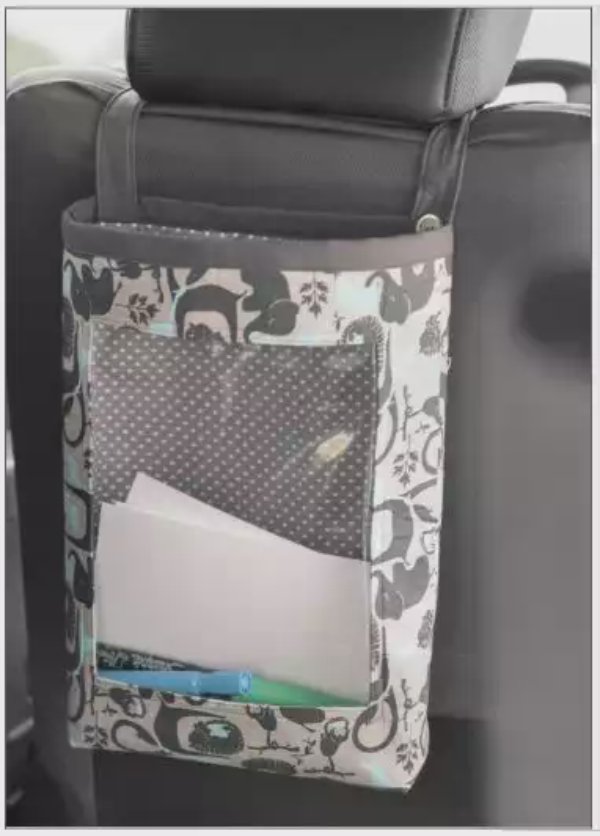
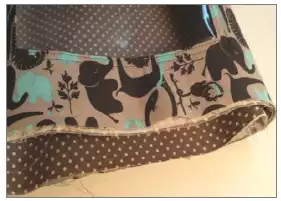
This organizer has a clear pocket, making it easy to see the contents at a glance. There is an adjustable strap with buttonholes so that you can fit it to your vehicle just the way you want it. It’s perfect for holding essentials while on the go, and your backseat passengers will like it, too! Perfect for back-to-school!
What You Need
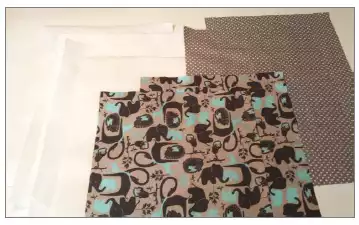
- ⅝ yard (0.6 meter) cotton fabric for outside of bag
- ⅝ yard (0.6 meter) cotton fabric for bag lining
- ¼ yard (¼ meter) cotton fabric for strap and binding
- ⅓ yard (⅓ meter) clear vinyl for pocket window
- 1 yard (0.9 meter) heavyweight fusible interfacing
- One ½” (13mm) or ⅝” (16mm) button
- All-purpose sewing thread
- Fabric marking tool
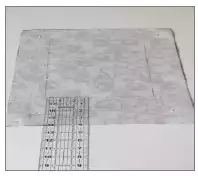
- Rotary cutter, mat and ruler
- Tissue paper
Cutting Directions
- Cut two 13” x 17” (33cm x 43cm) pieces from bag outside fabric
- Cut two 13” x 17” (33cm x 43cm) pieces from bag lining fabric
- Cut four 13” x 17” (33cm x 43cm ) pieces fusible interfacing
- Cut one 10½” x 12” (27cm x 30cm) piece clear vinyl
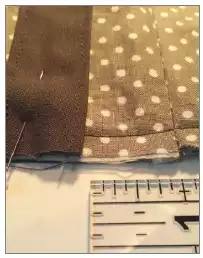
- Cut one 24” x 4” (61cm x 10cm) piece of cotton fabric for strap
- Cut one 24” x 3” (61cm x 7.6cm) piece of cotton fabric for binding
Sewing Directions
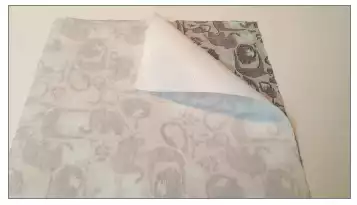
1. Following manufacturer’s recommendations, apply the fusible interfacing to the wrong side of the outside bag fabric and the lining pieces, for a total of 4 fused fabric pieces.
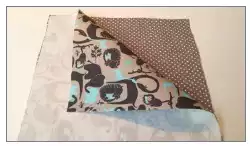
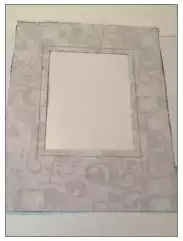
2. Place one bag lining piece to the right side of one outside bag piece and pin at the corners. Mark lines 2½” (6.4cm) from the two sides, mark another line 2½” (6.4cm) from the upper edge, and another 4” (10cm) from the bottom edge.
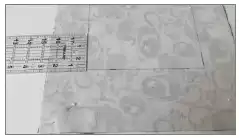
3. Stitch the two pieces together on the drawn line in one continuous line of stitching, pivoting at the corners.
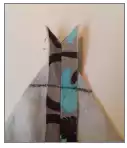
4. Cut the center fabrics away, cutting ½” (13mm) in from the drawn line. Clip each corner almost to the stitching line. Turn the fabrics right side out so that the interfacing sides are now facing one another. Press.


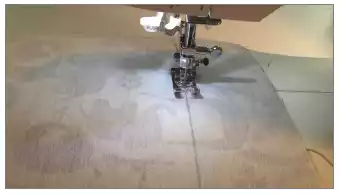
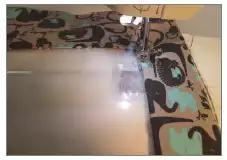
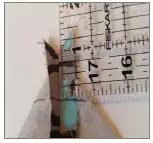
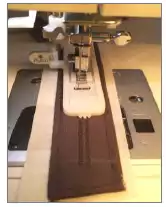
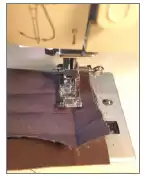
5. Place the clear vinyl behind the opening, next to the lining fabric and pin in place at the corners. Place a piece of tissue paper over the vinyl. This will help prevent the vinyl from sticking to the machine throat plate, making it easier to sew the topstitching. Set the stitch length to a medium-long setting. Stitch all around the opening, close to the edge. Stitch again, ¼” (6mm) from the previous row of stitching. Remove the tissue paper.

6. Pin the outside bag fabric unit (with the vinyl window) to the right side of the other outside bag fabric at the sides and bottom edge, keeping the lining fabric free. Stitch the sides and bottom, backstitching at the beginning and end of stitching to secure the seam.
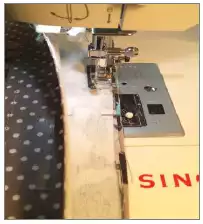
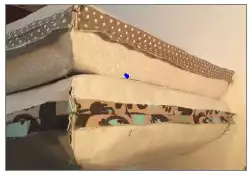
7. Pin the lining fabric unit (with the vinyl window) to the other lining fabric at the sides and lower edge, keeping the outside unit (stitched in Step 6) free. Stitch the sides and bottom, backstitching at the beginning and end to secure the seam. Press seams open.
8. To square the bottom corners, match the seam of the bag bottom to the side seam. Draw a line 1” (25mm) from the tip of the corner, across the corner. Stitch on this line. Trim the excess away, leaving a ¼” (6mm) seam allowance. Repeat this process for the remaining corners.


9. Turn the bag right side out. Match the top raw edges and side seams. Pin in place. Baste the edges together, then press. (Basting will help prevent the layers from shifting while sewing the binding to the bag’s top edge.)
10. Press the strap piece lengthwise, wrong sides together. Open the piece, then fold the sides so that the raw edges meet at the center fold just pressed. Press again.
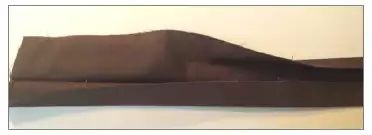
11. Unfold the pressed strap piece and place the two short ends together. Stitch across the end. Turn the piece to the right side.
12. Topstitch around the strap ⅛” (3mm) from the edges.
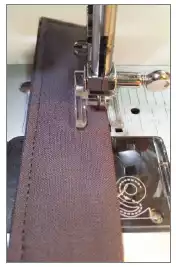
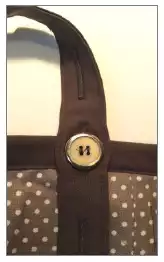
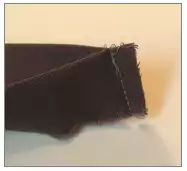
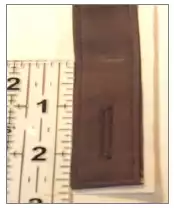
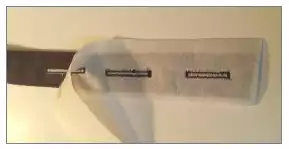
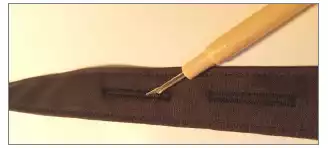
13. At the strap end, make three buttonholes, sized to fit your button. Space the buttonholes 1” (25mm) apart, starting ½” (13mm) from the end of the strap. It can be helpful to place a piece of tear-away stabilizer behind the strap where the buttonholes will be made, to prevent the dense stitches from puckering the fabric.
14. Remove the excess stabilizer after sewing the buttonholes. Cut open the buttonholes.
15. Place the strap on the inside of the bag, on the lining side without the vinyl window, 1” (25mm) from the side seam, having the raw edge of the strap even with the top edge of the bag. Pin and then baste the strap in place.
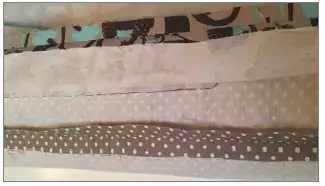
16. Press the binding strip lengthwise, wrong sides together. Bring the raw edges to the center fold and press again.
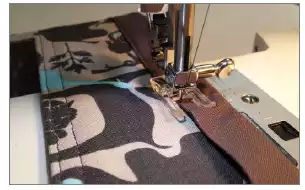
17. Unfold the pressed binding and sew the two short ends together with right sides facing. Refold and press again. Match one raw edge of the finding to the top edge of the bag on the lining side. Stitch the finding to the bag, following the fold in the binding.
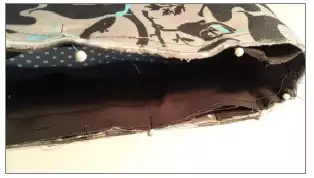
18. Wrap the binding to the outside of the bag. Topstitch close to the folded edge, keeping the strap free.
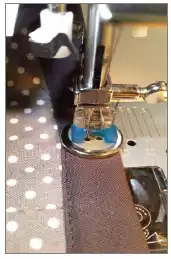
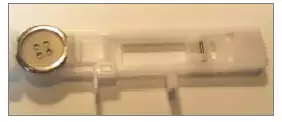
19. Place the Button Sewing Foot on the machine and disengage the feed teeth. Set the machine for a zigzag stitch. The width of the zig zag should be adjusted so that it is the same distance between the holes in the button. Position the button on the lining side of the bag, opposite where the strap is attached. Sew the button in place. Loop the strap around the car headrest and button the strap in the desired position.