 United States
A Day at the Coast
The blocks for this wallhanger are all made in the hoop. They can be used in many different ways, this is just one of them. They would look great on placemats, pillows, bed runners or a quilt for your summer house.
What you need:
- 240x150mm Creative Grand Metal Hoop or larger
- Cutaway Stabilizer or waste fabric (will not be visible in finished project)
- Fabric for the quilt, pieces of blue, red, white, black, gray and yellow.
- Dark blue cotton fabric for sashing and borders at least 44” (110cm) wide, 16” (40cm)
- Thin batting 5 pieces 10x5” (25x12cm) and one piece 41x16” (105x40cm)
- Cotton Fabric for backing 41x16”(105x40cm)
- Cotton fabric for binding 3 strips 2½” (6,5cm)wide, at least 44” (110cm) wide fabric)
- All purpose sewing thread
- Red Embroidery thread for flags (optional)
- Masking tape
- Embroidery files can be found in here:
Making the project
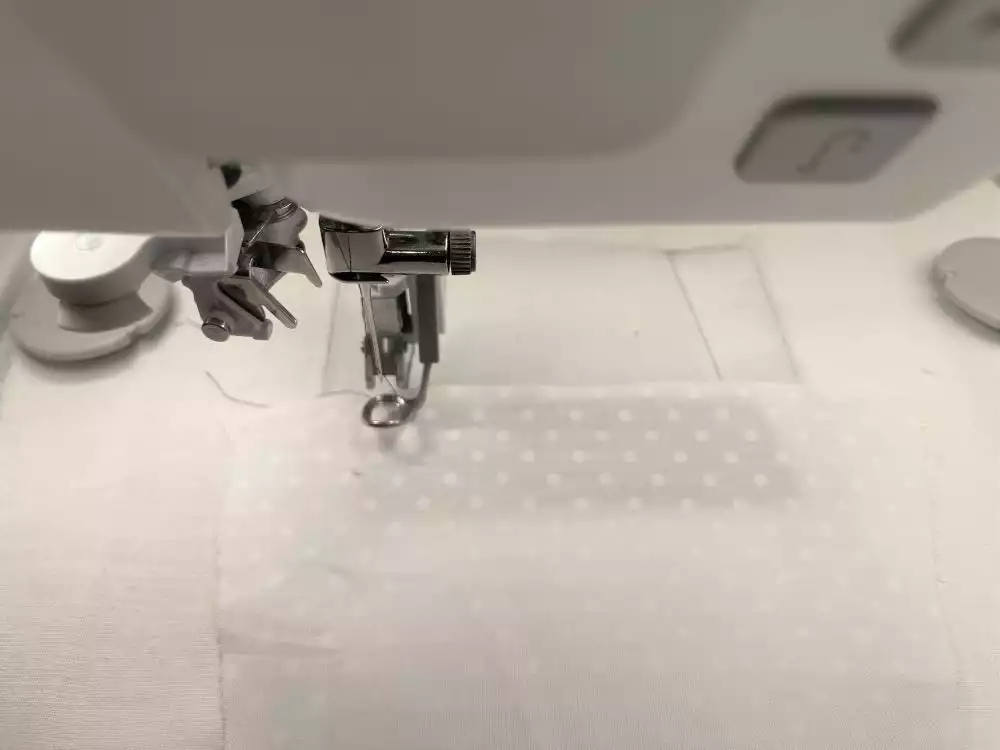
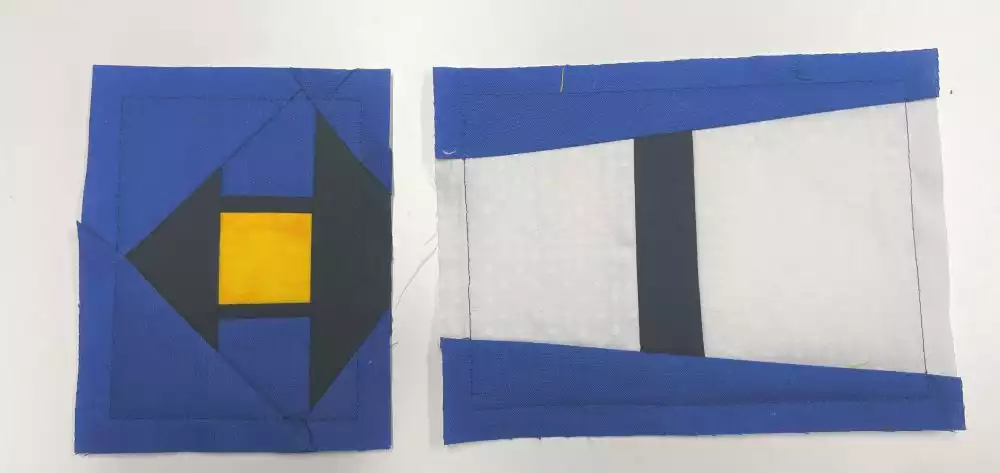
All purpose sewing thread can be used for this project, except for the pennant on the sailboat (optional). Use a light neutral thread color, it will not be visible on the finished project, but darker color thread may shine through lighter fabrics. In the examples below dark thread is used for better visibility.
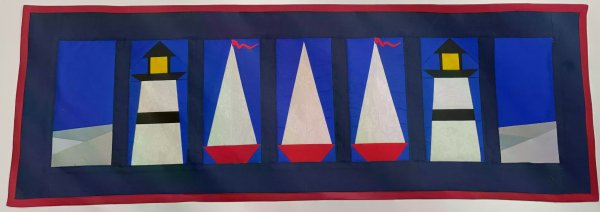
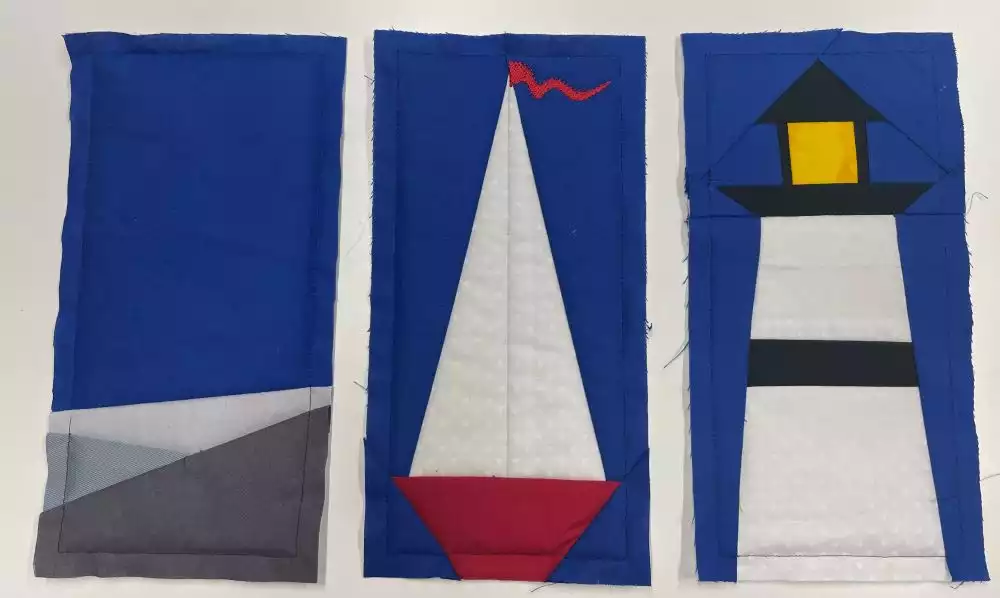
The seashore block ( you need two)
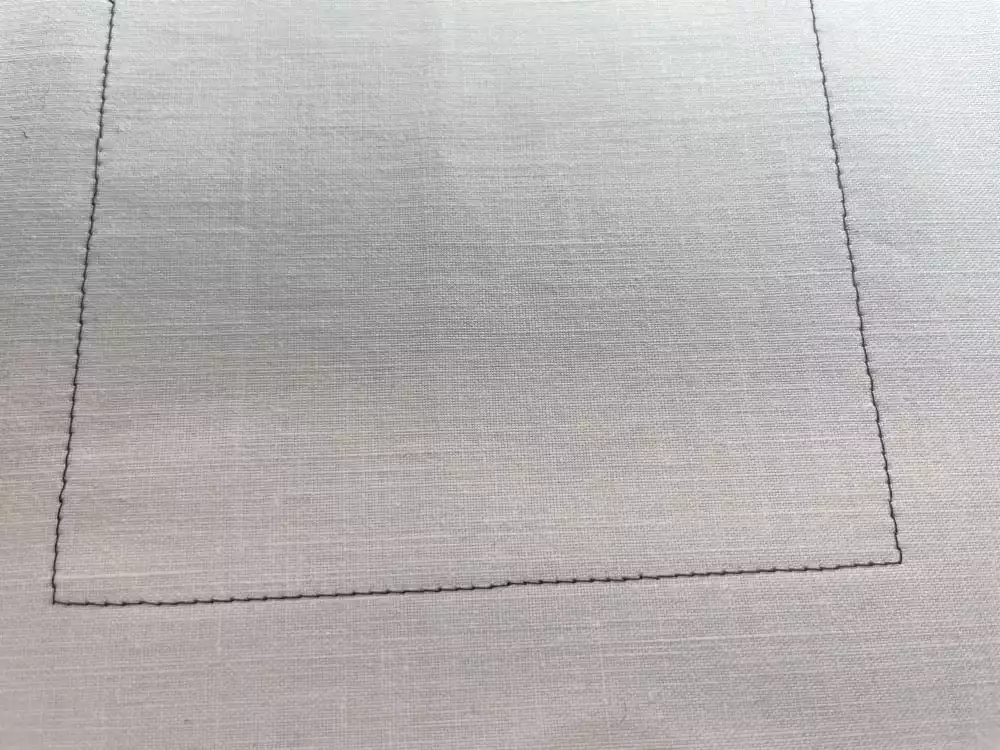
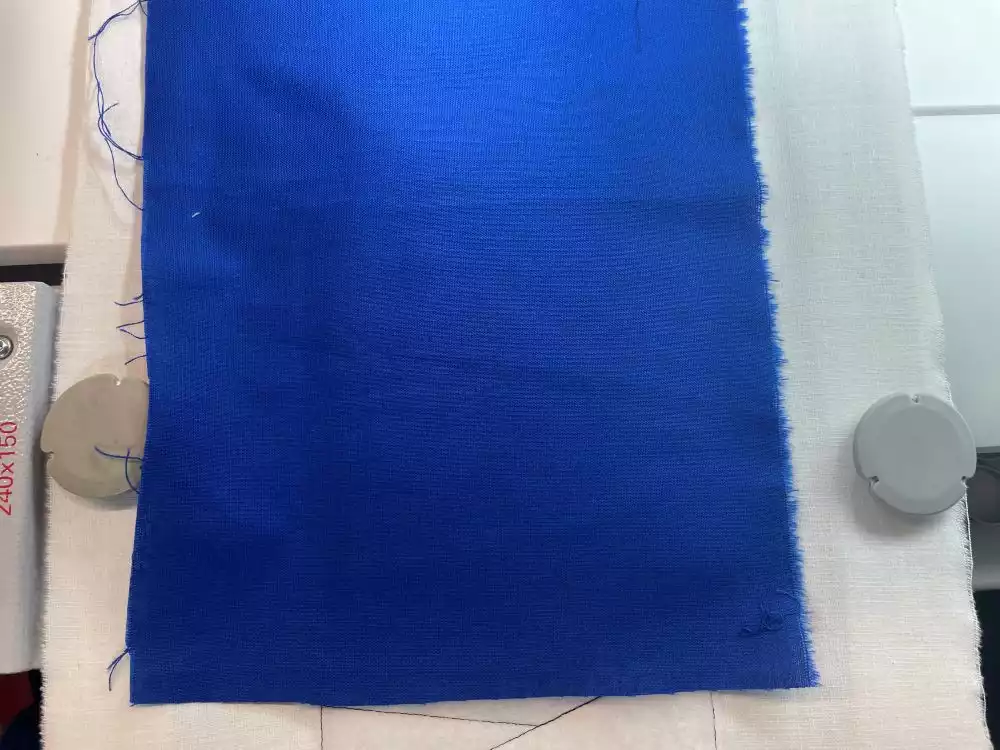
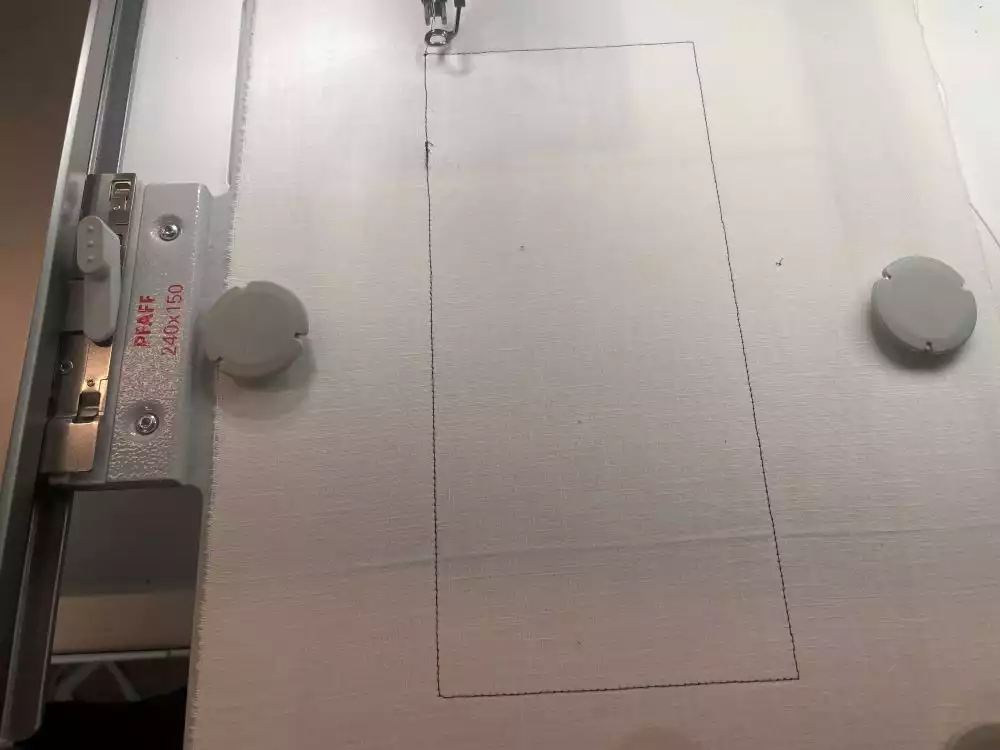
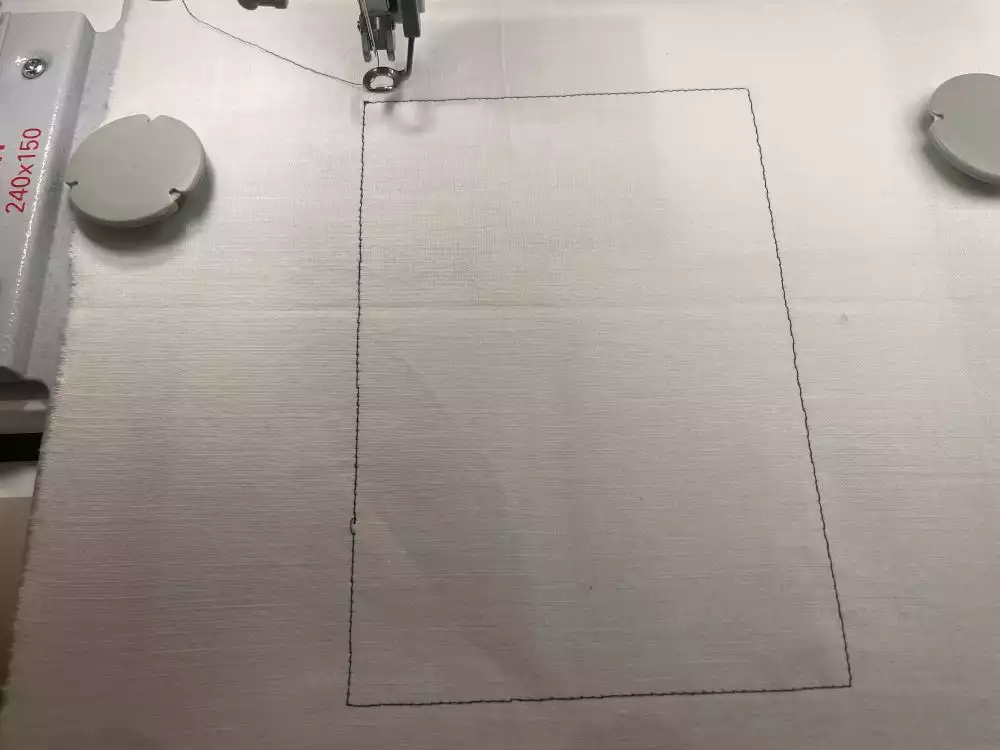
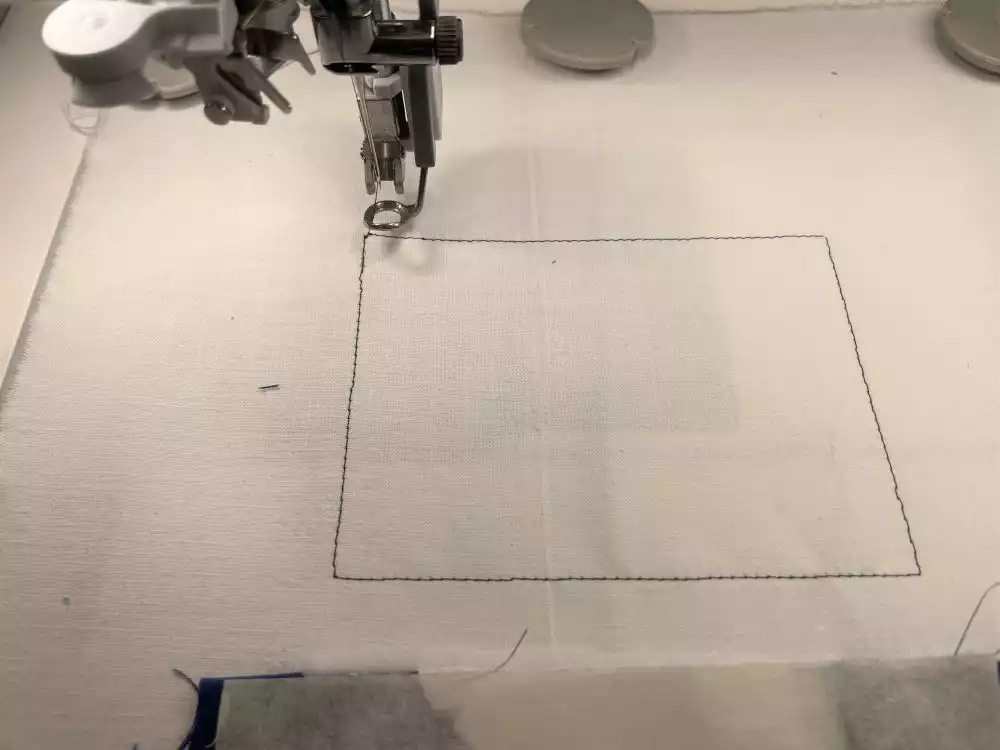
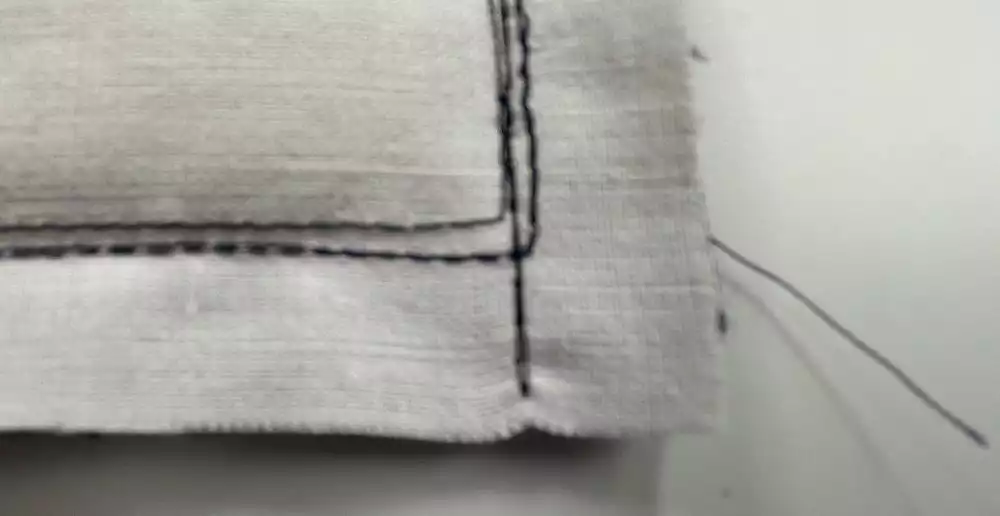
1. Hoop the cutaway stabilizer or waste fabric (I used an old bed sheet).
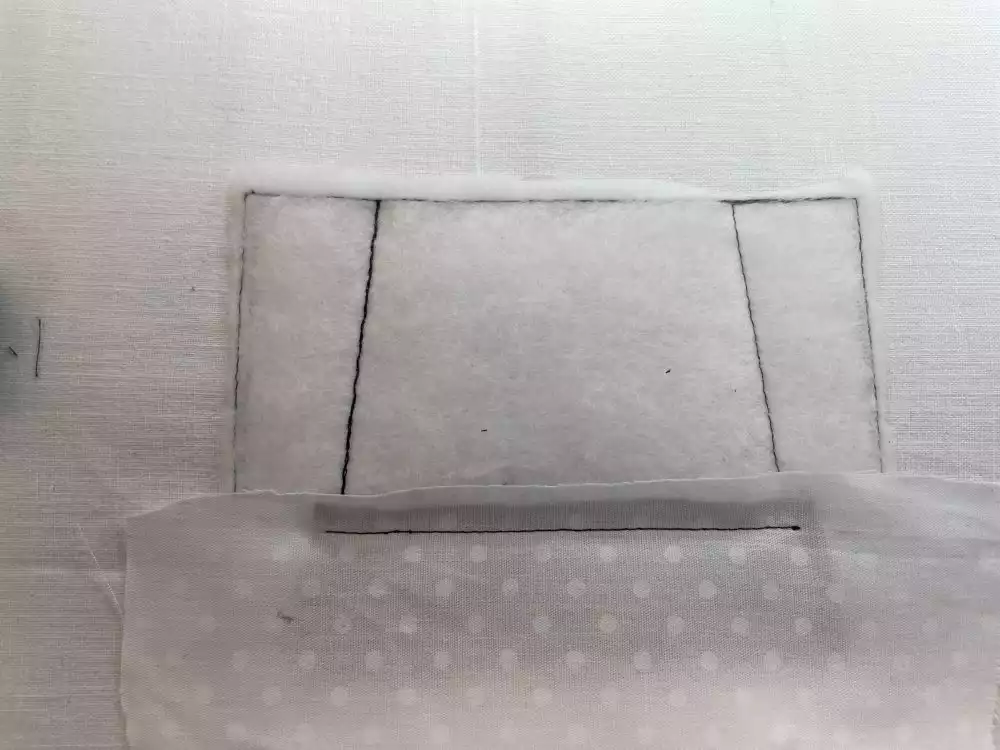
2. Stitch out color 1, this will make the outline for the batting placement.
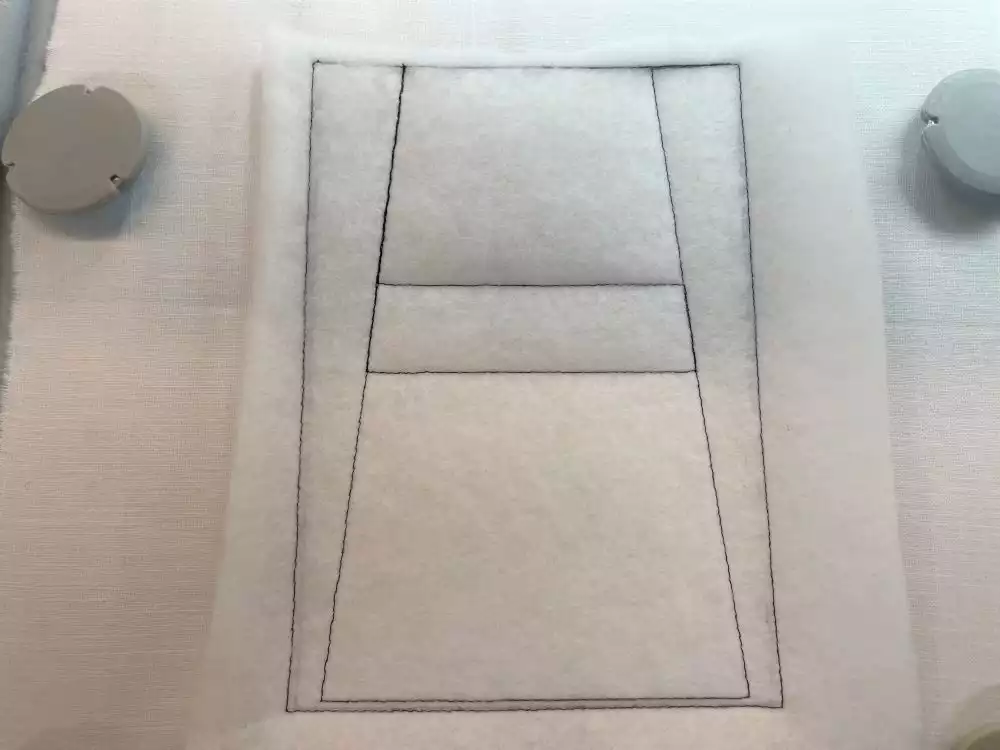
3. Place the batting on top, secure with masking tape in the corners if needed.
4. Stitch out color 2, this will secure the batting in the hoop and draw the outlines for the different sections of the block.
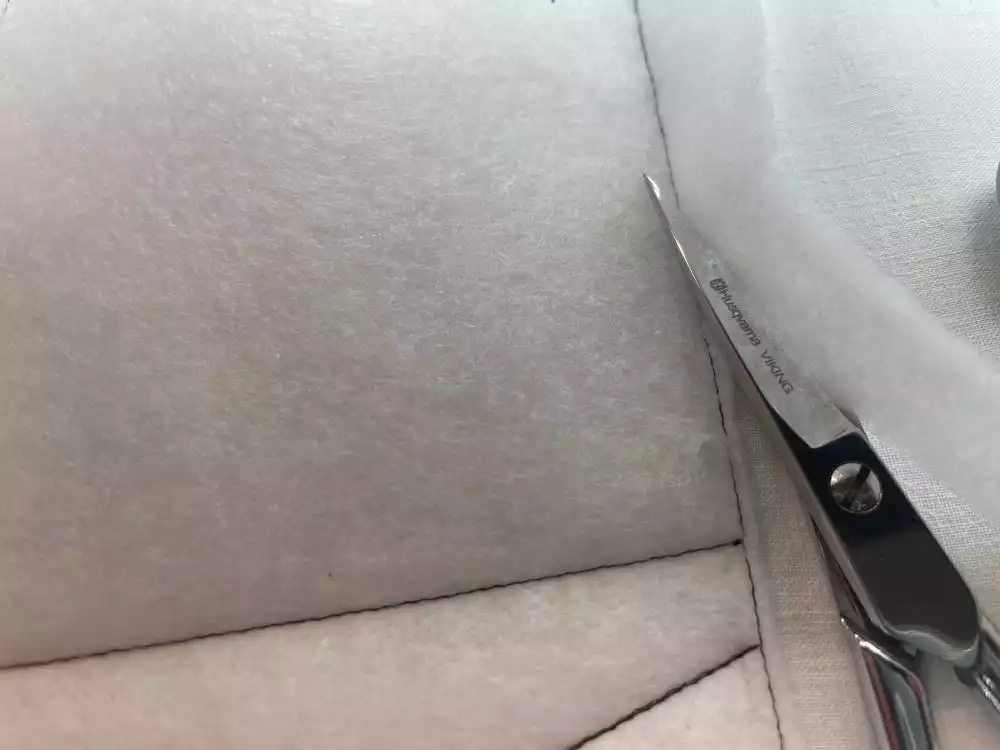
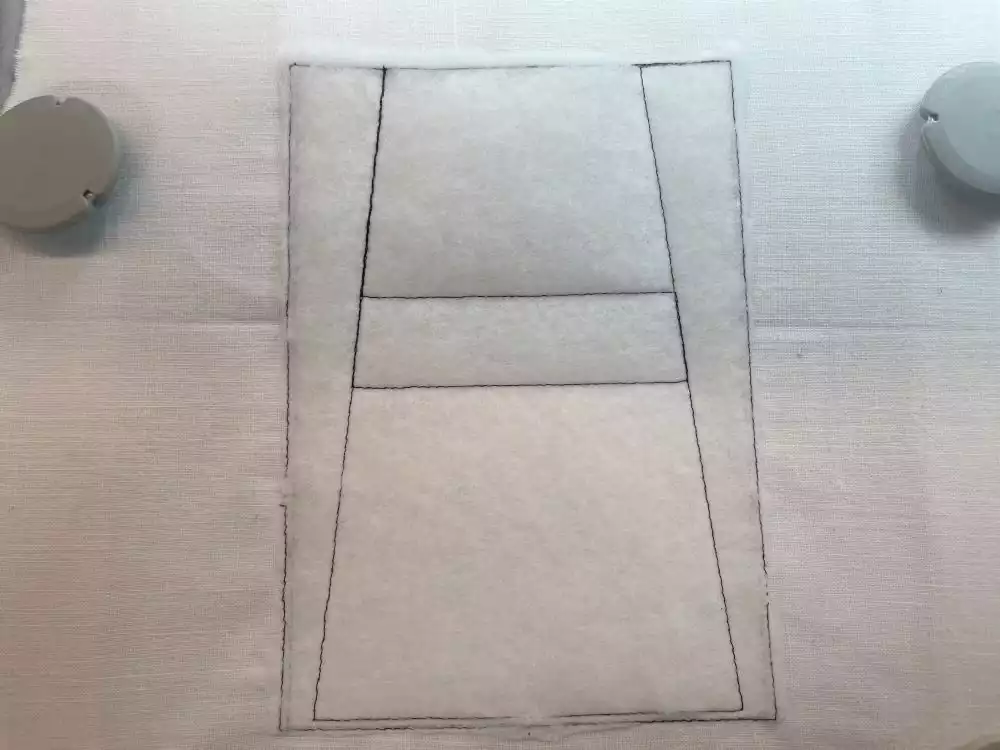
5. Cut away excess batting close to the stitched edge. This makes the seams less bulky when sewing the blocks together.
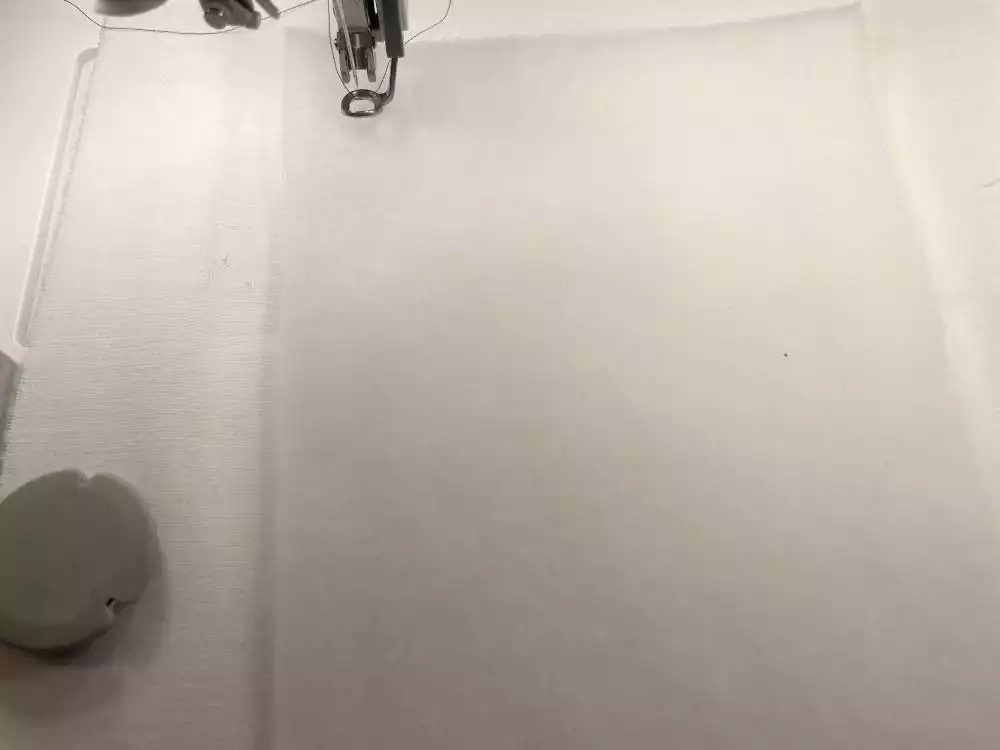
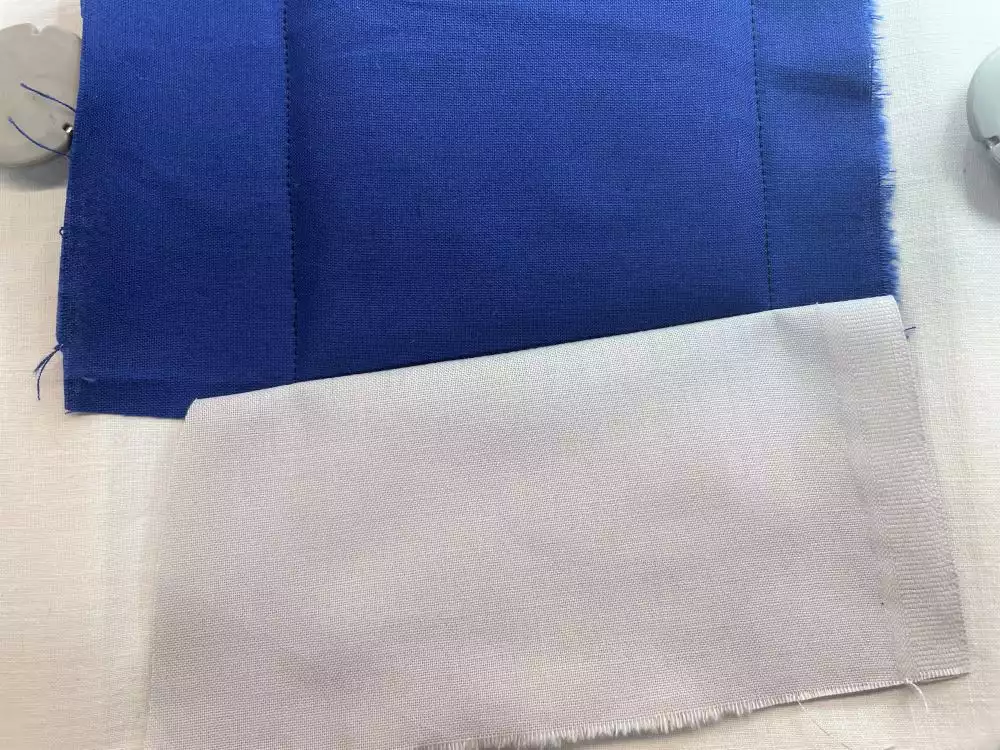
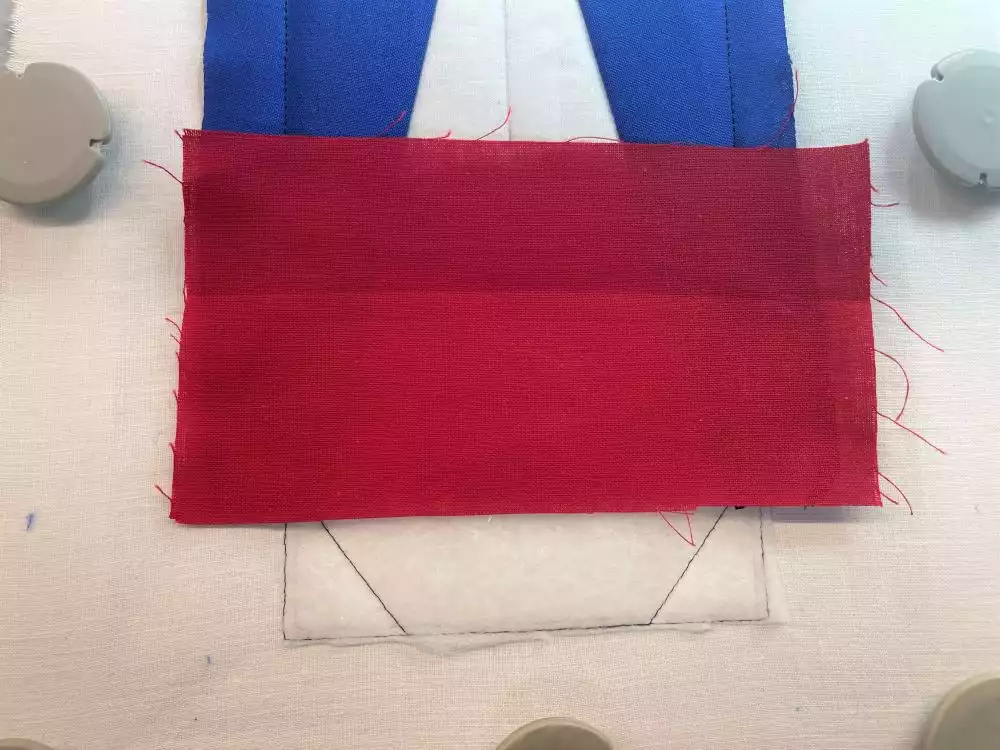
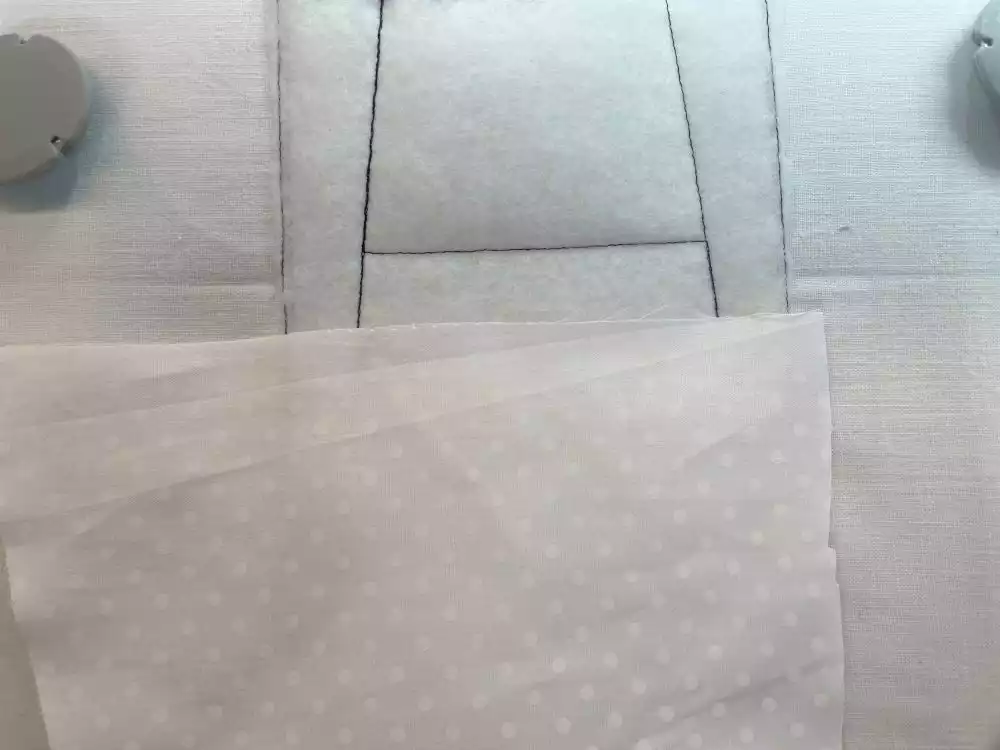
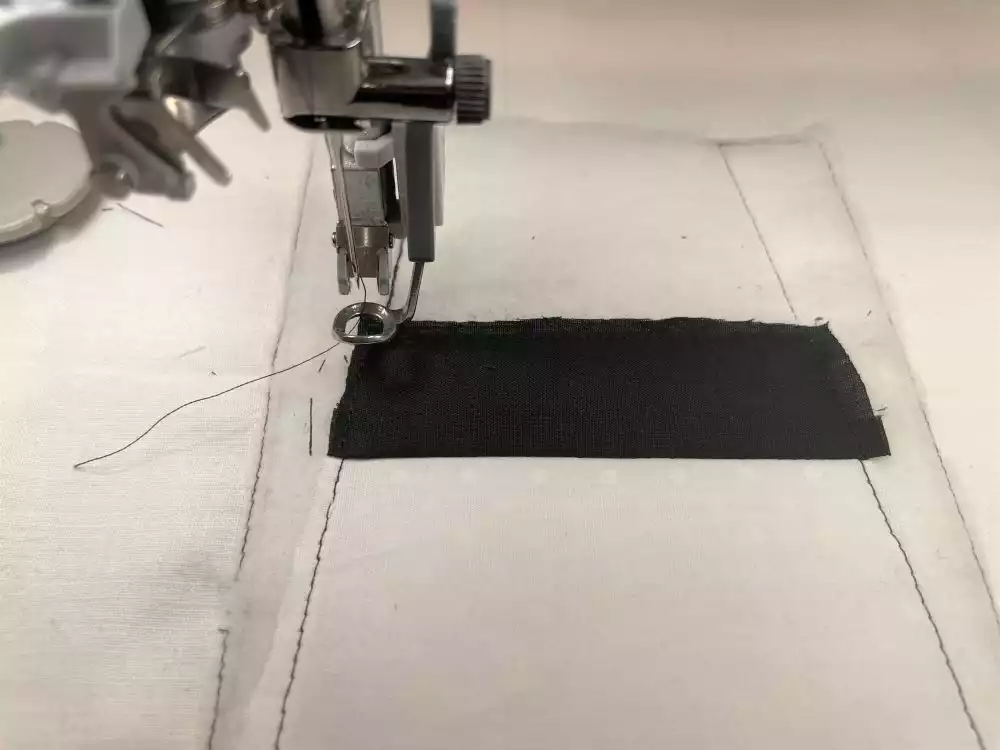
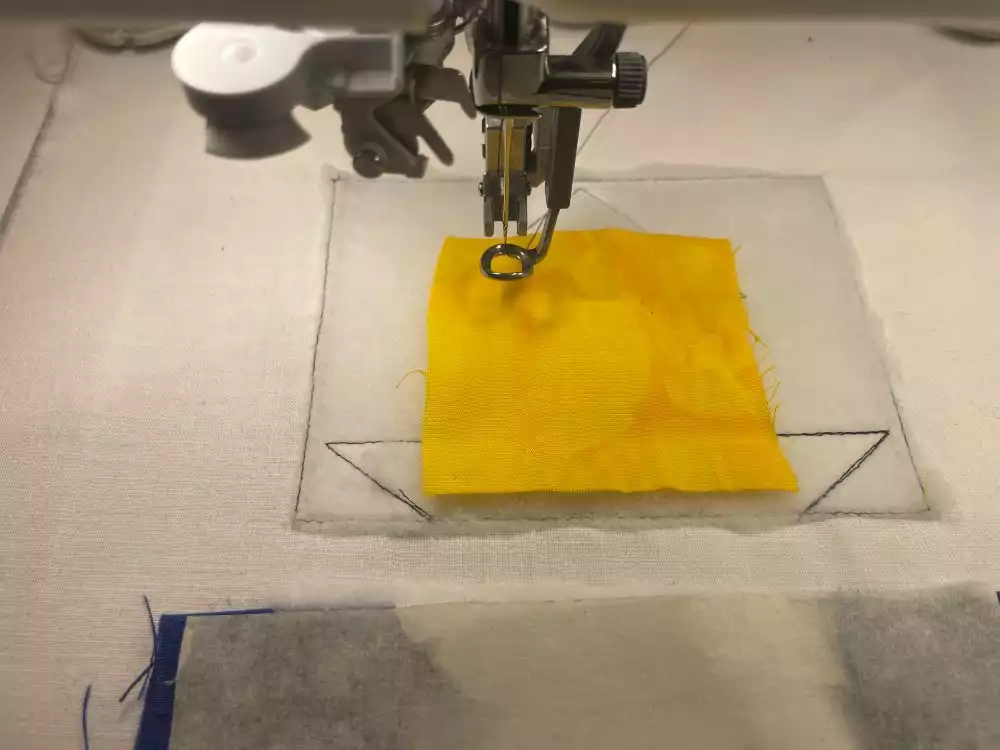
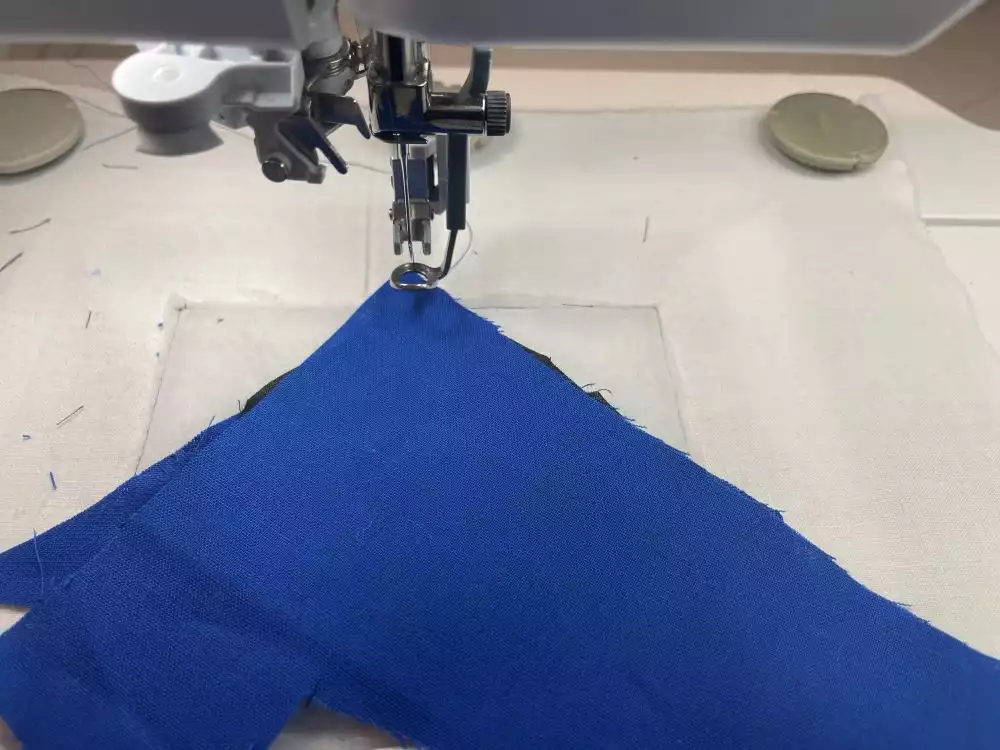
6. Place the first fabric piece in the hoop (the sky) .Make sure it covers the area to be stitched at all sides. On the outer edges of the block there need to be at least ⅜” (1cm) seam allowance. Stitch out the next color, this will secure the fabric piece in the hoop.
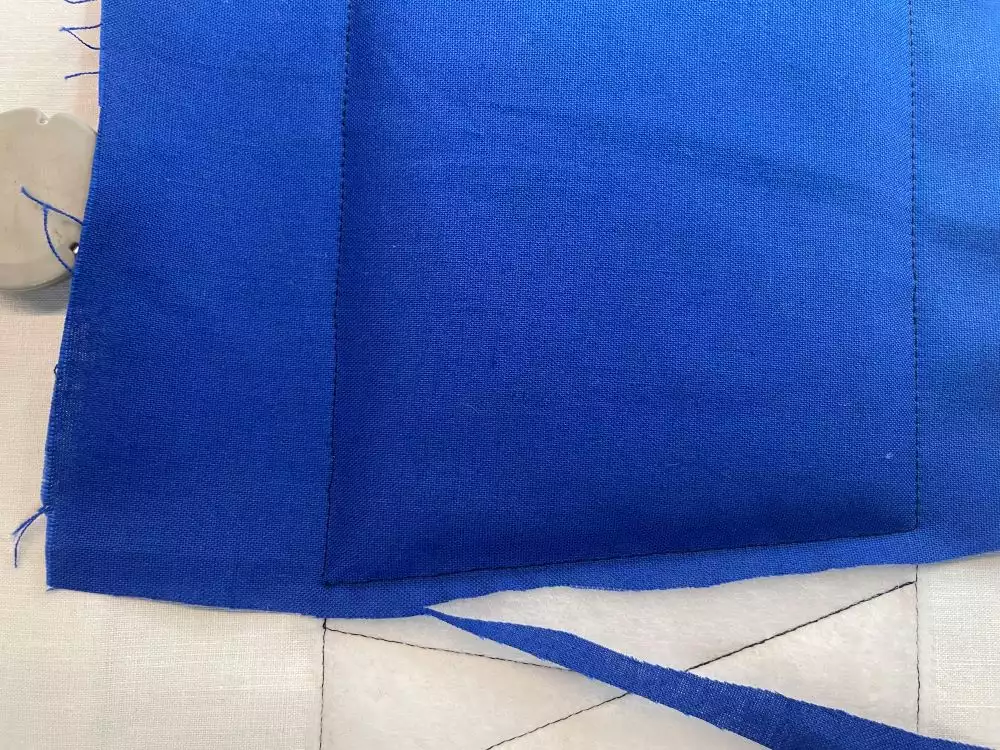
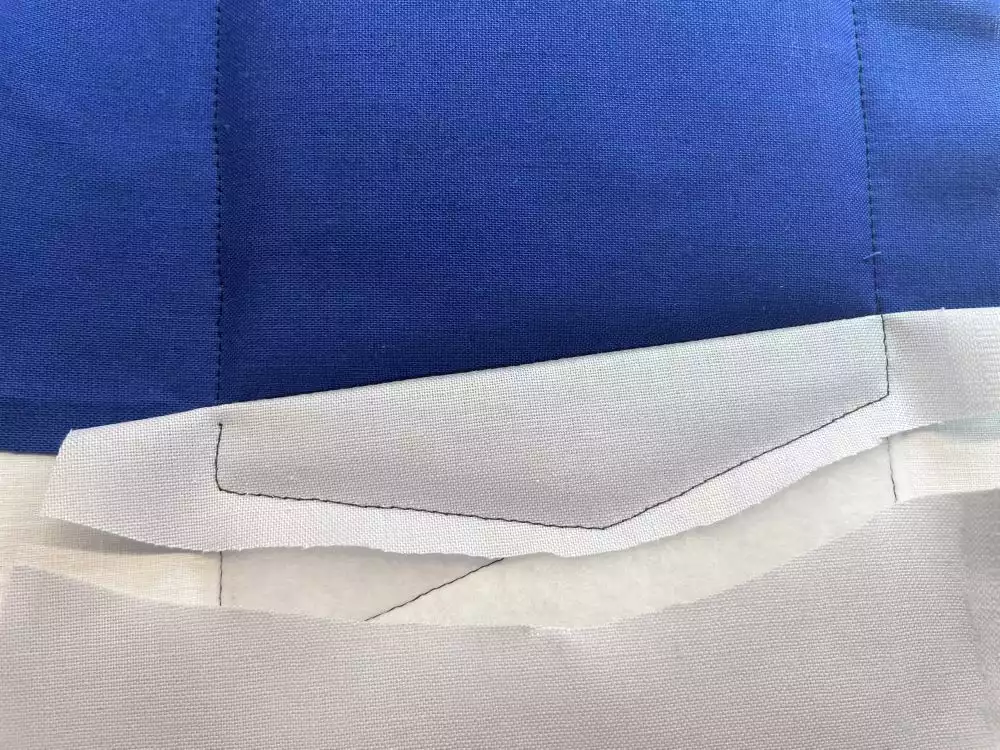
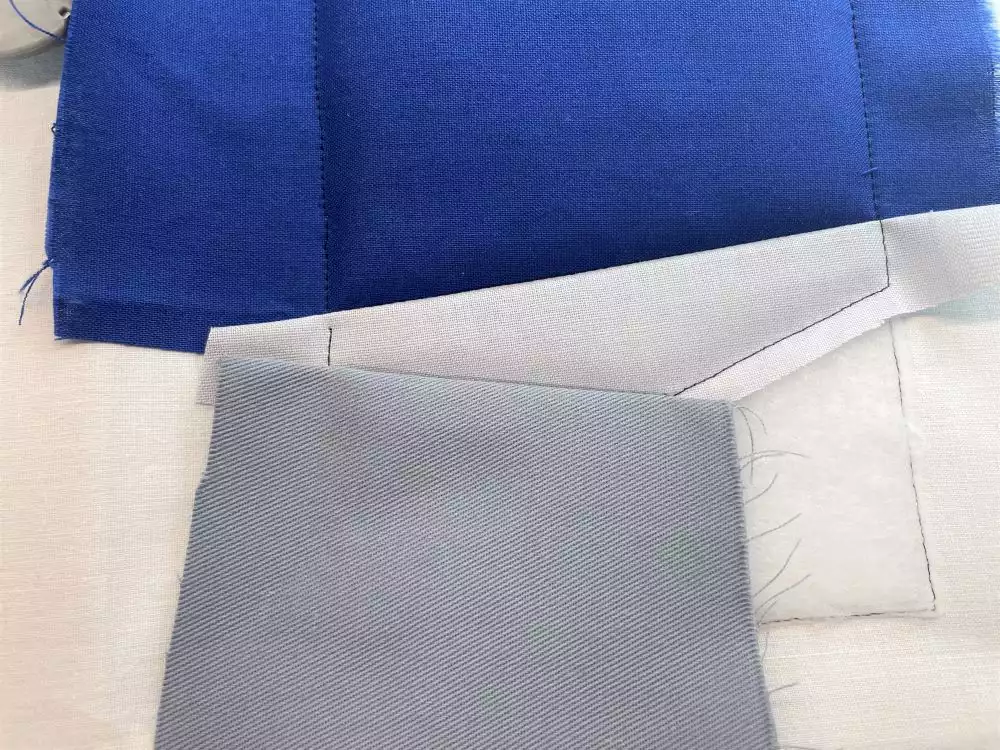
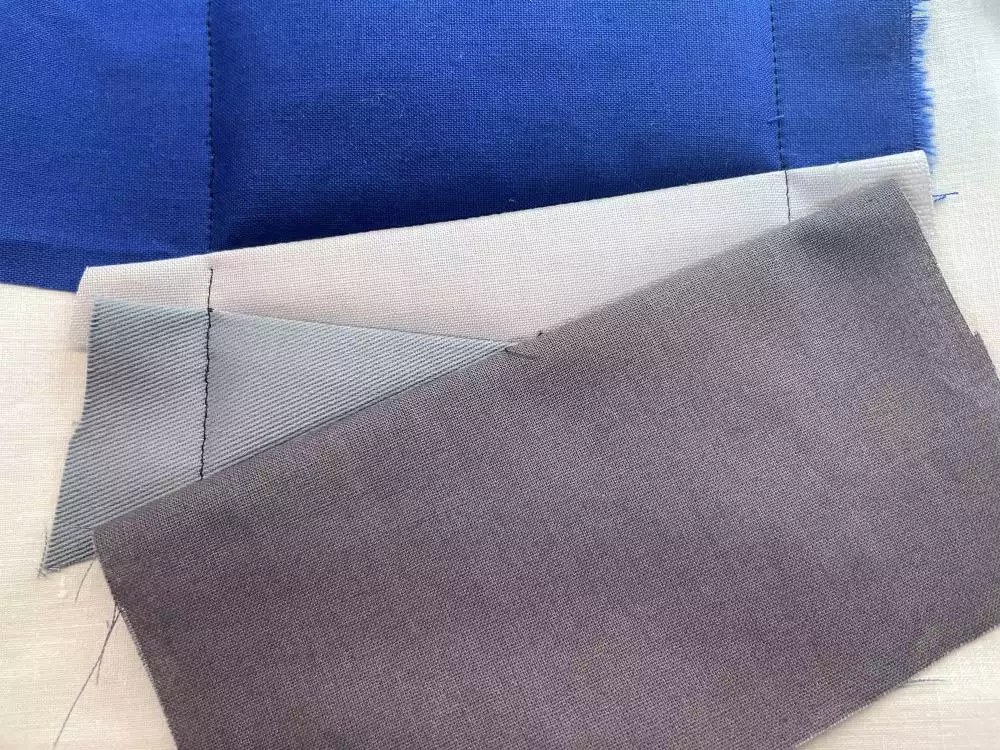
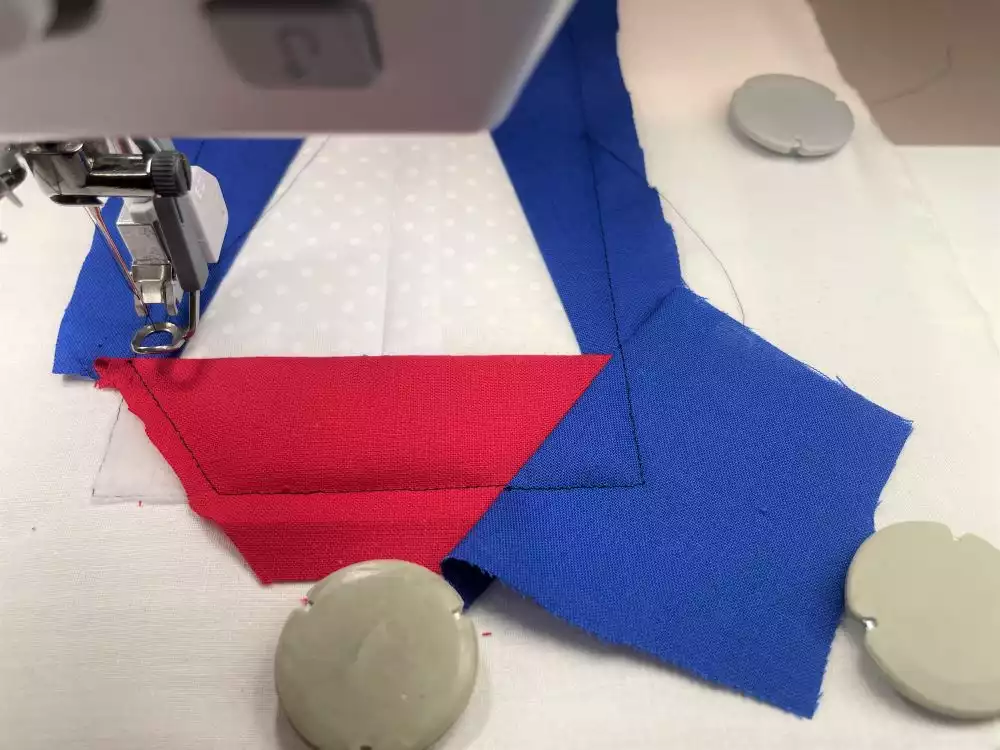
7. Put the next fabric piece. (gray) between the piece you just stitched in place and the next one (overlapping the line between block 1 and 2) The right side of the fabric piece should be facing down and the raw edge overlapping the stitching line by about 1/4” (5-6mm).
8. Stitch out the next color, this will sew the next fabric piece in place with a straight stitch line.
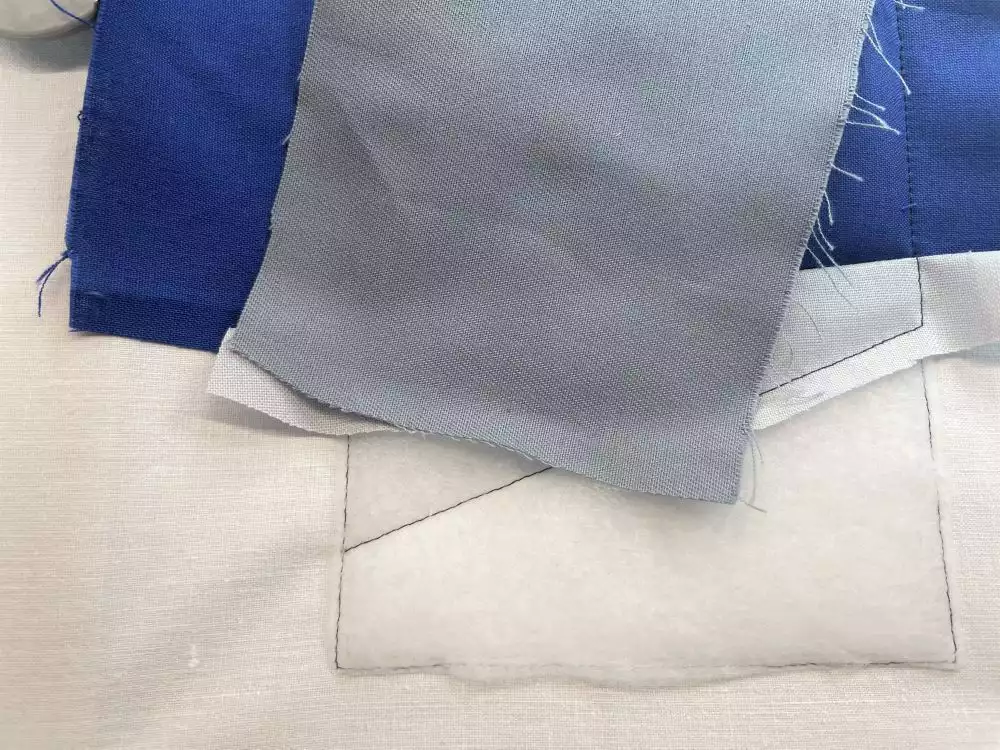
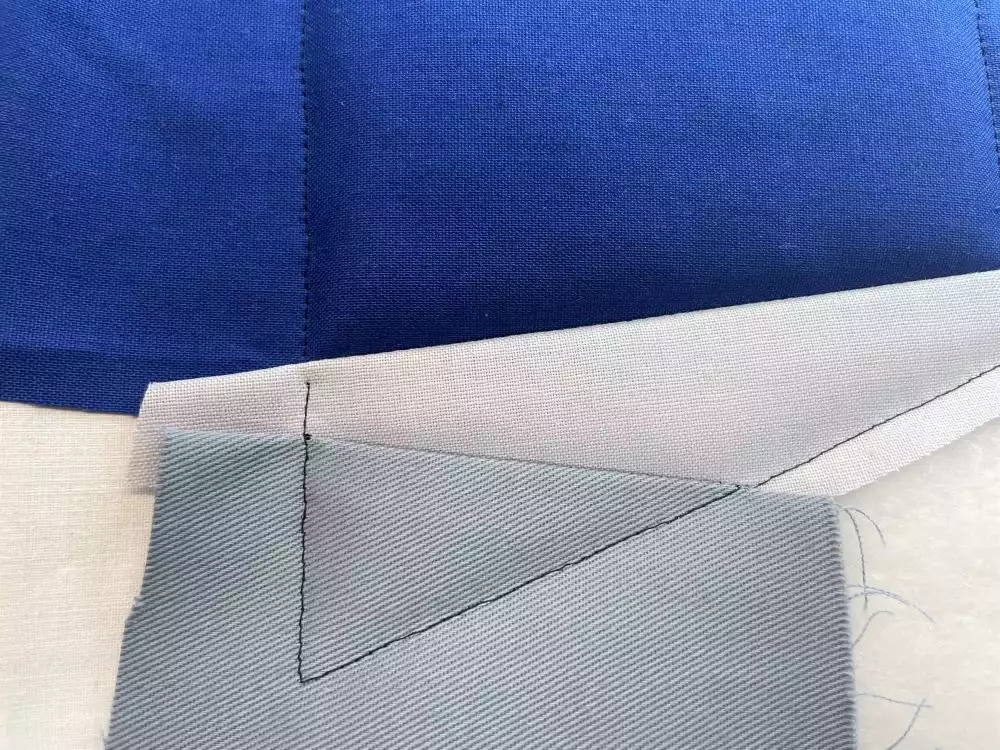
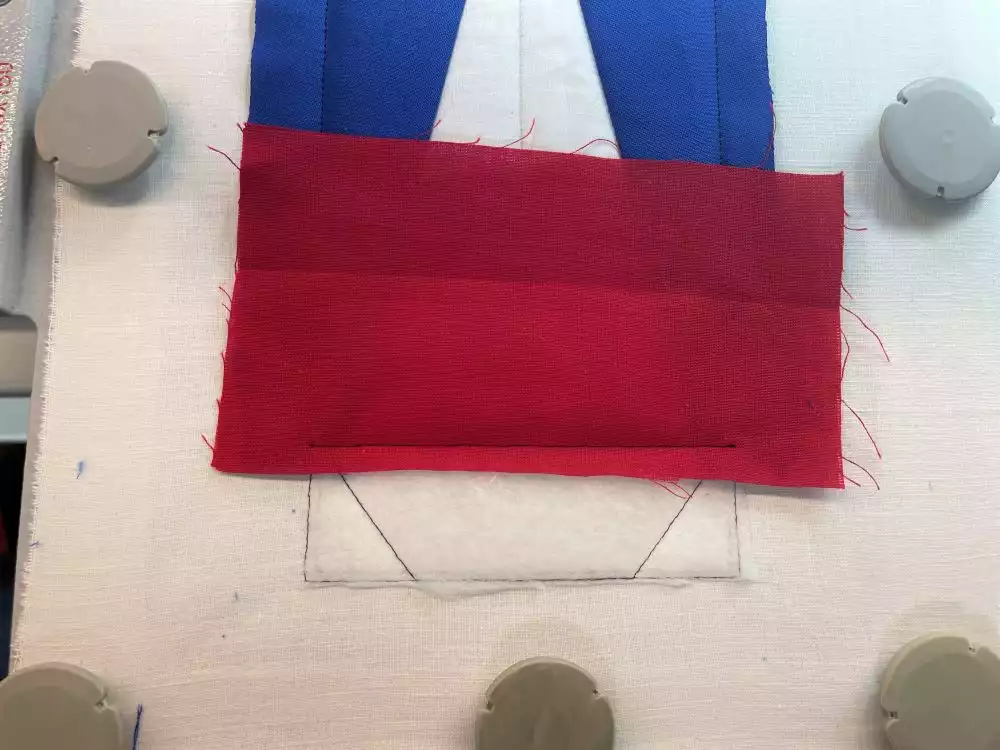
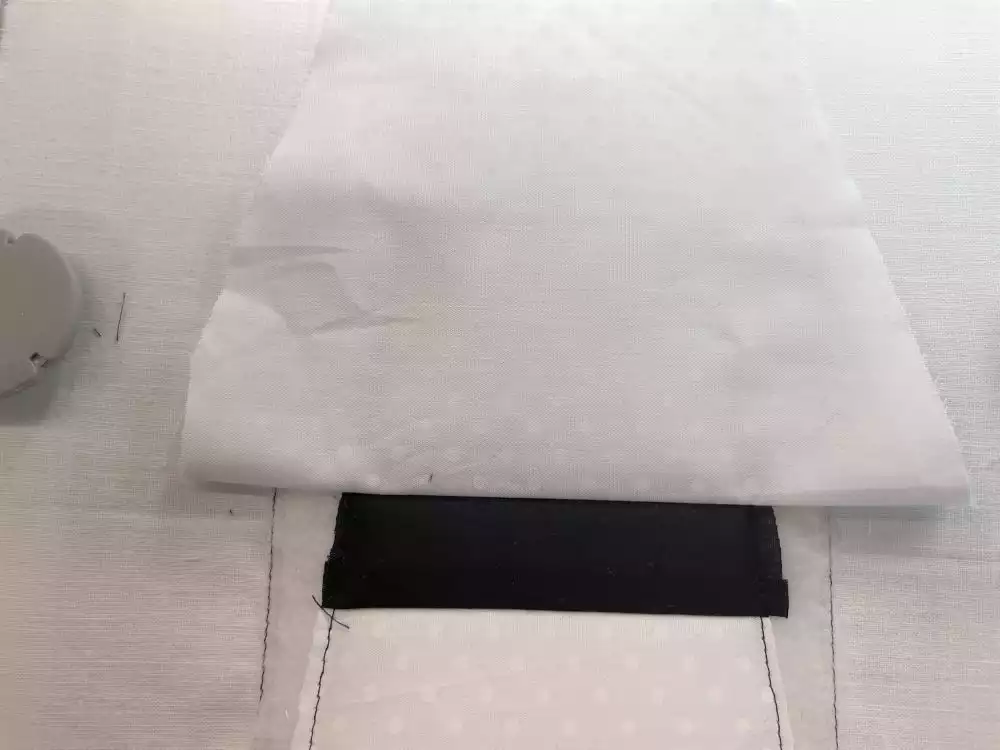
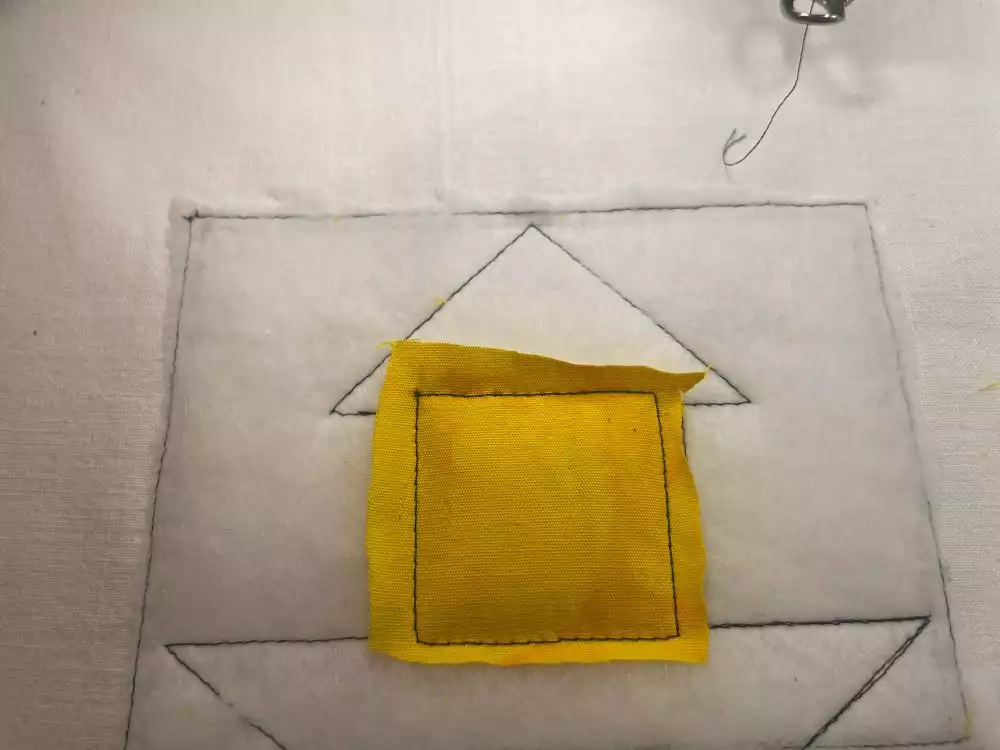
9. Flip out the fabric piece and make sure it covers the area to be stitched (patch 2) on the outer edges of the block there need to be at least ⅜” (1cm) seam allowance.
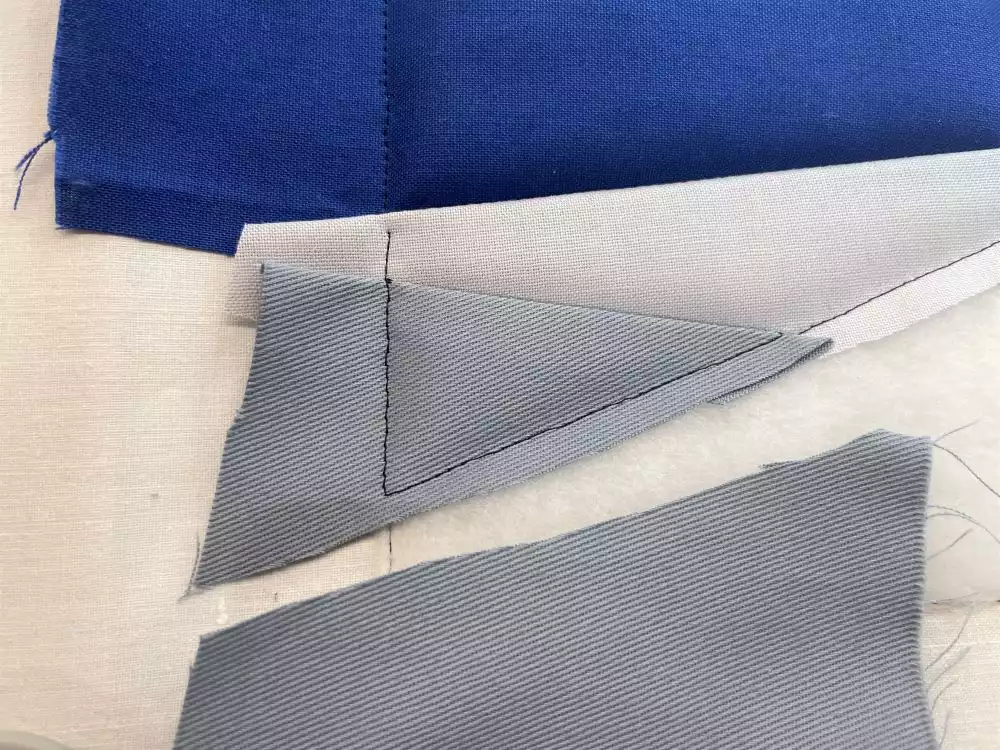
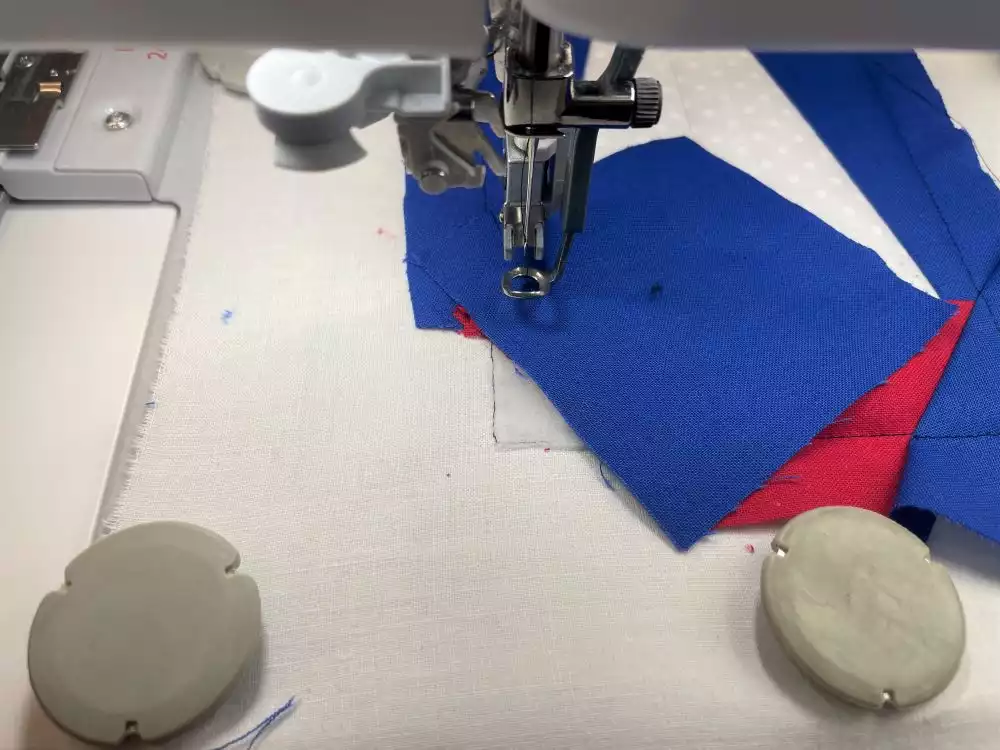
10. Stitch out the next color, this will secure the fabric in place. Cut away excess seam allowance, but remember to leave at least ⅜” (1cm) at the outer edge of the block.
11. Add the next gray fabric piece in the same way.
12. Stitch out the next color and flip the fabric piece down over the sewn edge.
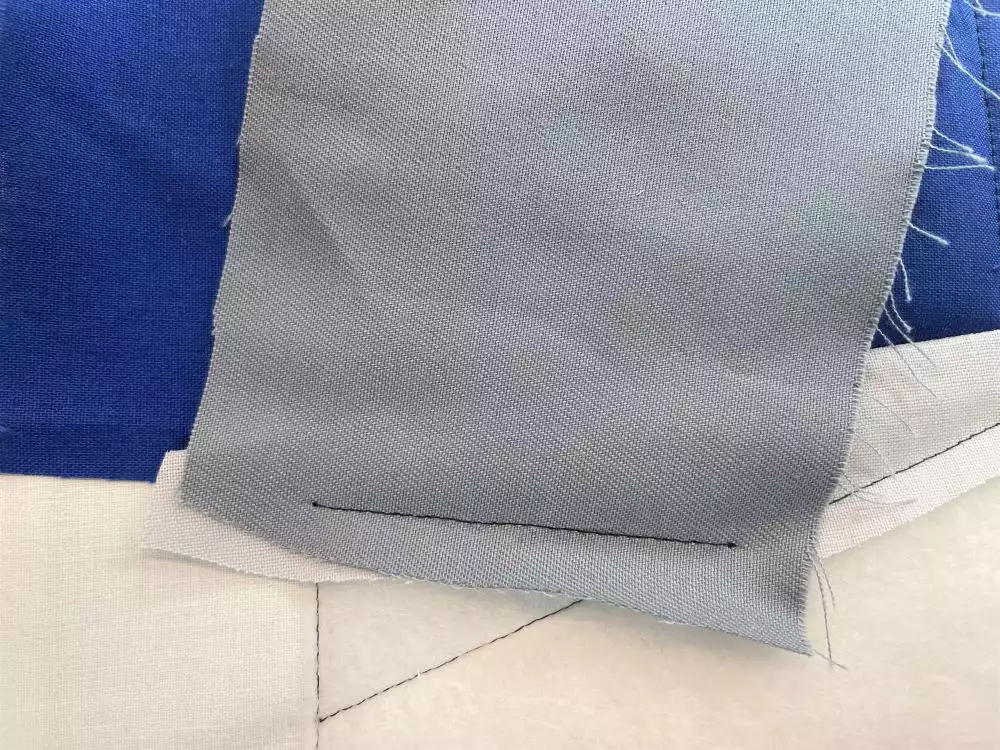
13. Stitch next color, this will secure the fabric in place
14. Cut away excess fabric, leave at least ⅜” (1cm) at the outer edges
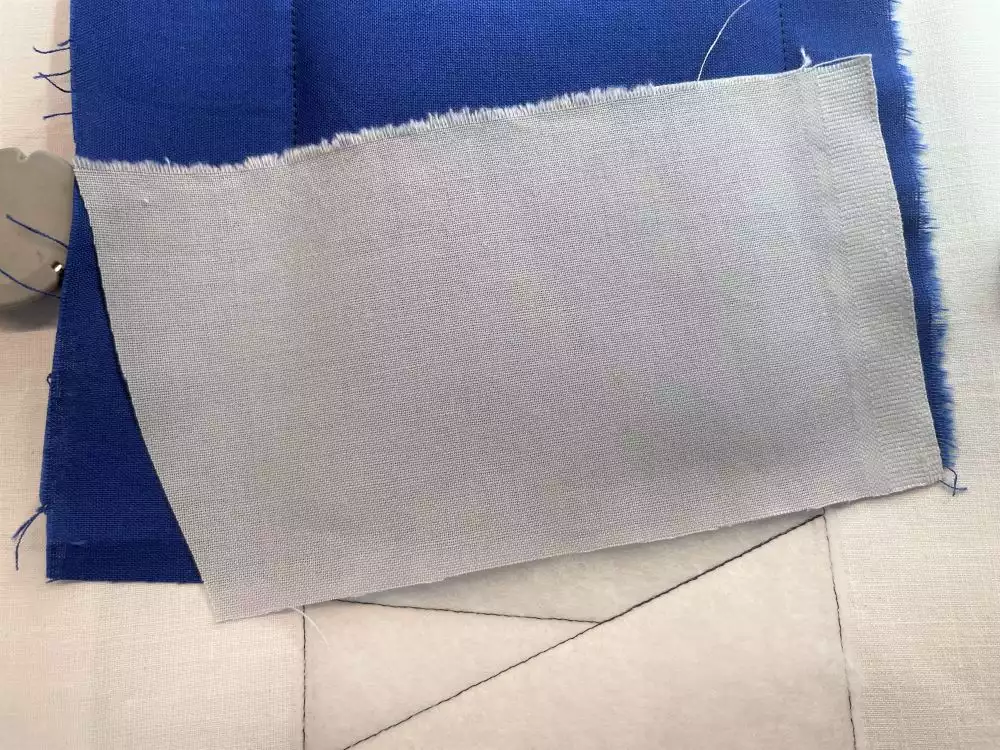
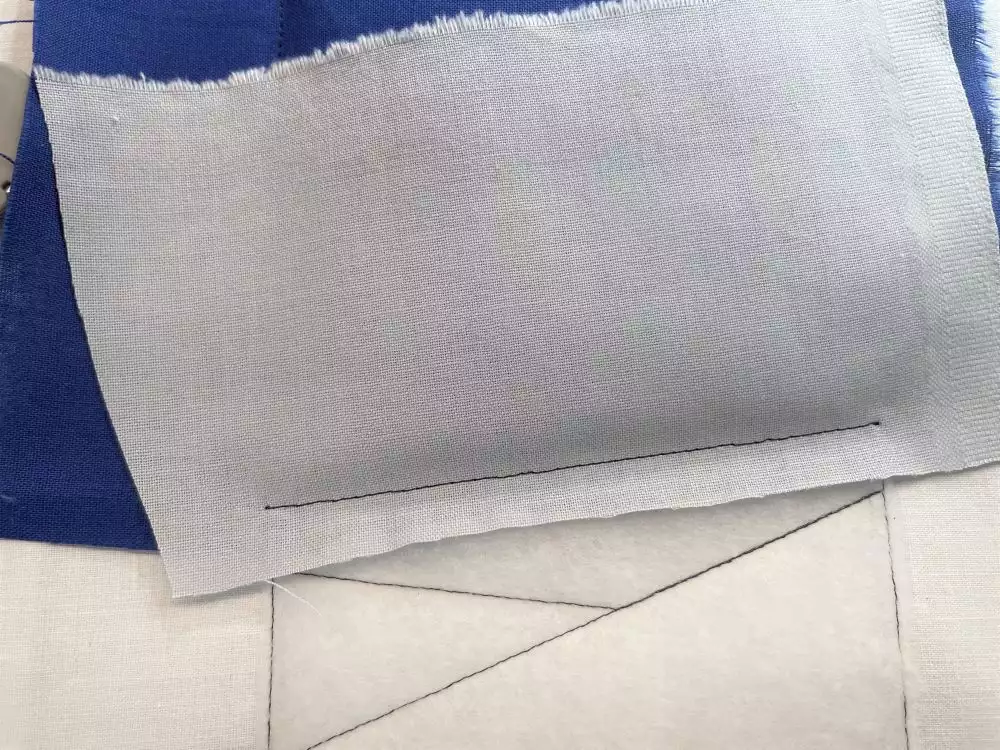
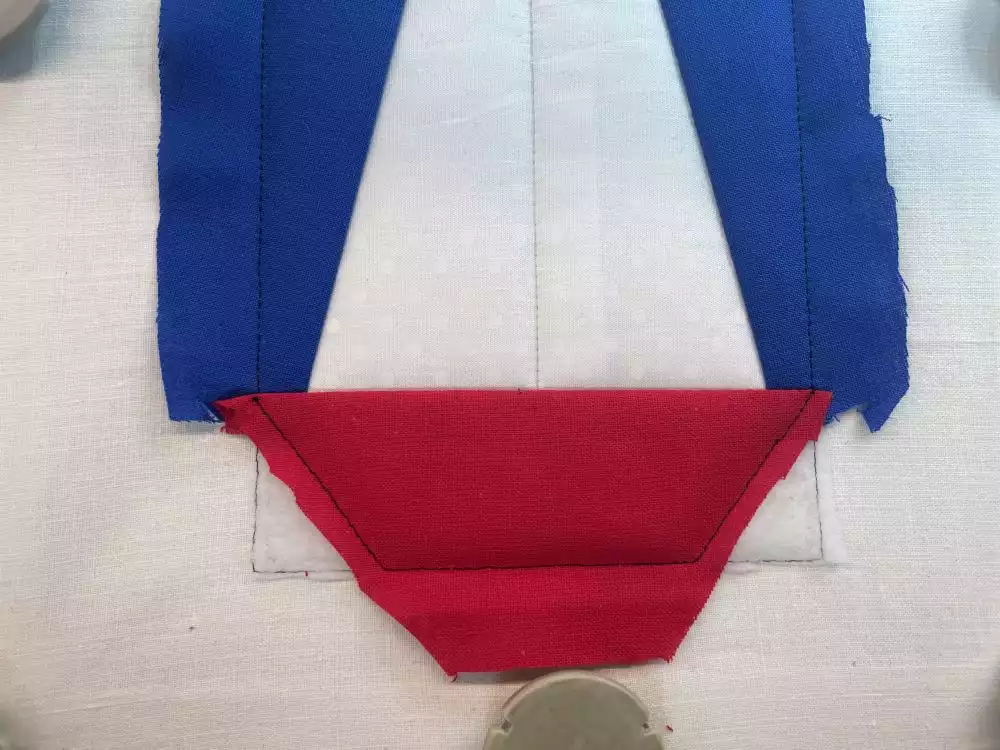
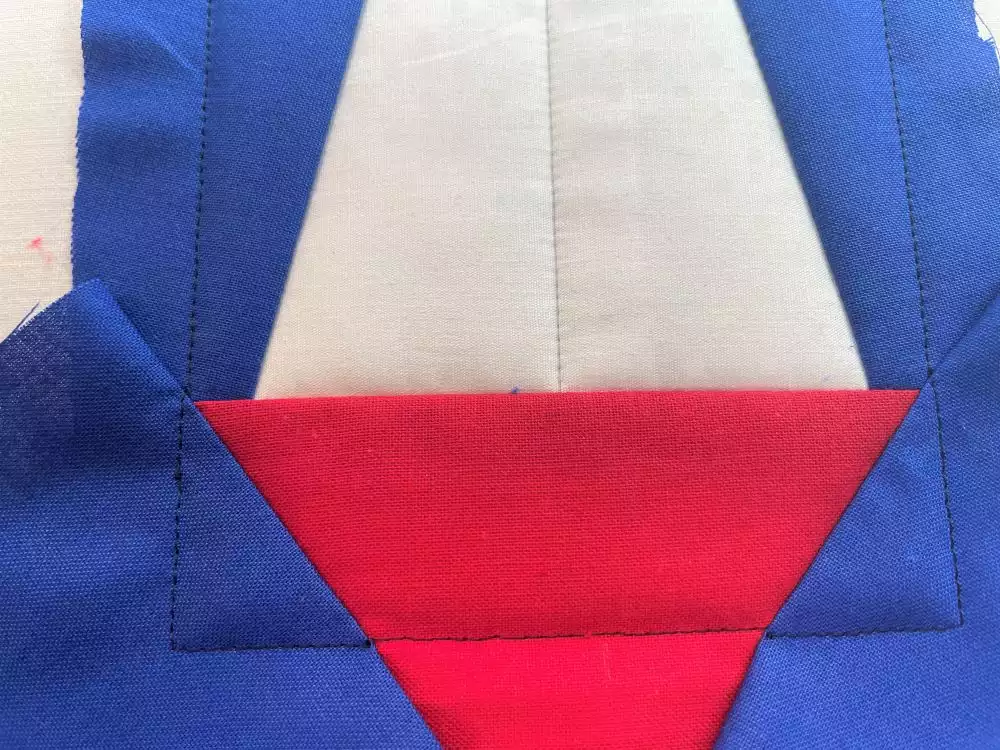
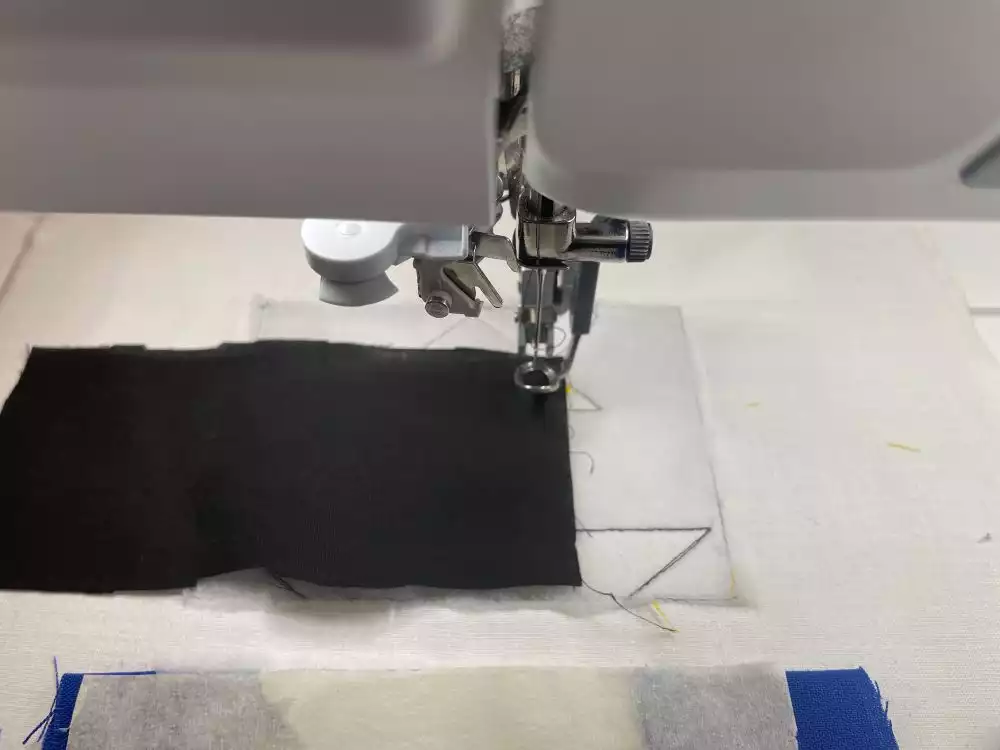
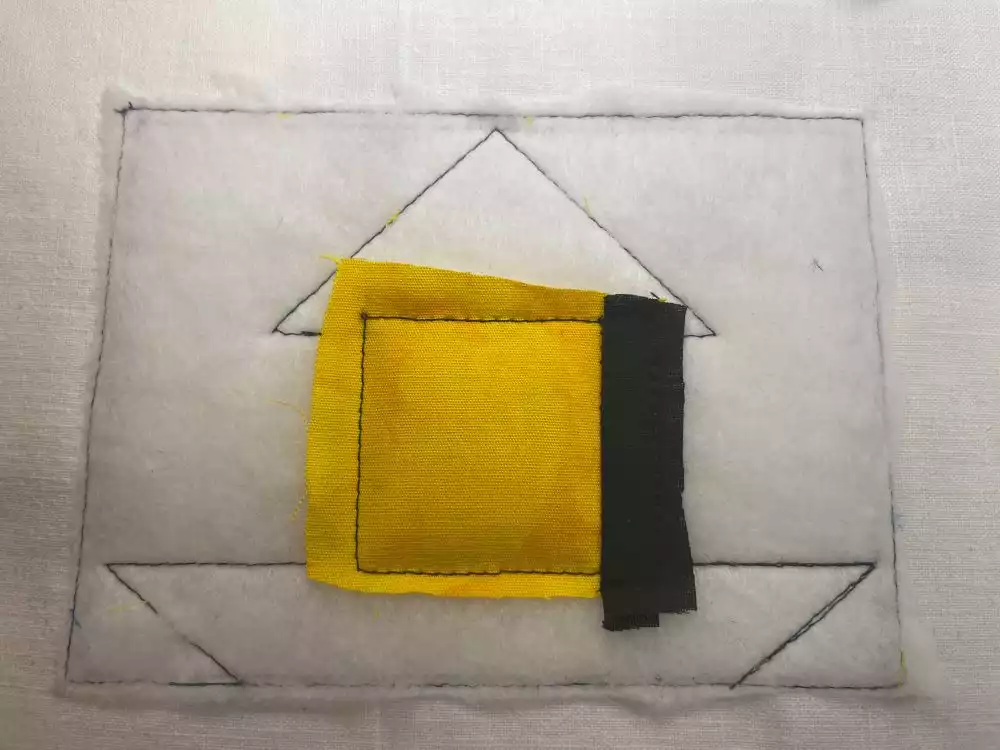
15. Place the third gray fabric piece right side down covering the edge to be sewn.
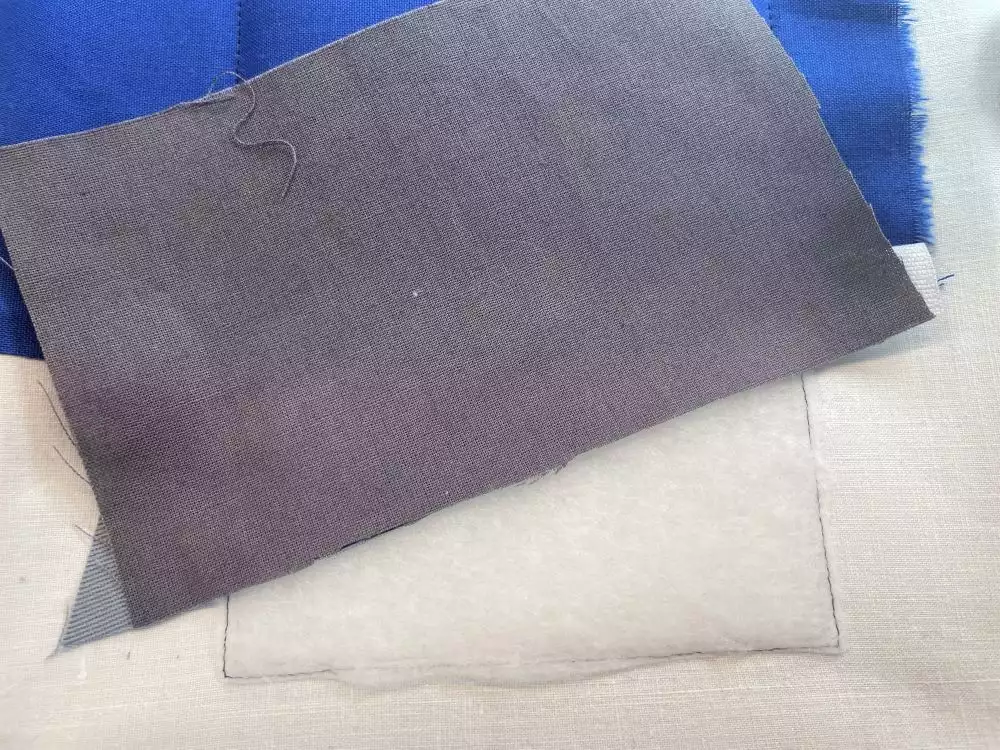
16. Stitch in place, flip down and then stitch the next color which secures the fabric piece.

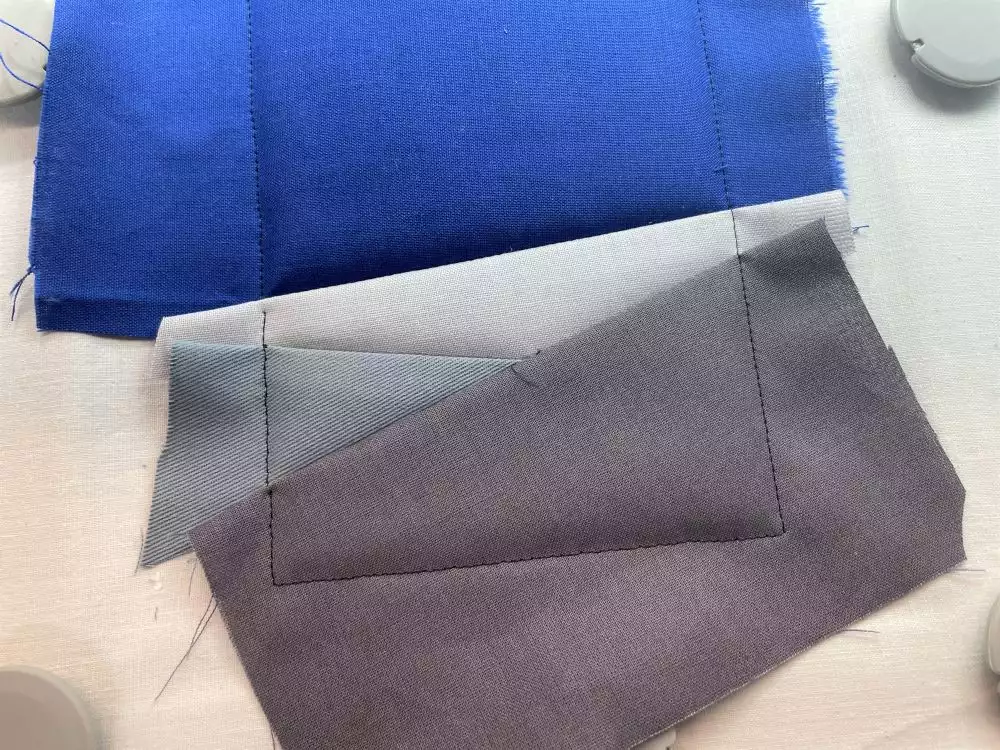
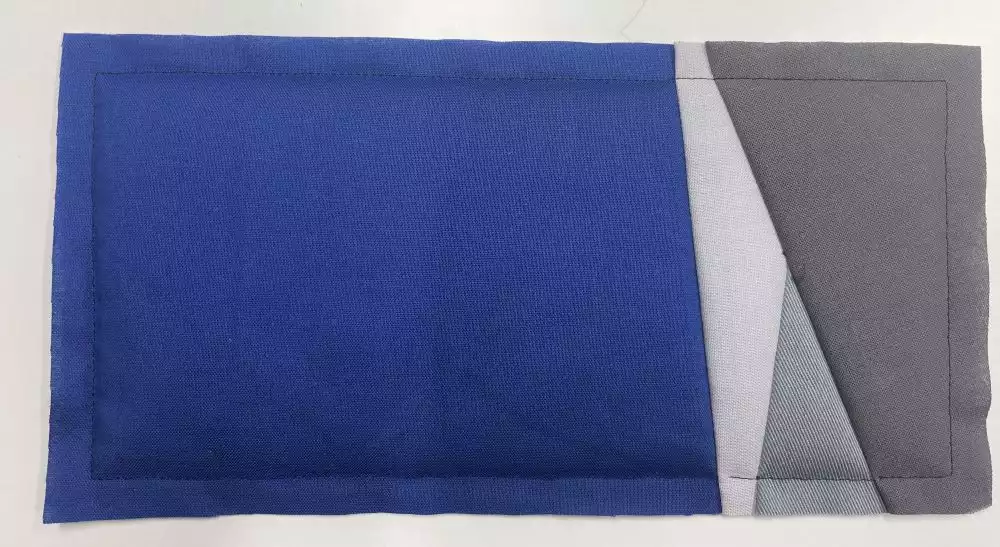
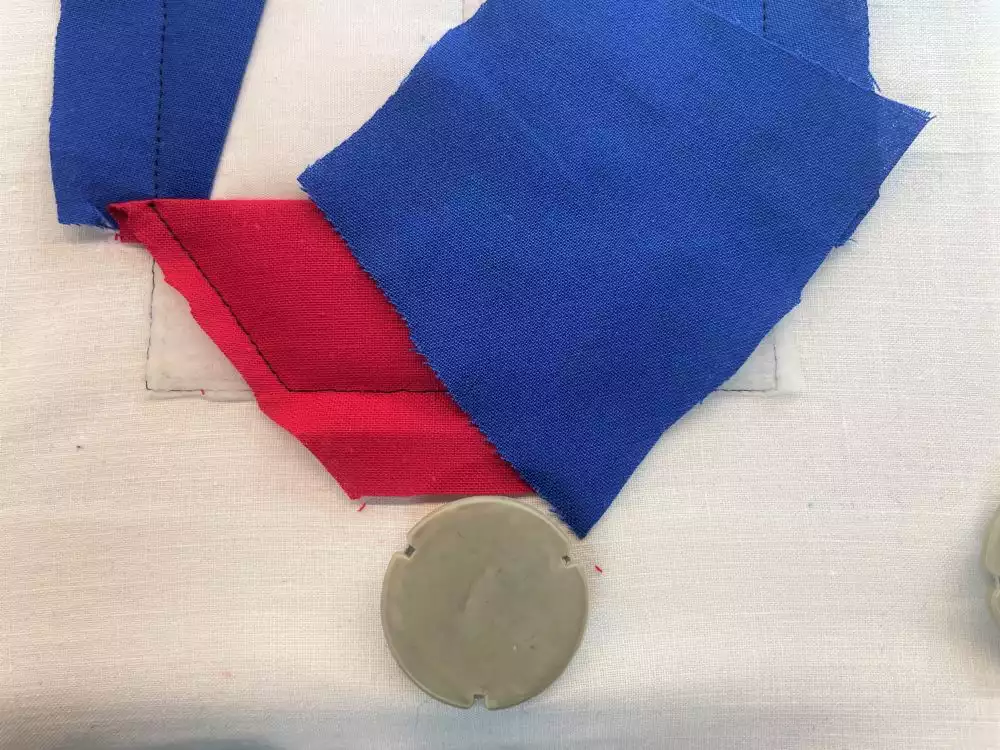
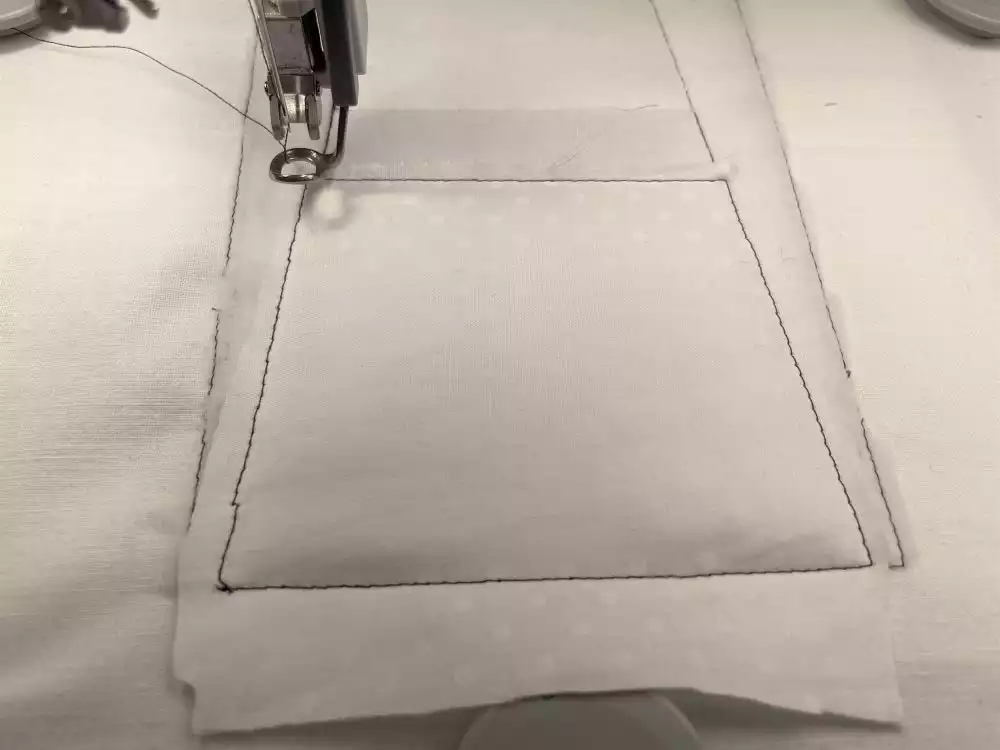
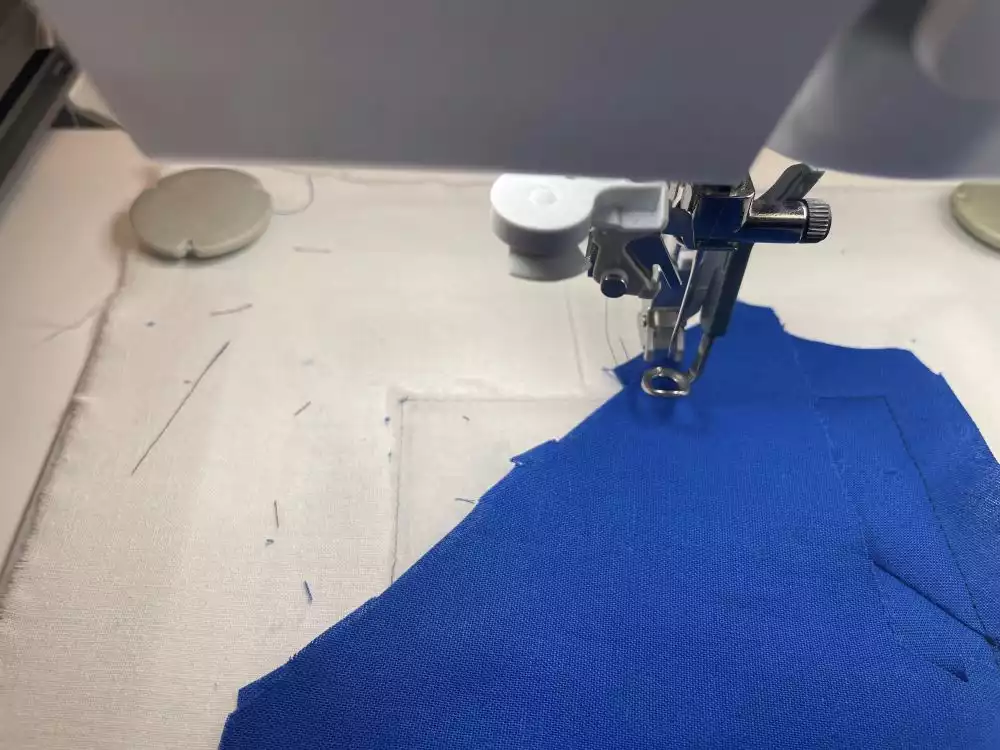
17. The block is now finished. Unhoop and cut out with a ⅜” (1cm) seam allowance.
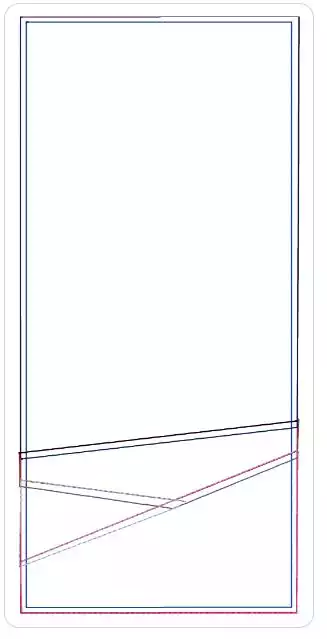
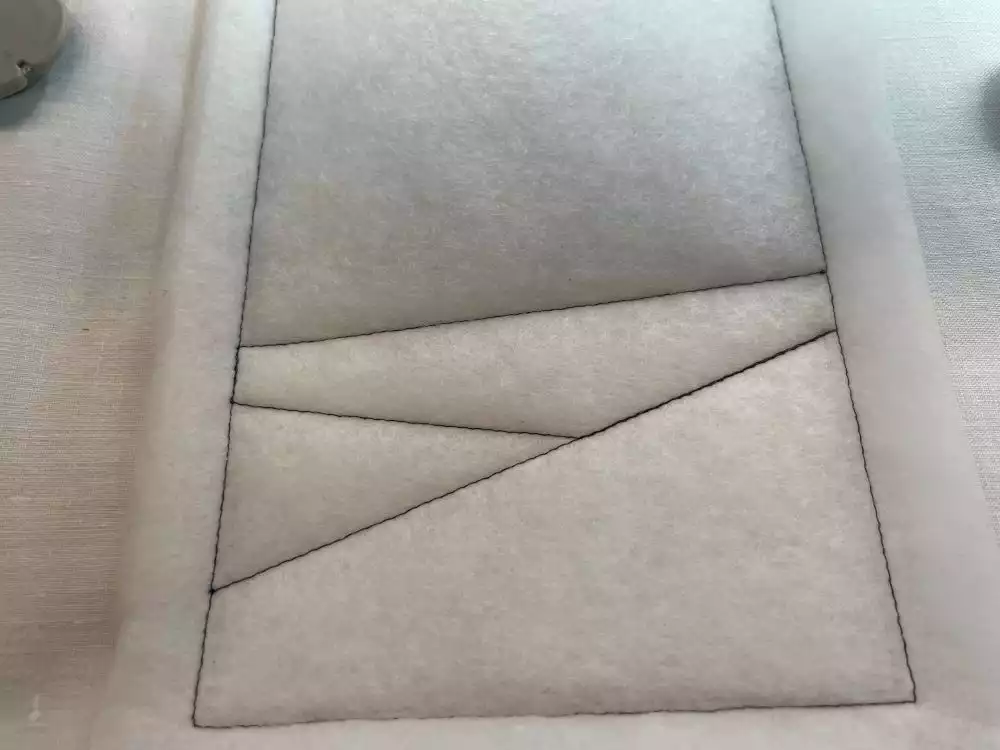
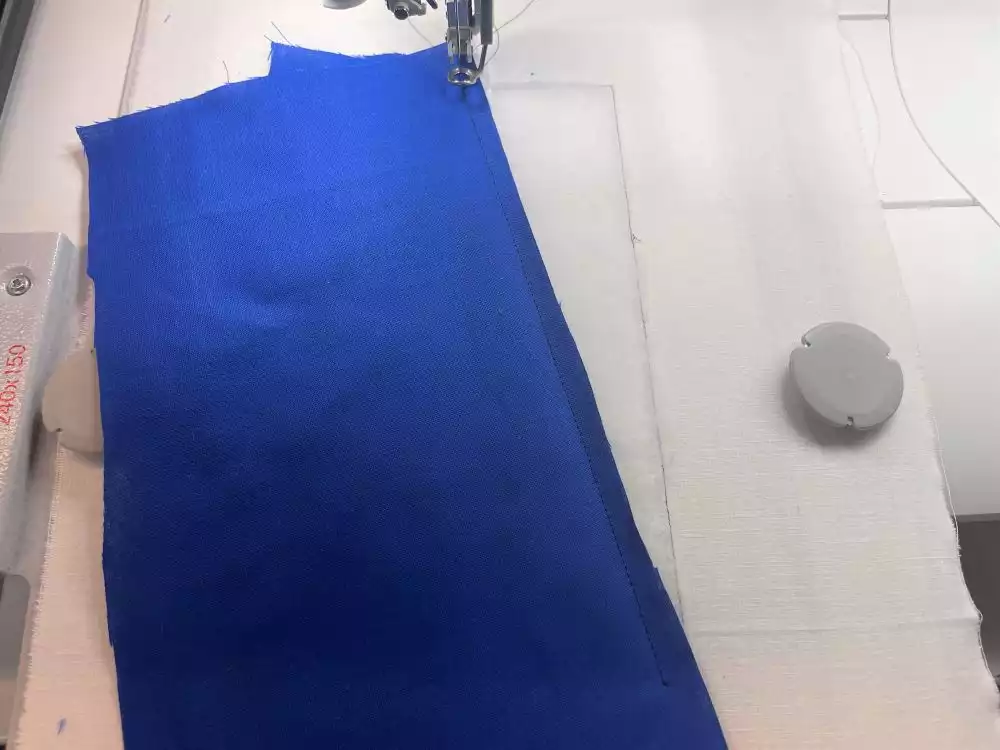
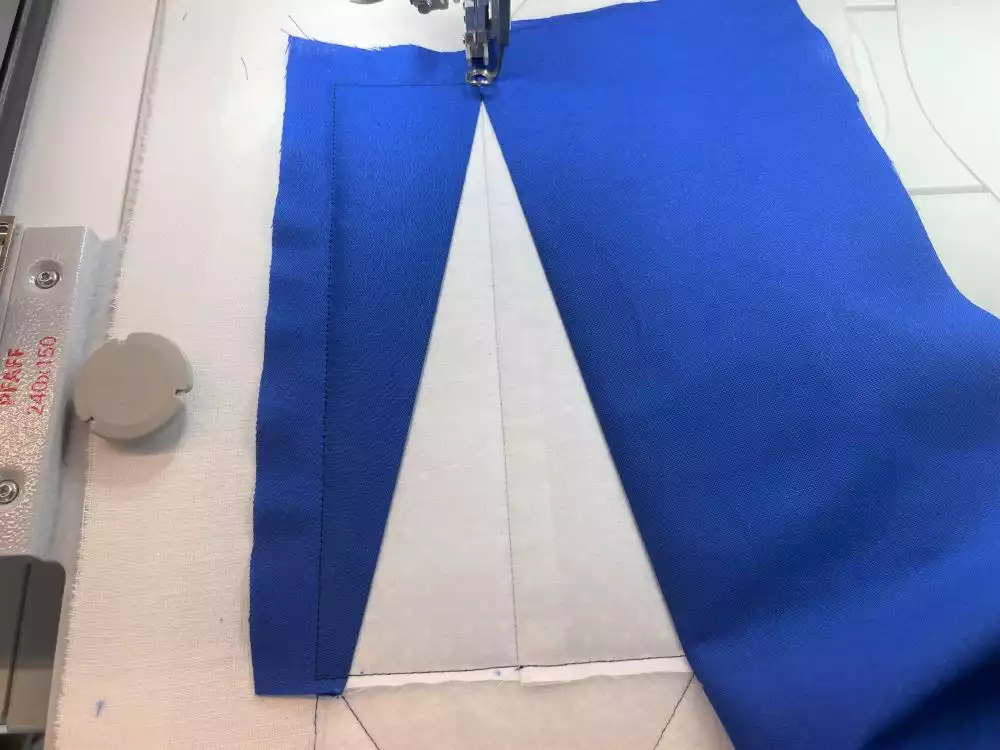
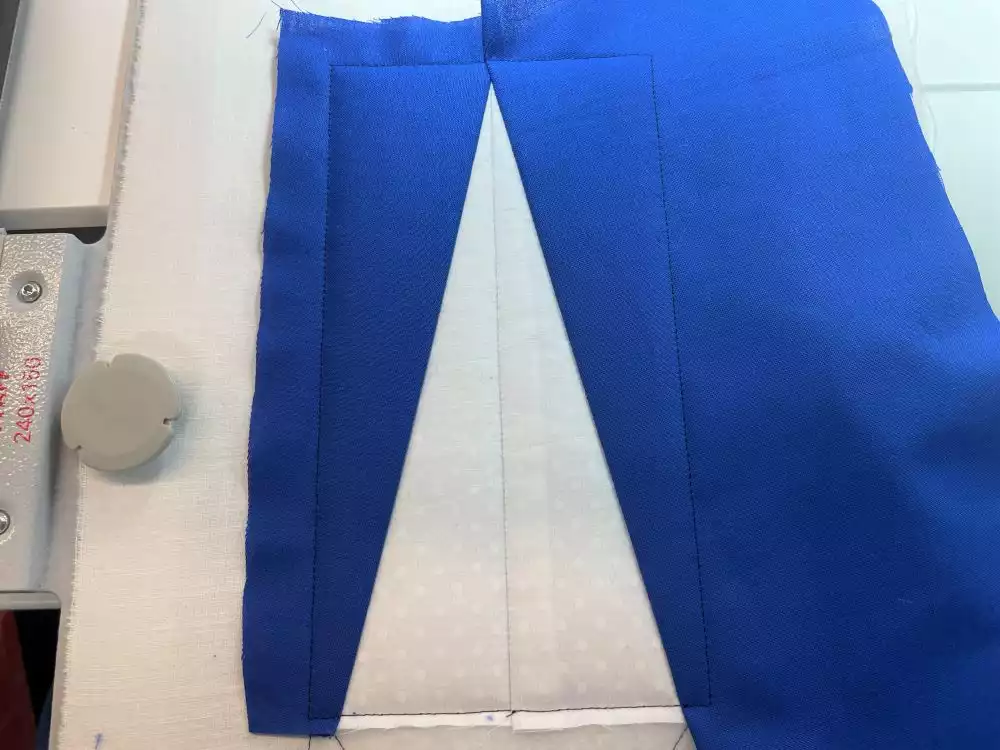
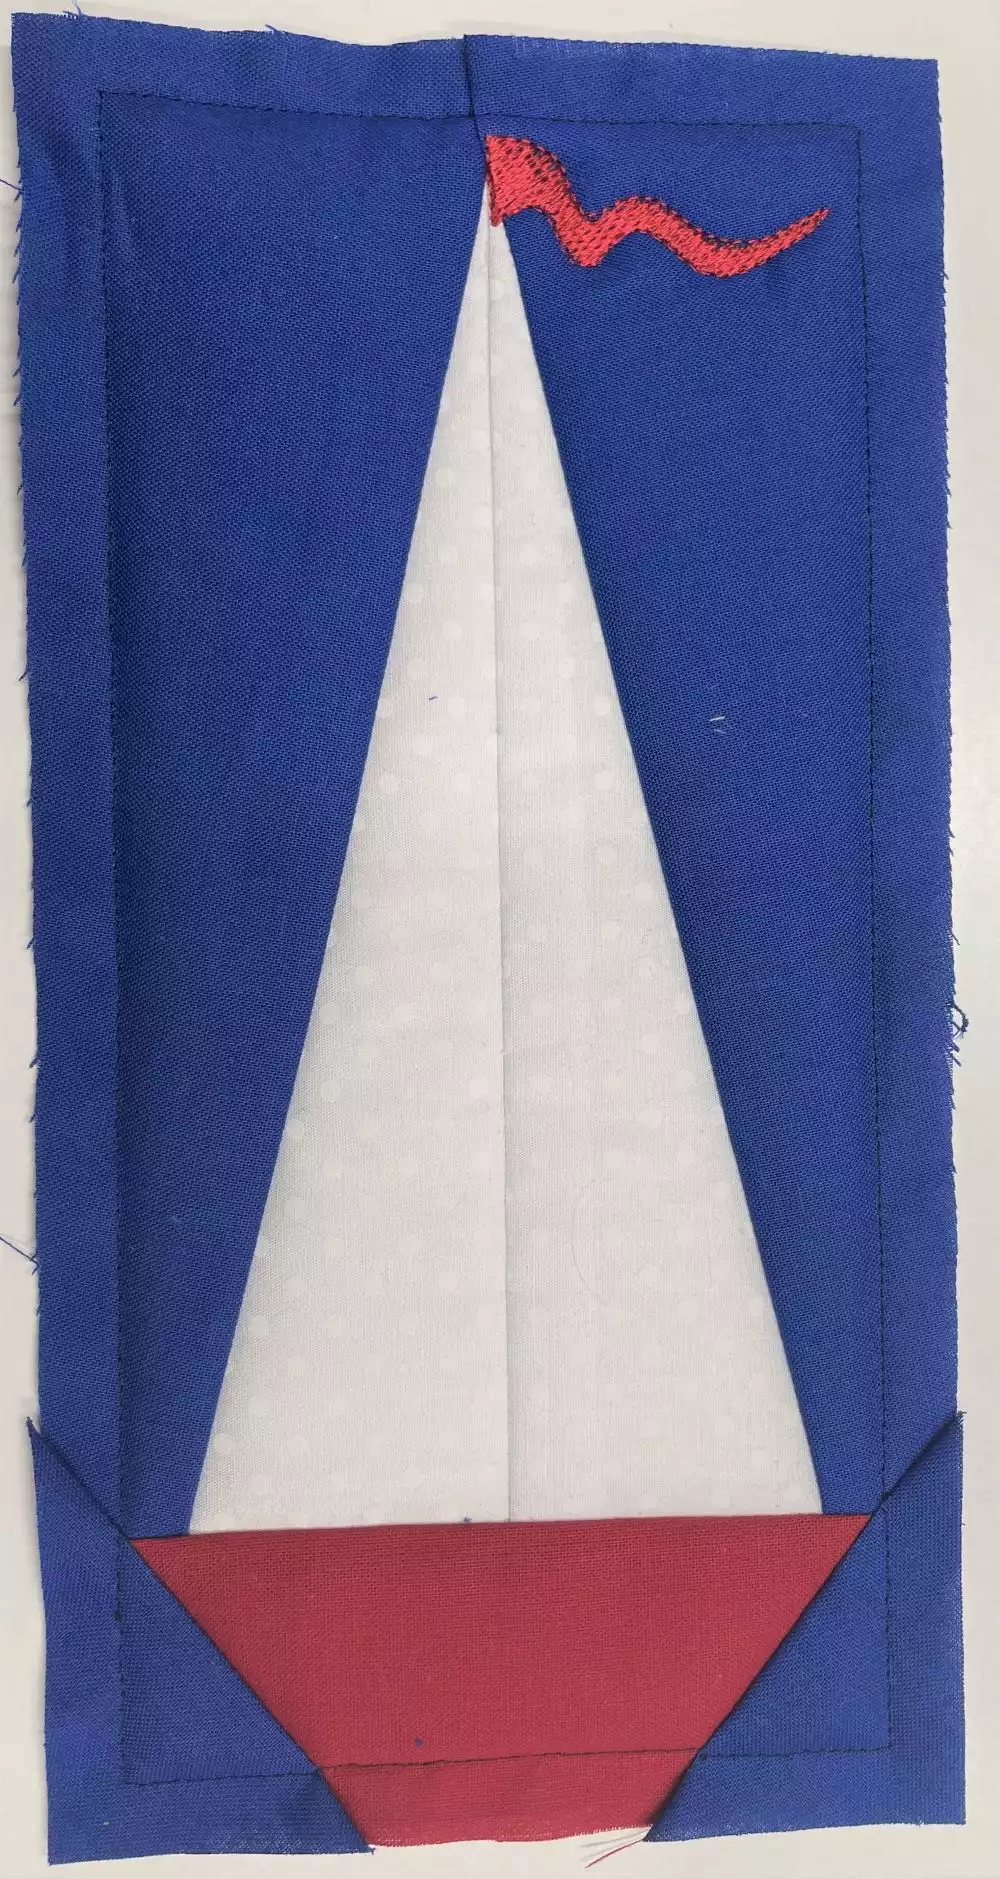
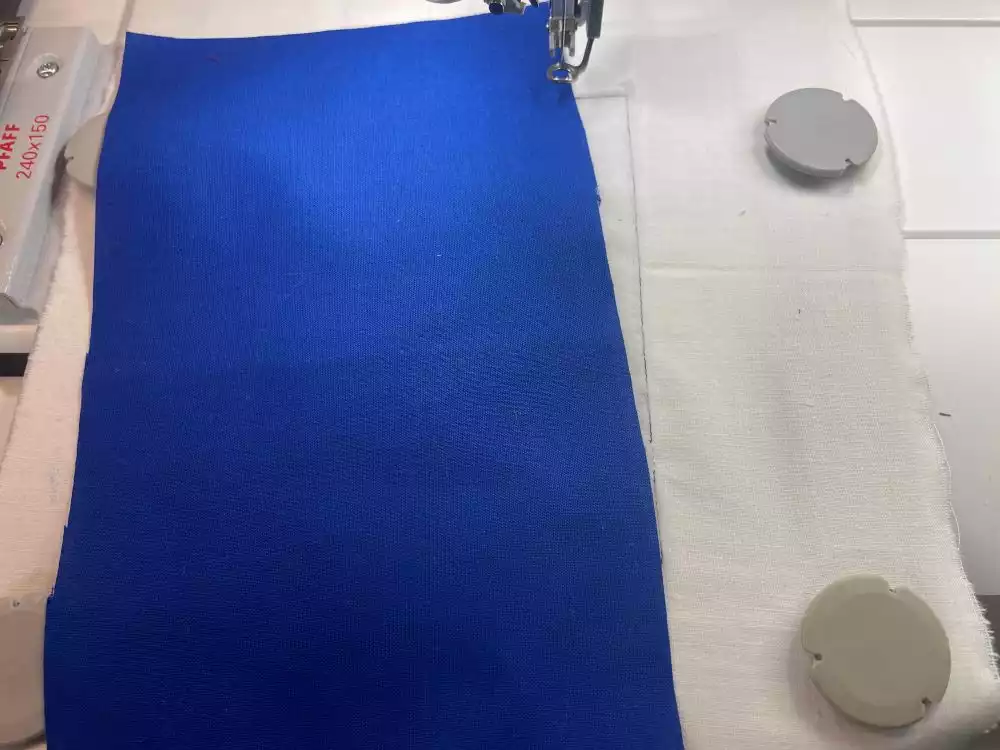
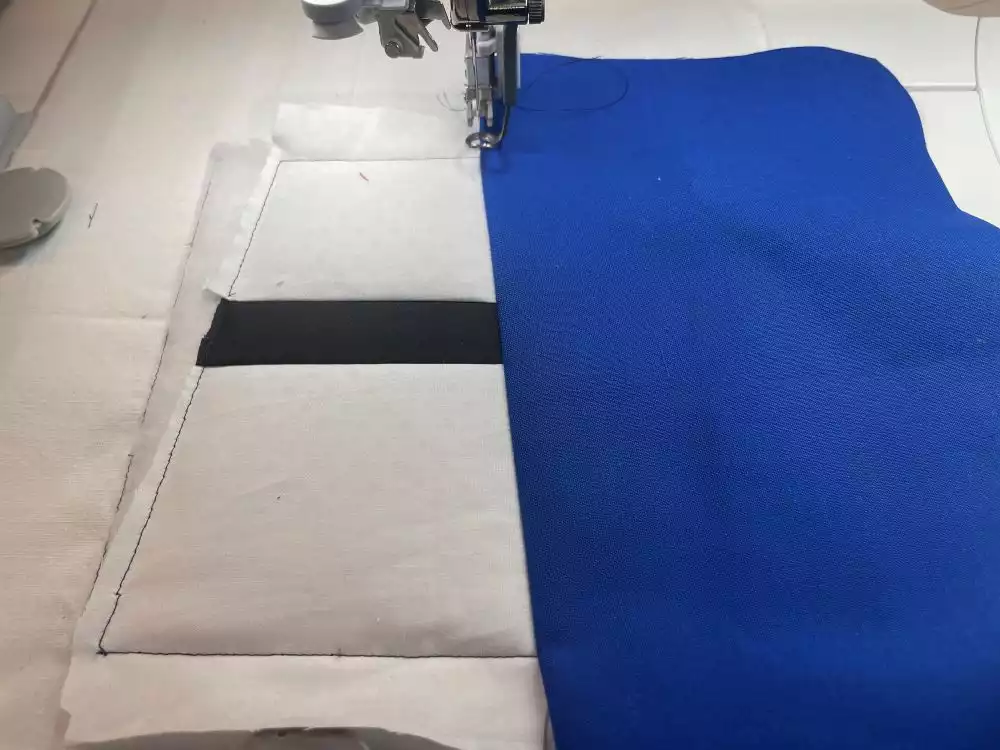
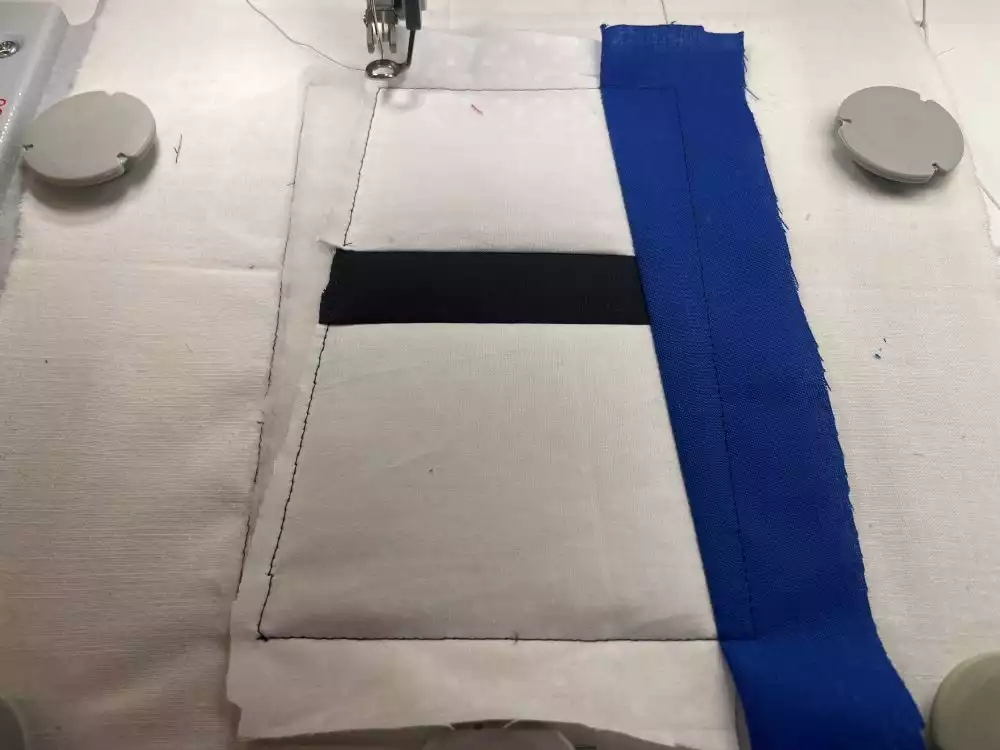
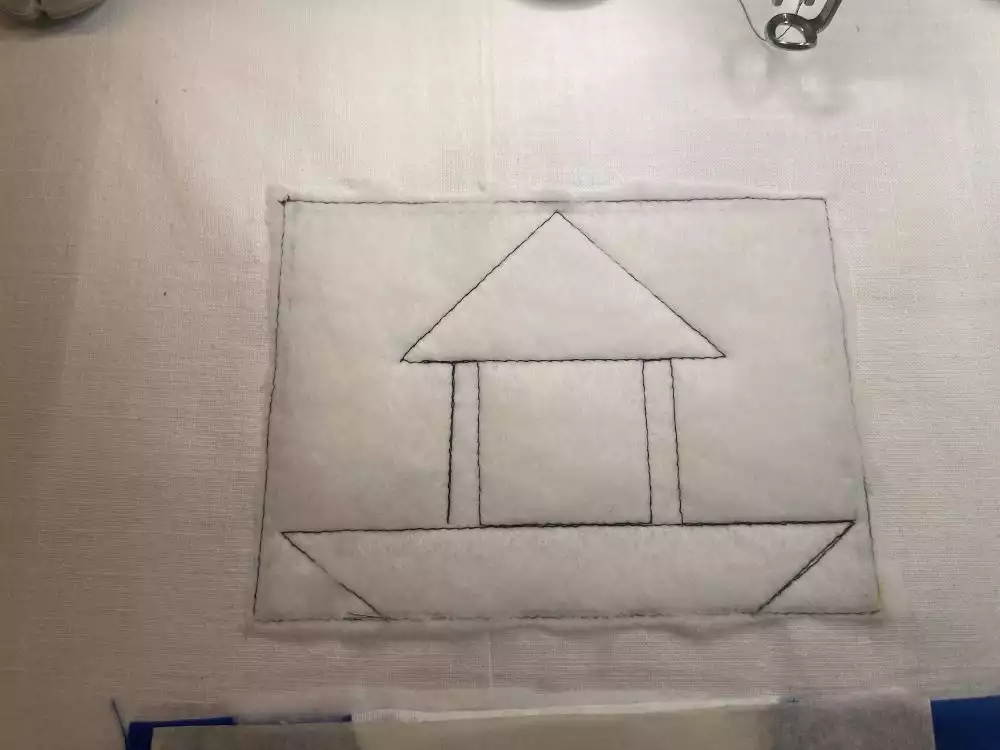
The sailboat block (you need three)
18. Hoop the cutaway stabilizer or waste fabric (I used an old bed sheet).
19. Stitch out color 1, this will make the outline for the batting placement.
20. Place the batting on top, secure with masking tape in the corners if needed.
21. Stitch out color 2, this will secure the batting in the hoop and draw the outlines for the different sections of the block.
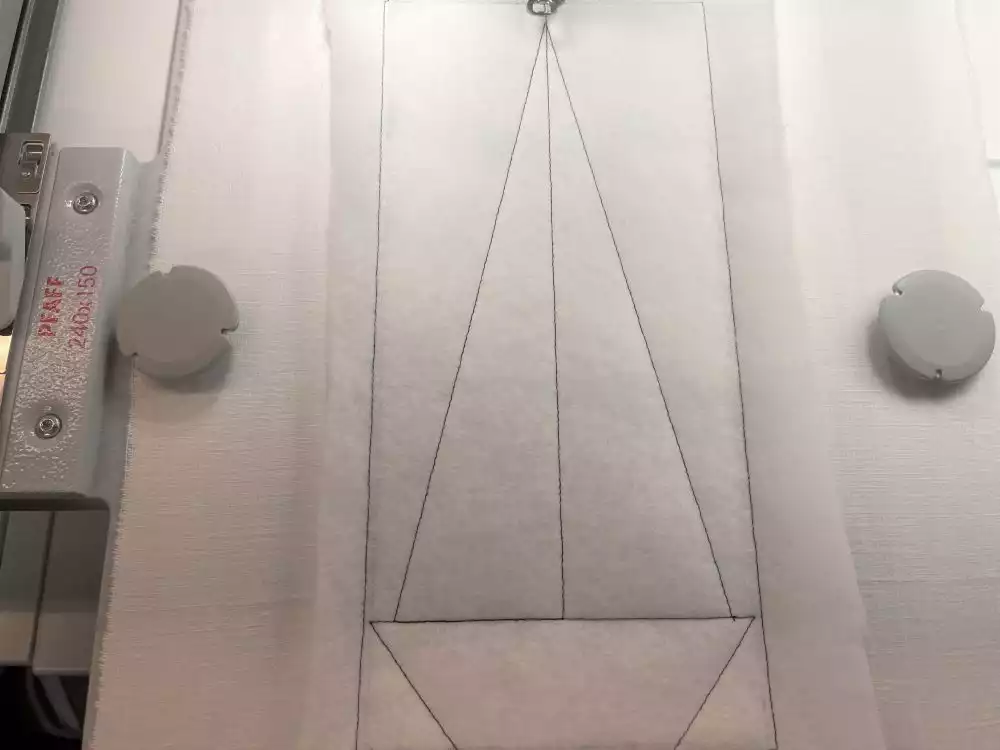
22. Cut away excess batting close to the stitched edge. This makes the seams less bulky when sewing the blocks together.
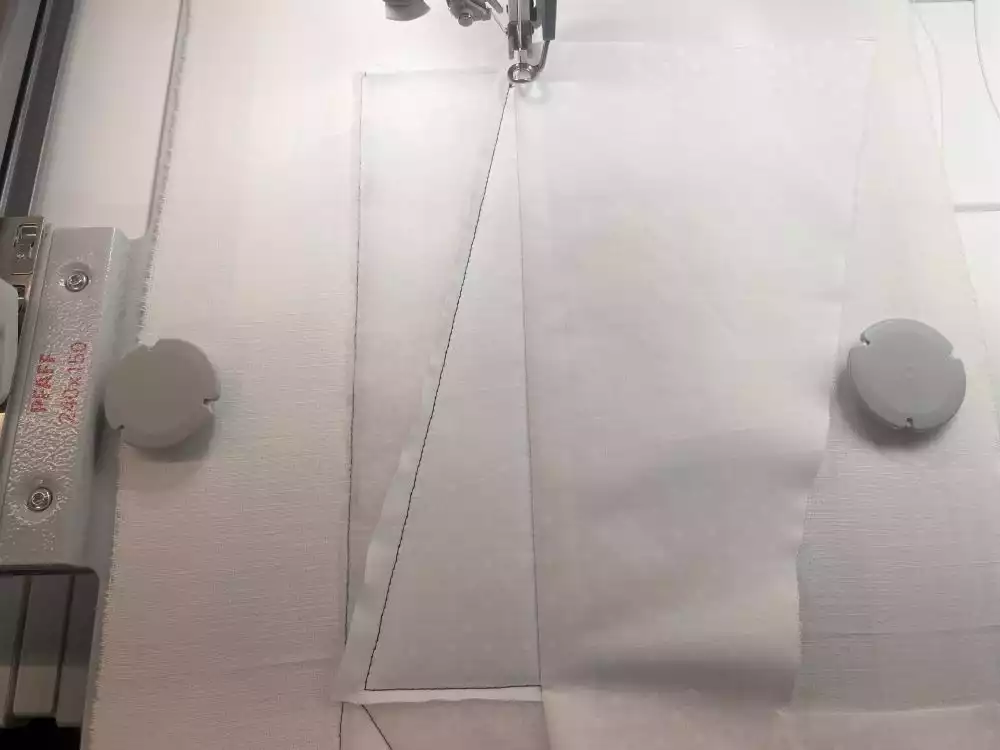
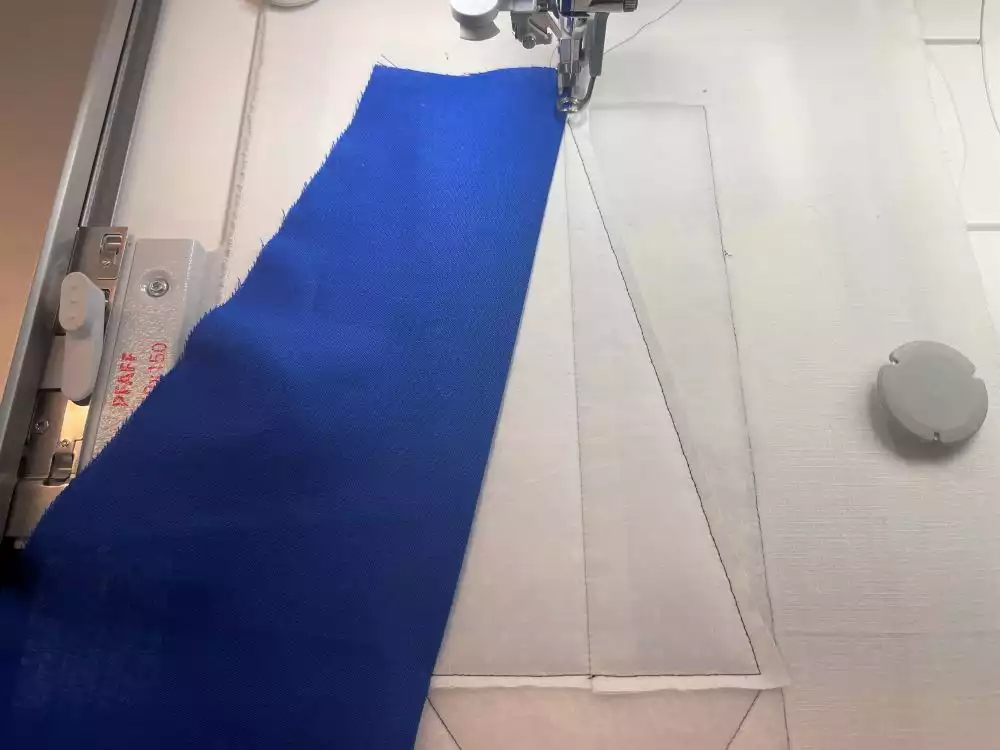
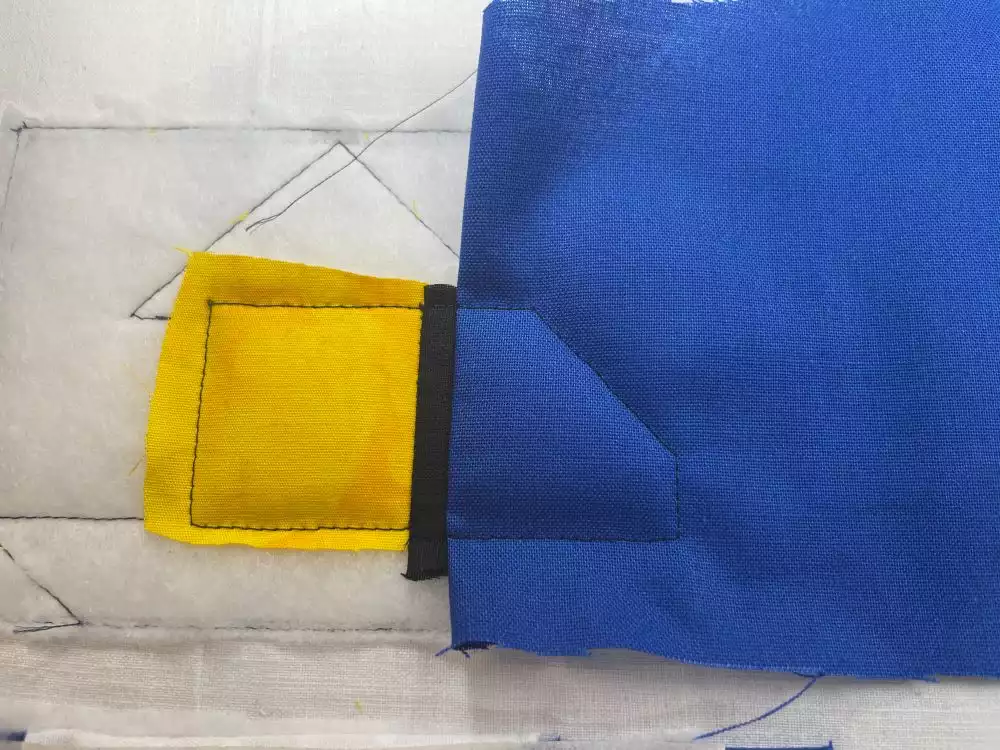
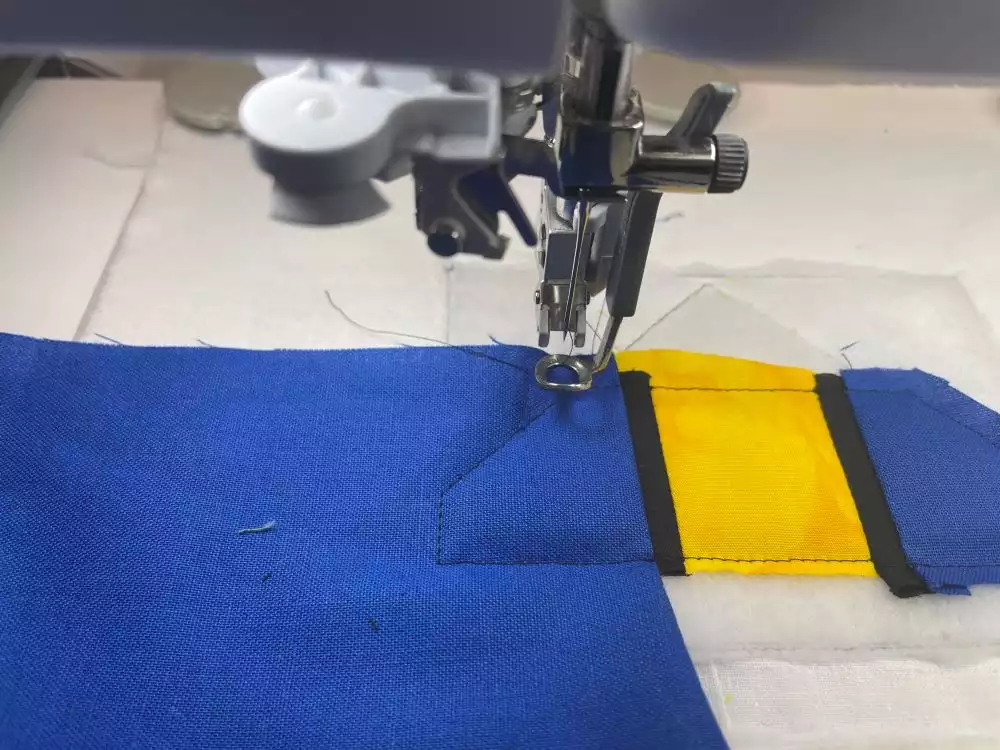
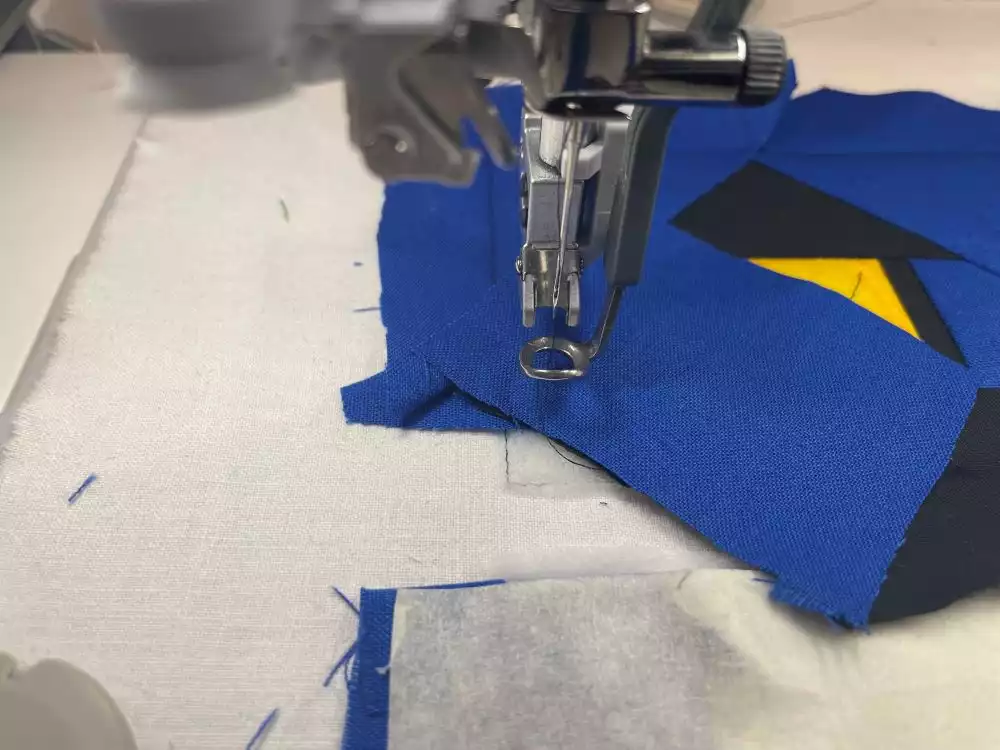
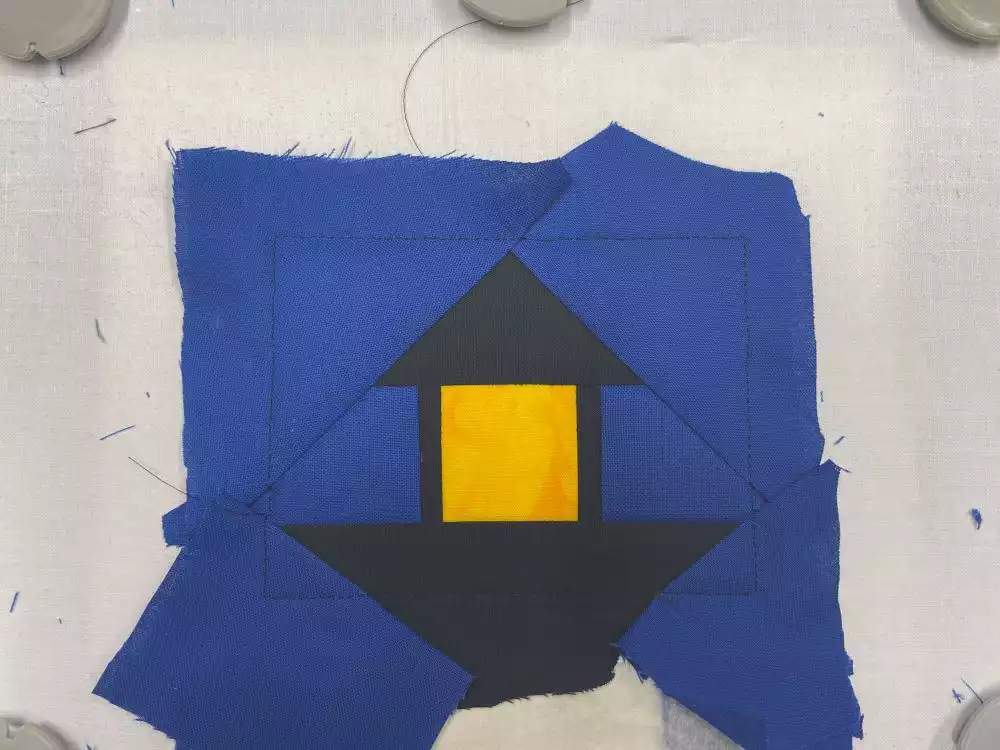
23. Place the first fabric piece in the hoop (the left side sail) .Make sure it covers the area to be stitched at all sides. On the outer edges of the block there need to be at least ⅜” (1cm) seam allowance. Stitch out the next color, this will secure the fabric piece in the hoop.
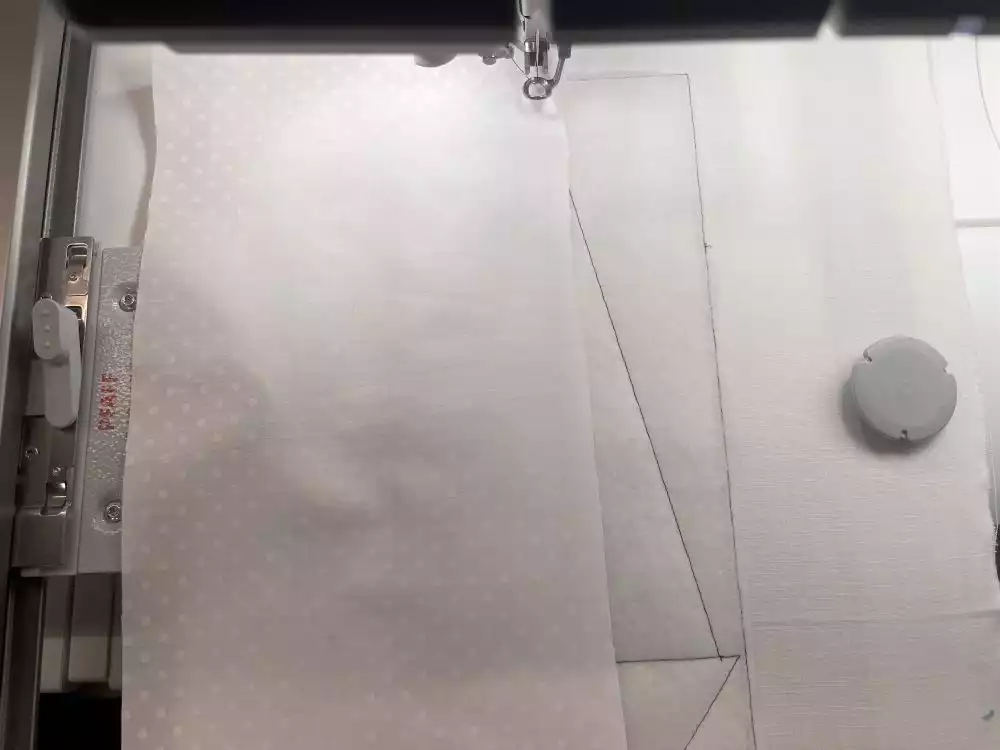

24. Put the next fabric piece between the piece you just stitched in place and the next one (the line between block 1 and 2) The right side of the fabric piece down and the raw edge overlapping the edge to be sewn by about1/4” (5-6mm).
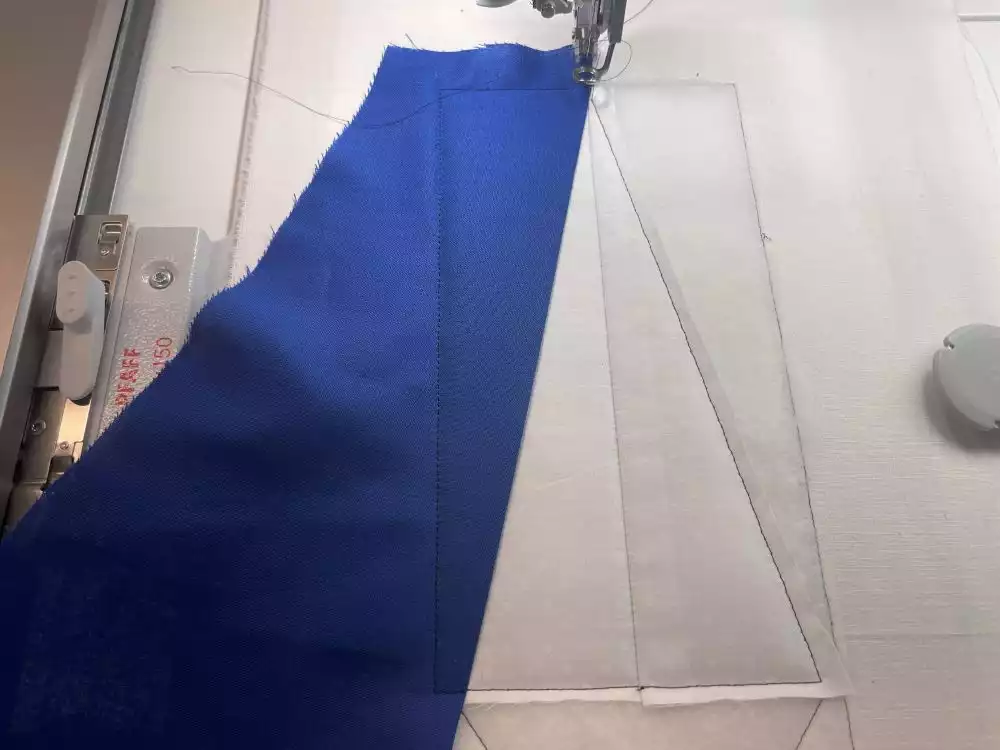
25. Stitch out the next color, this will sew the next fabric piece in place with a straight stitch line.
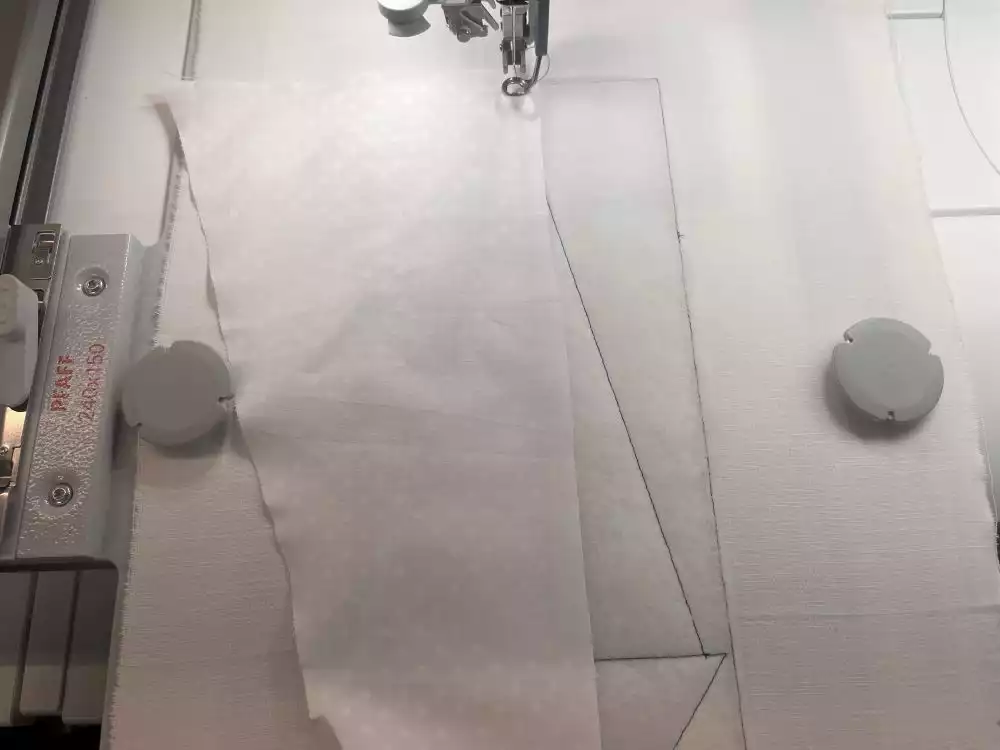
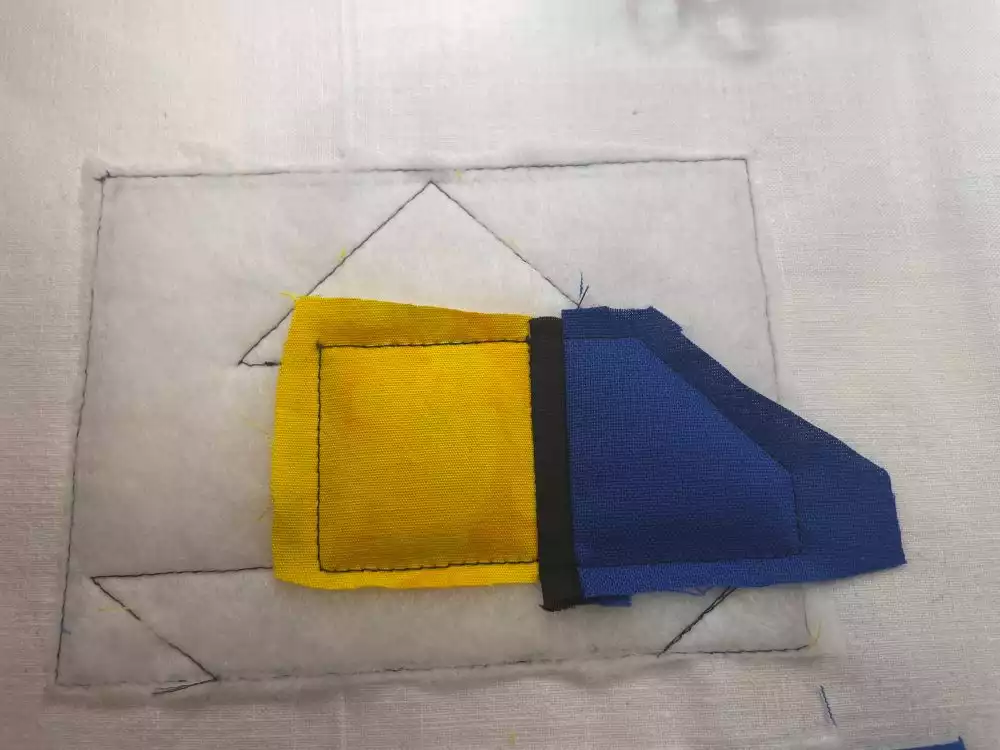
26. Flip out the fabric piece and make sure it covers the area to be stitched (patch 2) on the outer edges of the block there need to be at least ⅜” (1cm) seam allowance.Stitch out next color, this will secure the fabric in place., Cut away excess seam allowance.
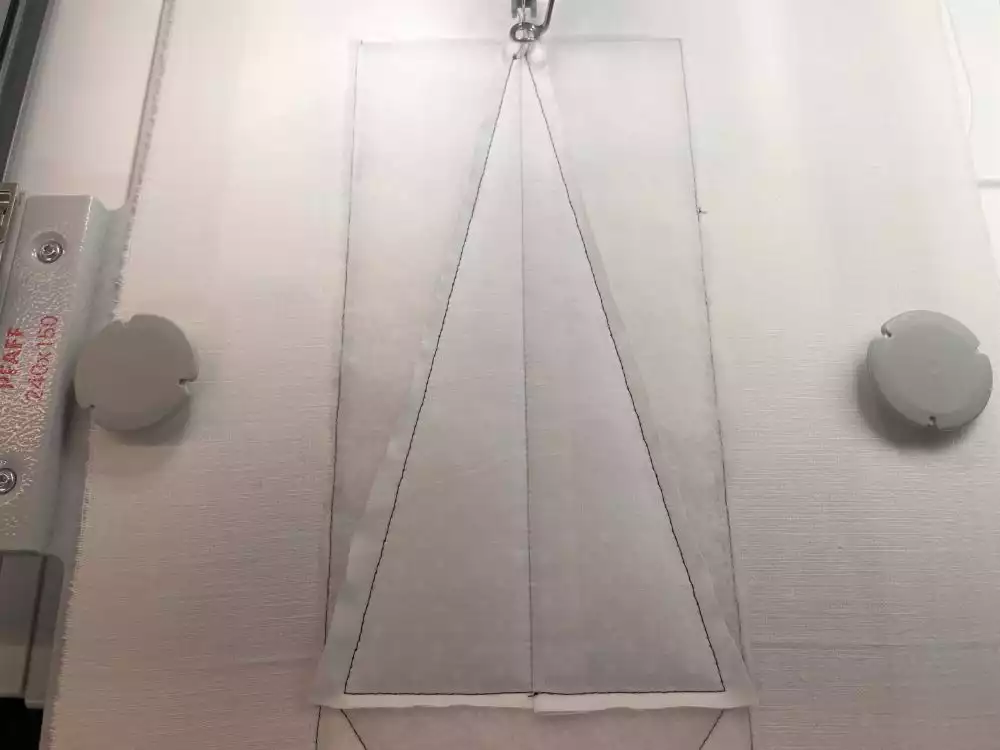
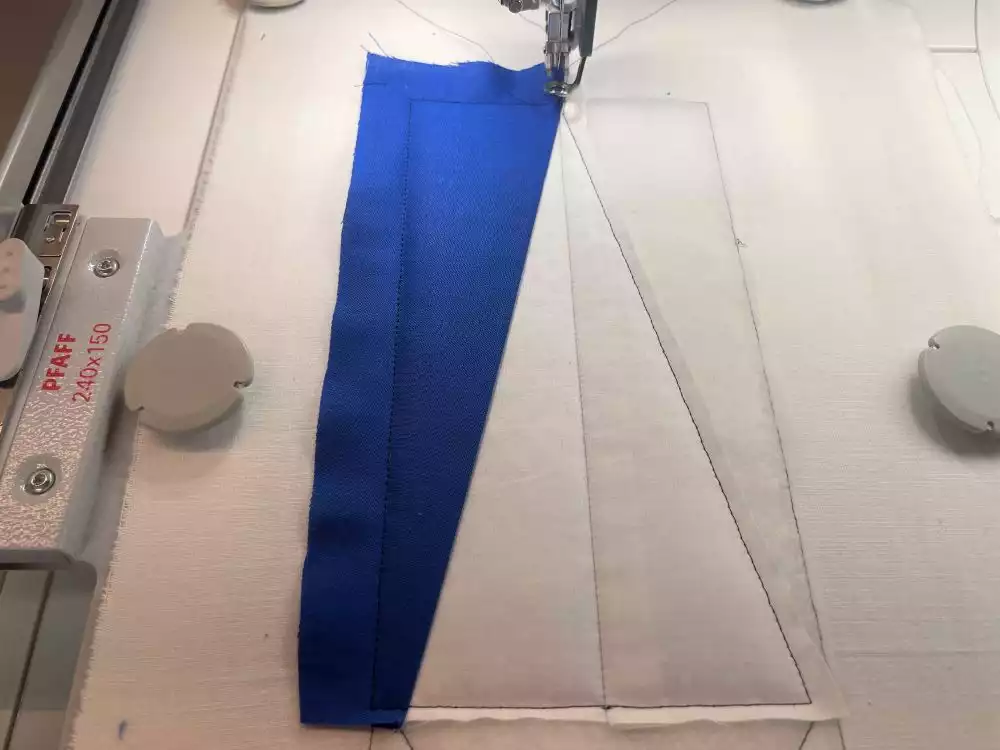
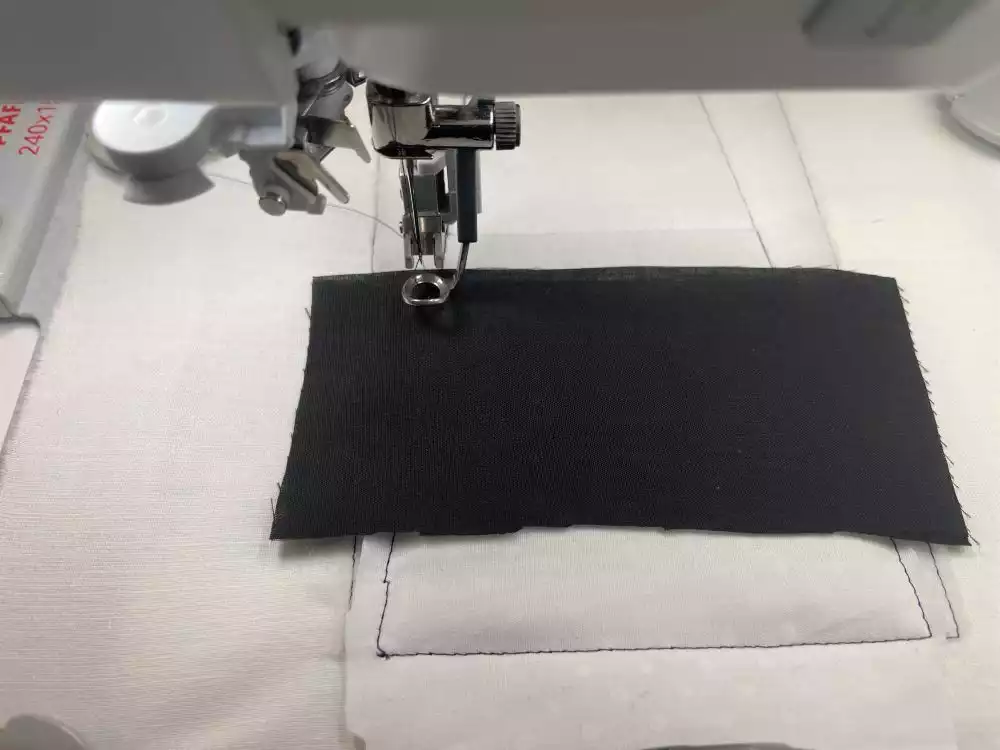
27. Place the blue skye fabric right side down at the left sail raw edge. Let the raw edge extend at least ¼” (5mm) outside the stitched line
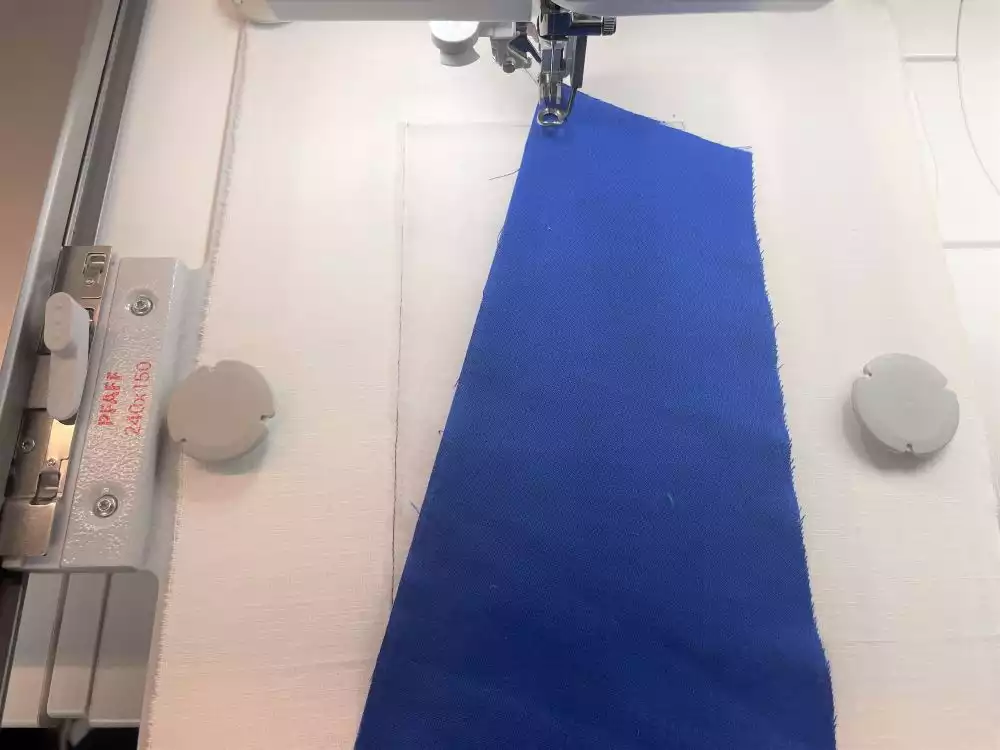
28. Stitch next color
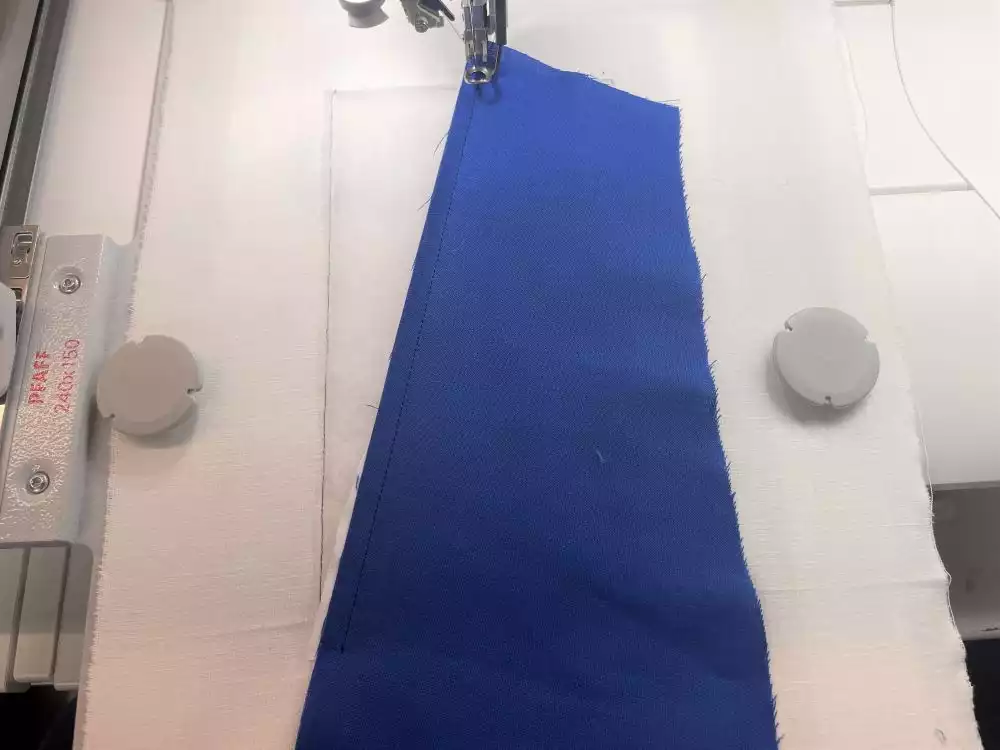
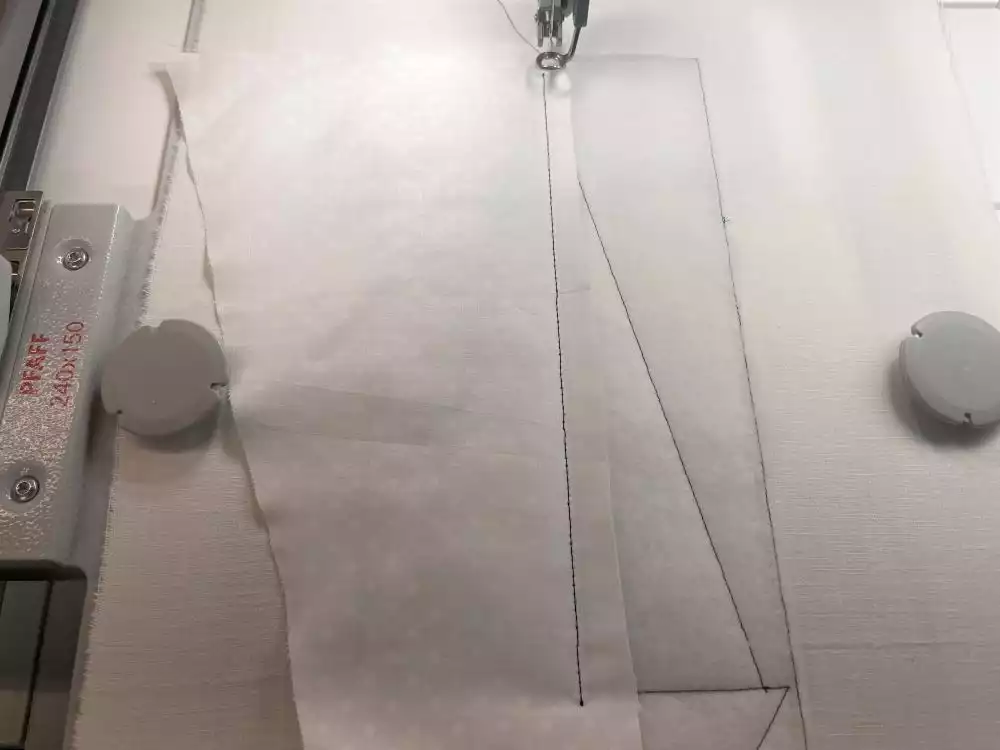
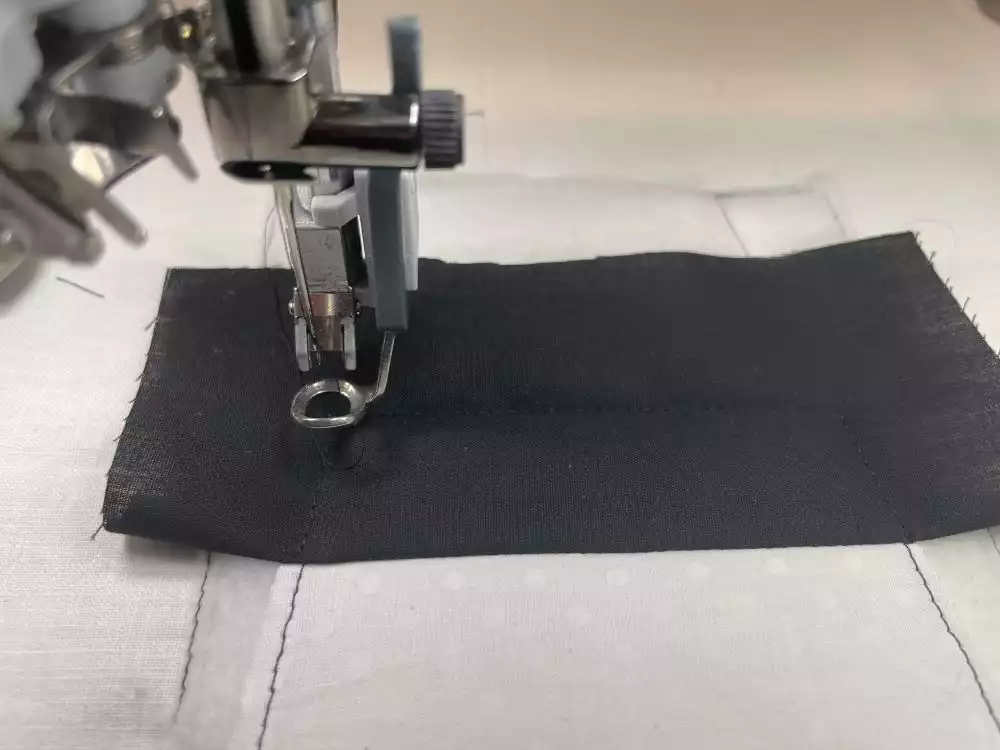
29. Flip right side out and stitch next color. This will secure the fabric in place.Cut away excess seam allowance, Leave at least ⅜” (1cm) at the outer edges
30. Repeat on the right side of the block.
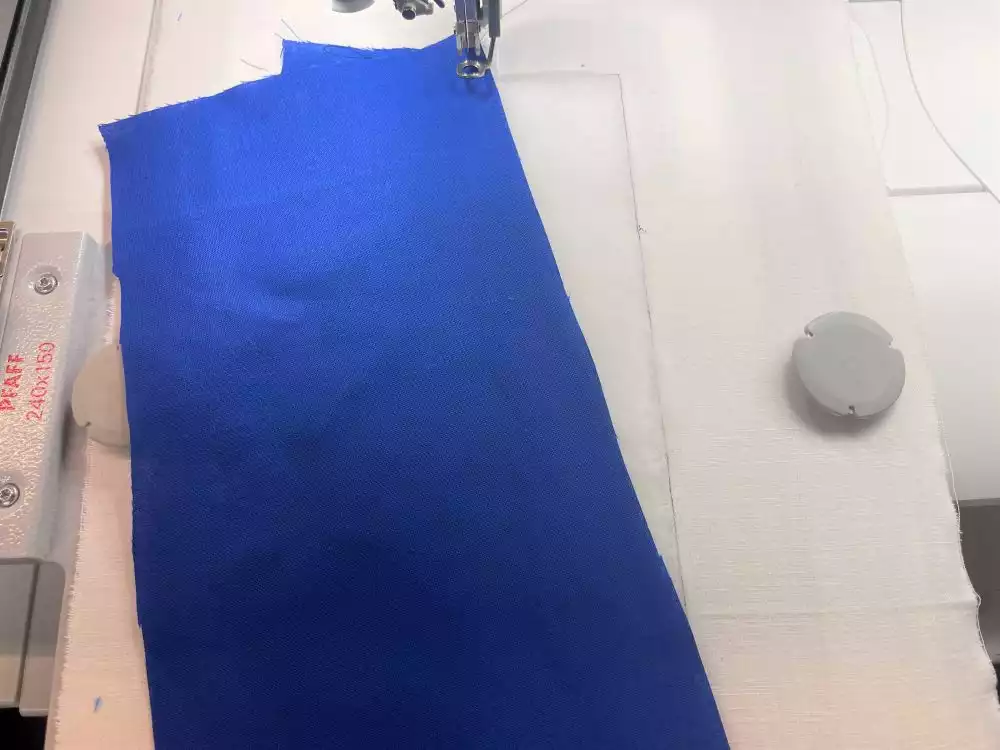
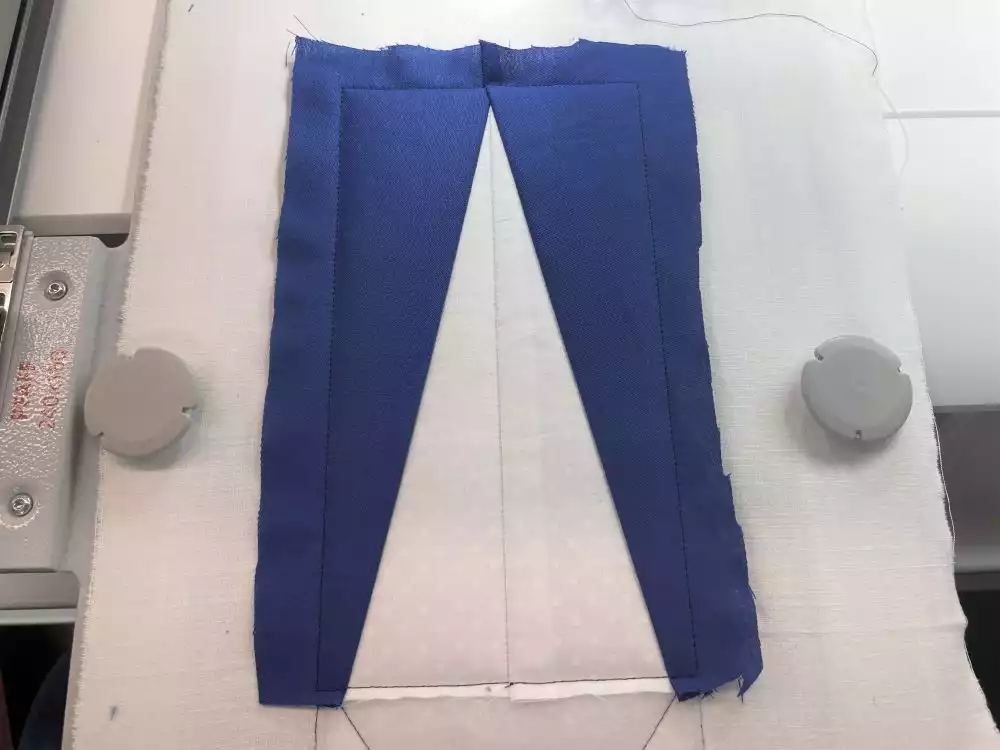
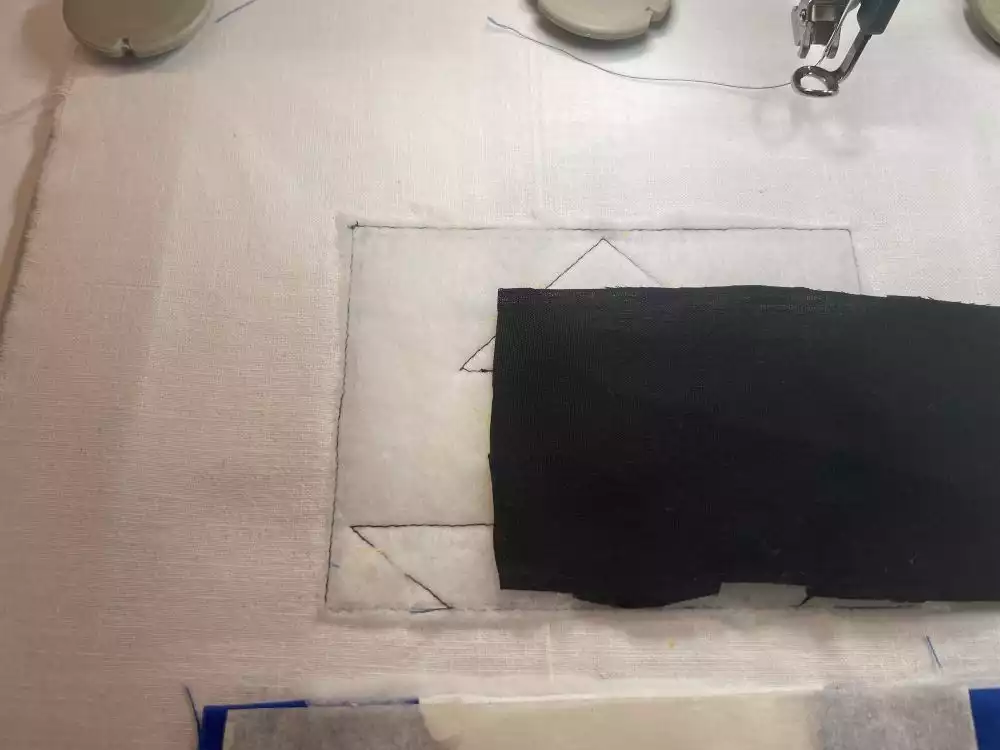
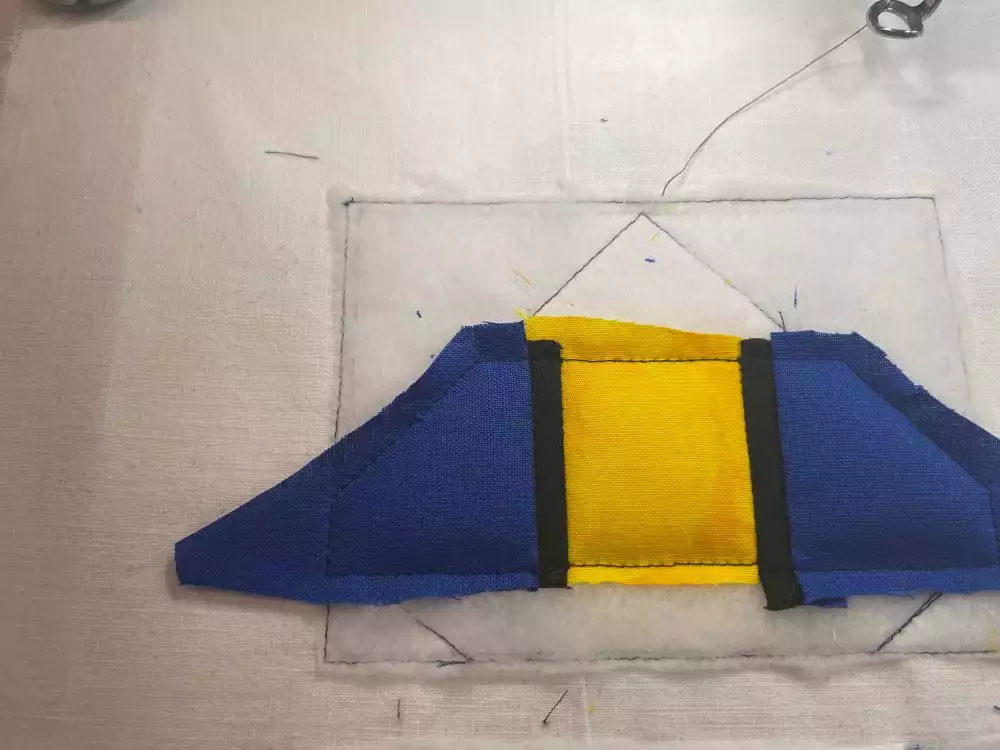
31. Place the fabric for the boat at the lower edge of the sails and sky. Let the raw edge of the fabric extend at least ¼”(5mm) outside the edge on all sides. Stitch in place, flip out and secure with the next color. Cut away excess fabric, but remember to leave at least ⅜” (1cm) at the outer edge. (The lower edge of the fabric piece)

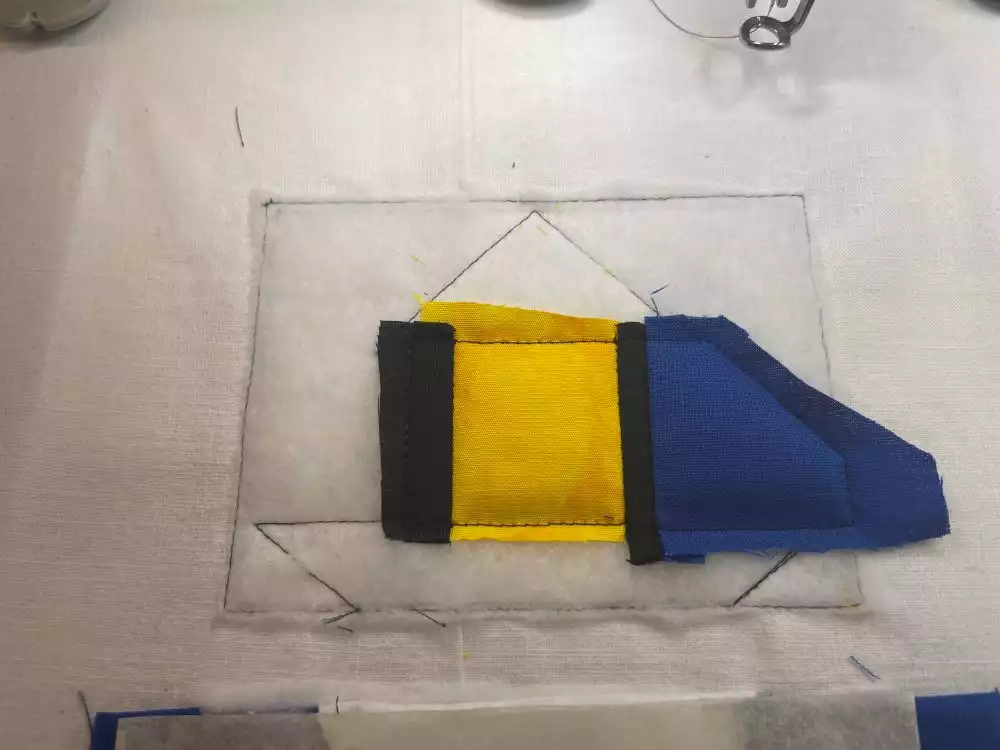
32. Place the water fabric at the right side of the boat right side down and stitch in place, flip out and secure with the next color.
33. Repeat on the left side.
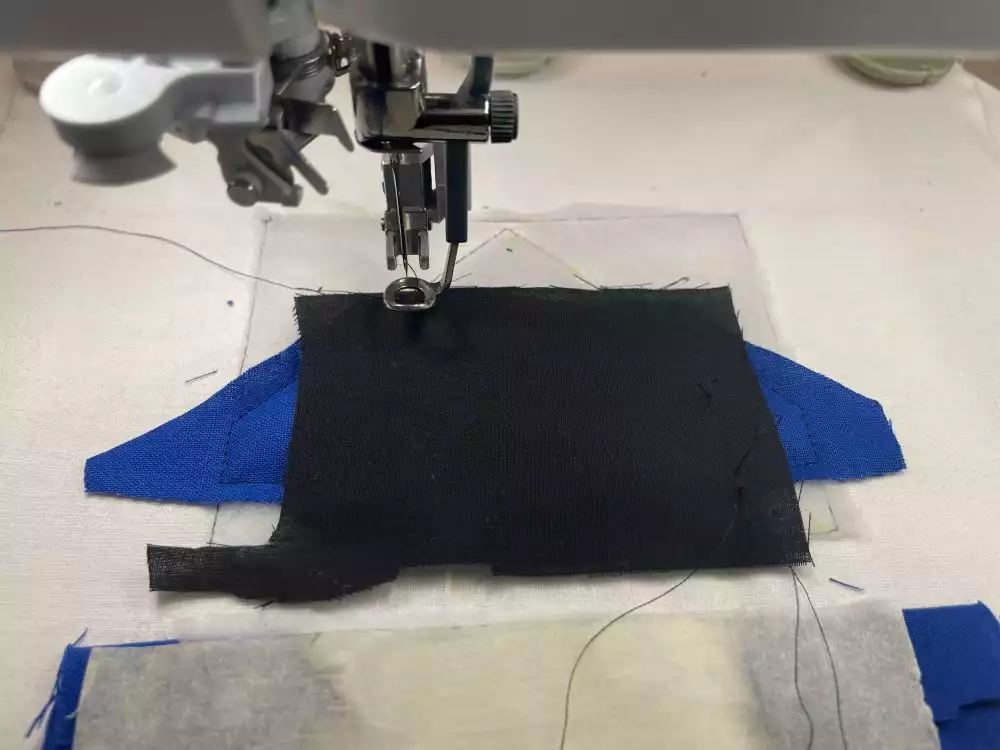
34. Next step is optional: The Pennant embroidery.: Change to embroidery thread and stitch out the pennant. If you don't want to have a pennant go to next step.
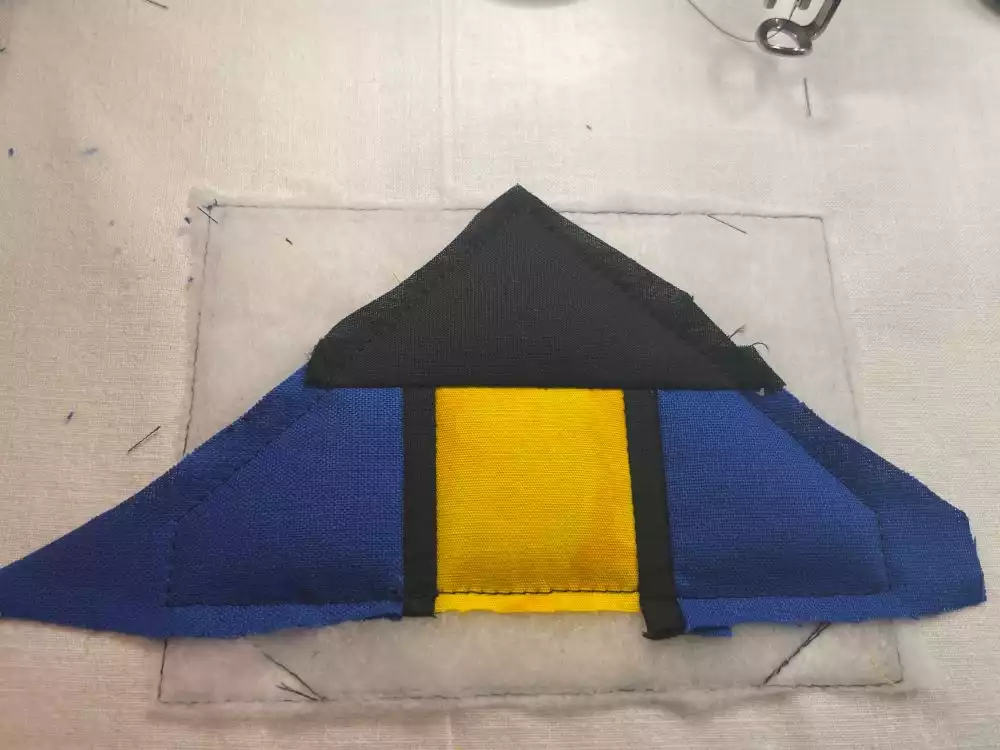
35. Your block is now finished. Unhoop and cut out with a ⅜” (1cm) seam allowance.
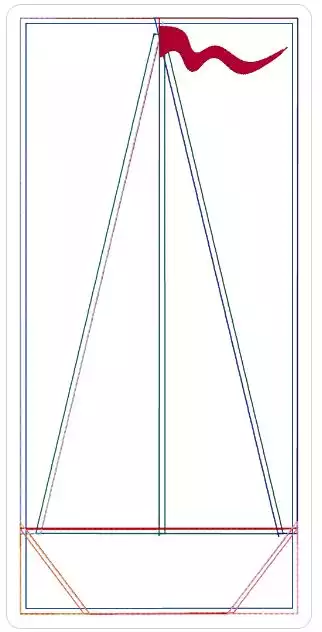
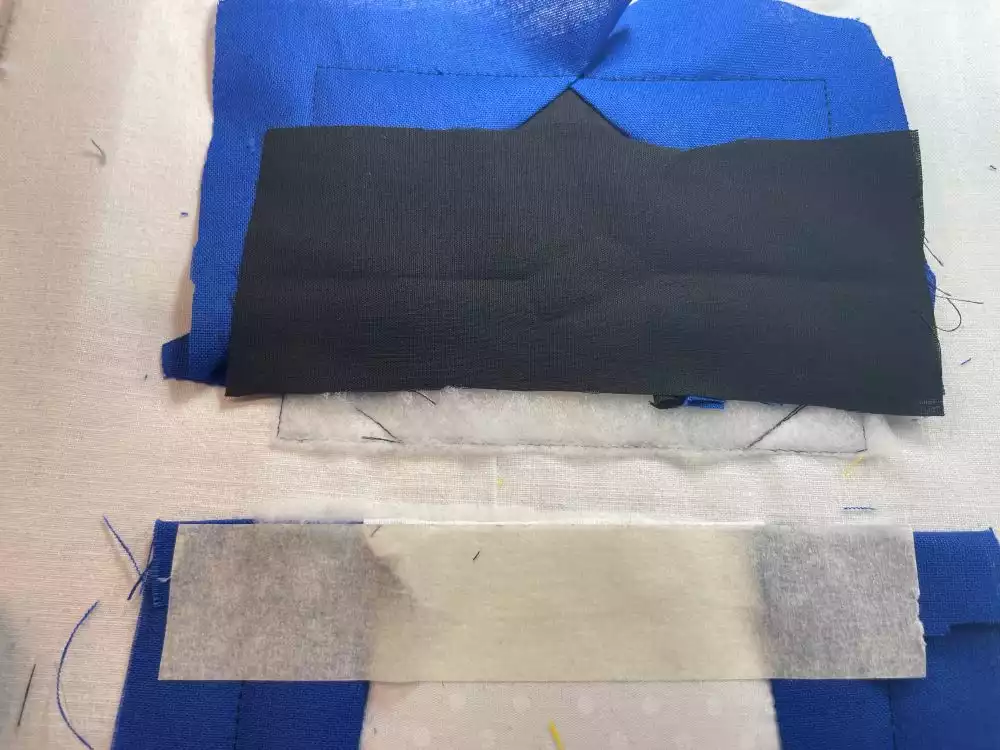
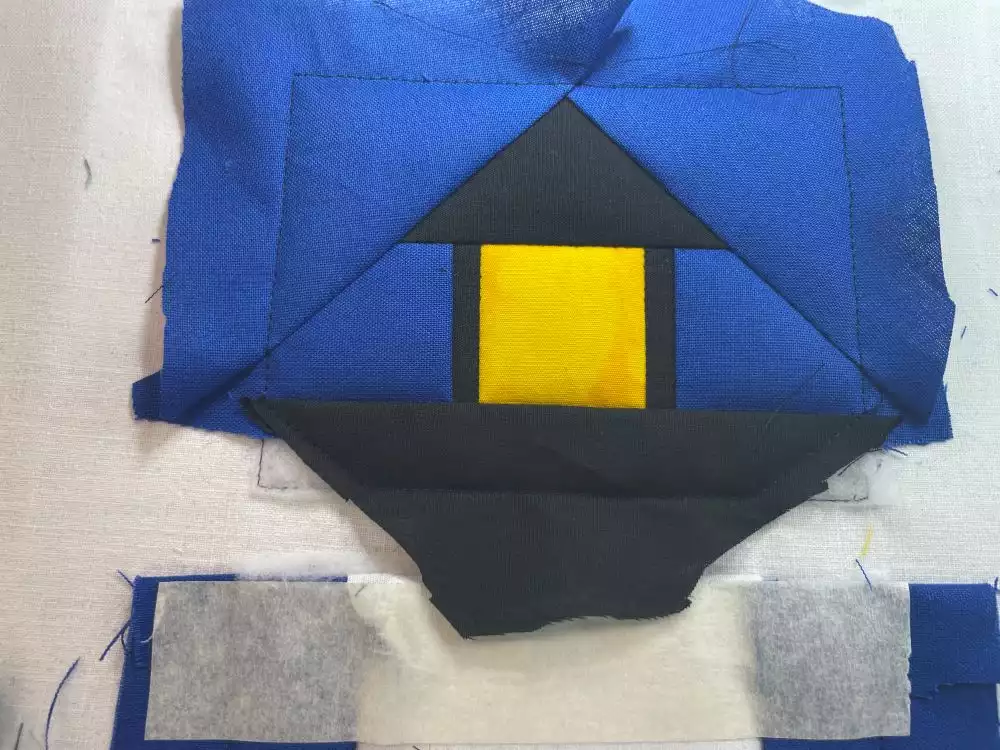
 The Lighthouse Block (you need two)
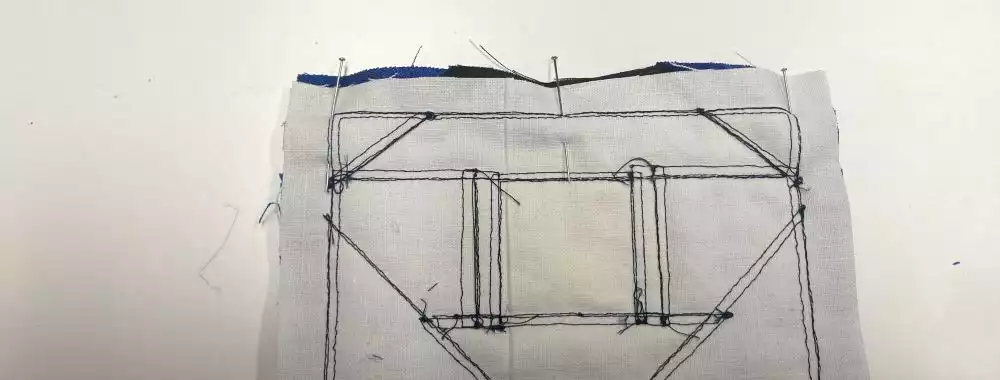
The lighthouse block is made in two sections which will be stitched together when finished. It is important that you follow the steps below for a good result.
Section1 (the lighthouse building)
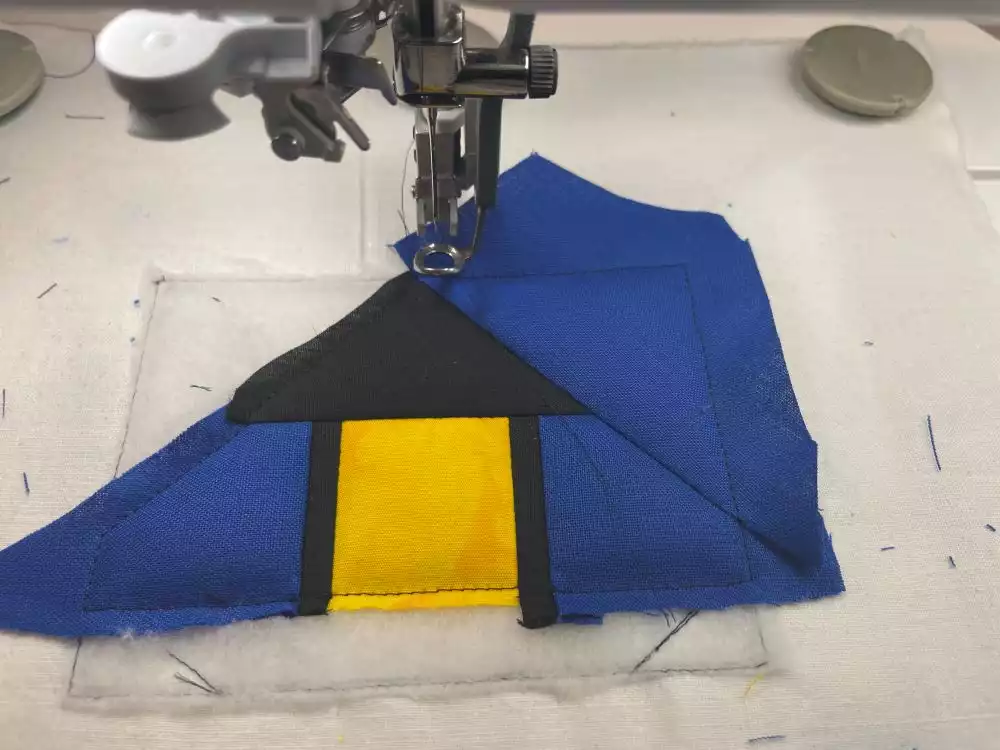
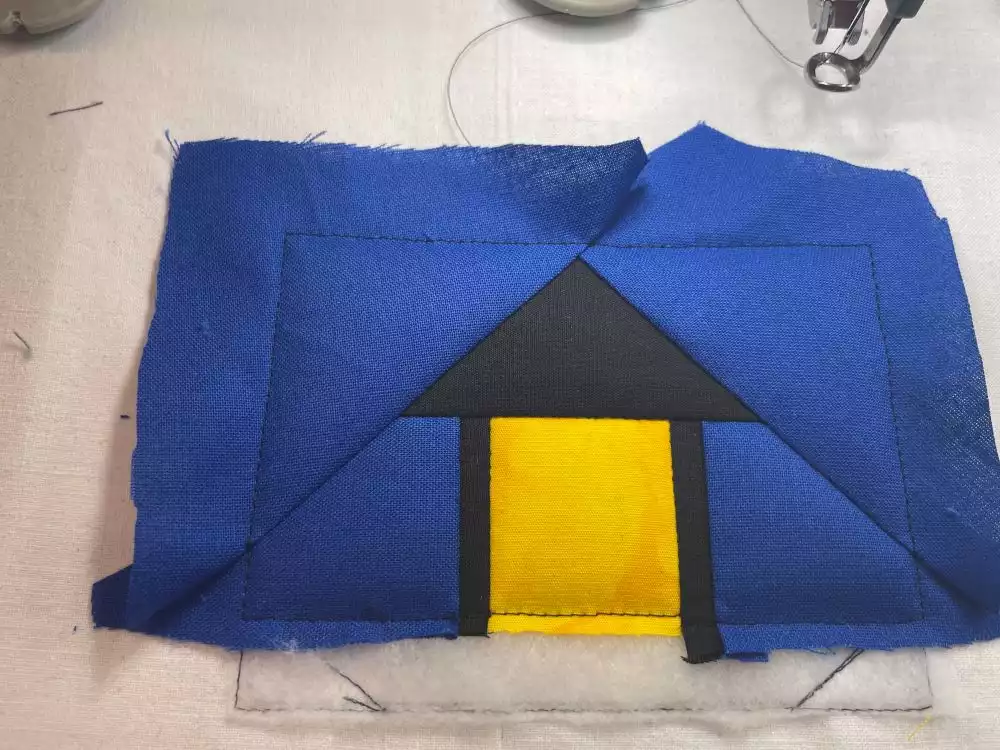
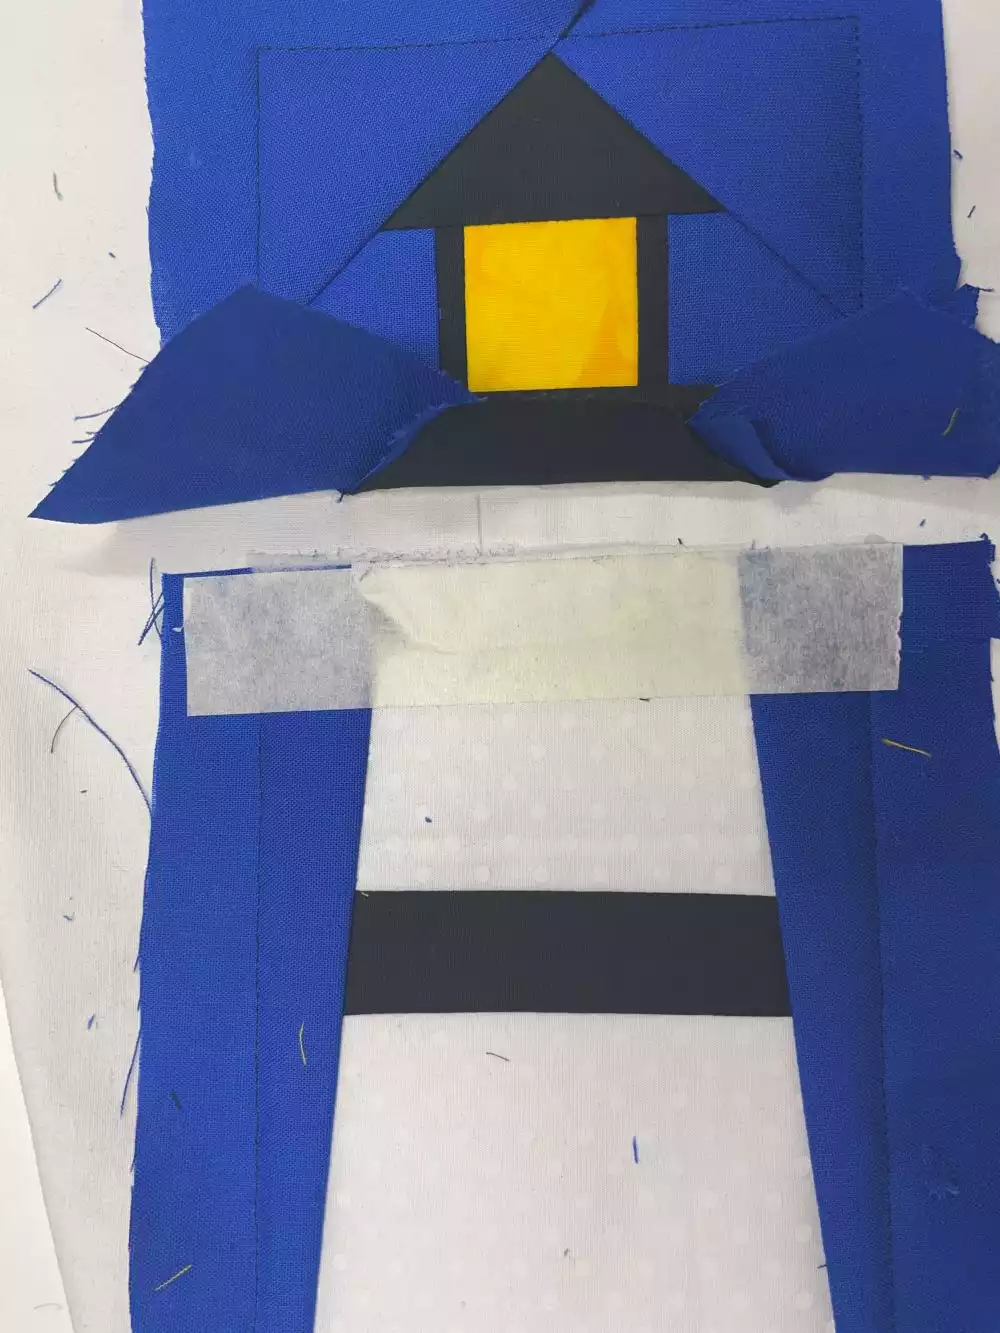
36. Hoop the cutaway stabilizer or waste fabric (I used an old bed sheet).
37. Stitch out color 1, this will make the outline for the batting placement.
38. Place the batting on top of the stitched line, make sure it covers the stitching line on all sides. Stitch next color, this will secure the batting and stitch out the different areas for the fabric. Cut the batting close to the stitched edge to avoid unnecessary bulk.
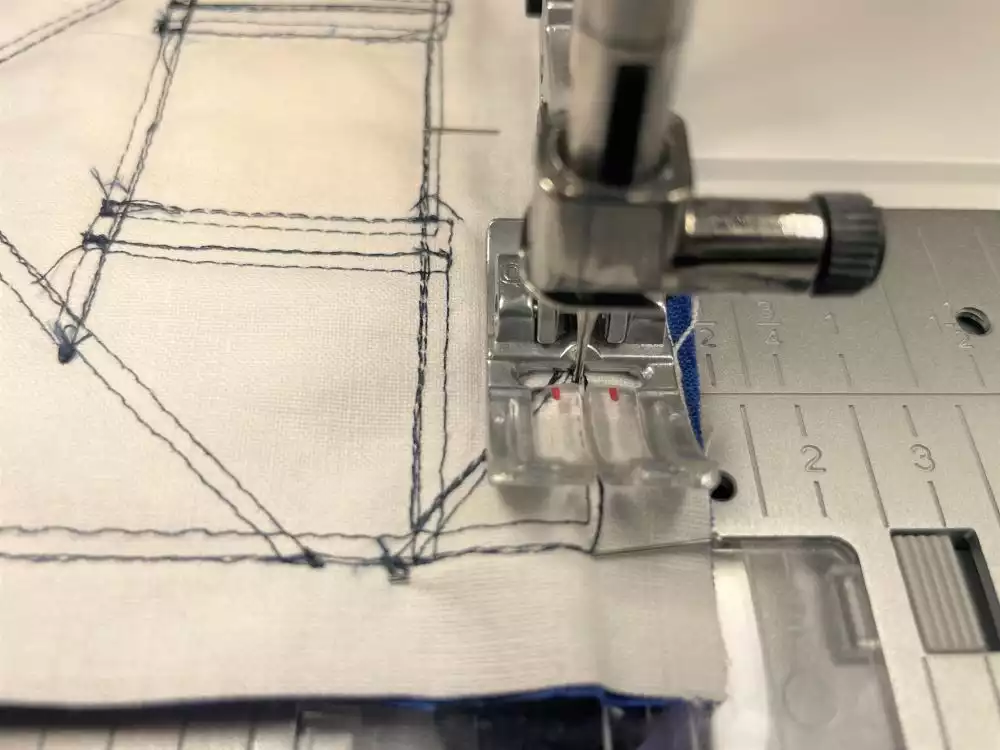
39. Place the first fabric piece in the hoop, the base of the lighthouse building, make sure it covers the area to be stitched at all sides. On the outer edges of the block there need to be at least ⅜” (1cm) seam allowance. Stitch out the next color, this will secure the fabric in the hoop.
40. Put the next fabric piece between the piece you just stitched in place and the next one(the middle section of the lighthouse building). The right side of the fabric should be facing down and the raw edge overlapping the edge to be sewn by about ¼” (5-6mm) stitch next color to sew the fabric in place.
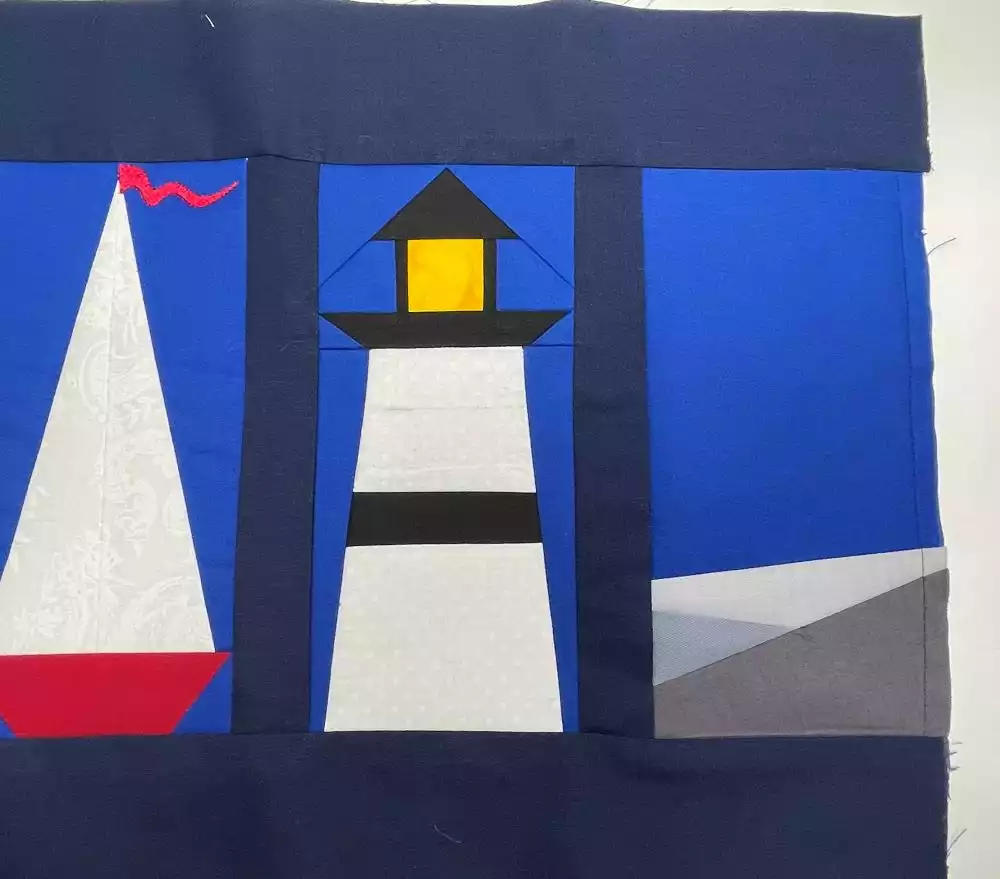
41. Flip the fabric out and stitch the next color to secure it in place. Cut away excess seam allowance.
42. Place the top section of the lighthouse building in place, stitch and flip out, then secure with next color. Cut away excess seam allowance, but remember to leave at least ⅜” (1cm) seam allowance at the outer edge.
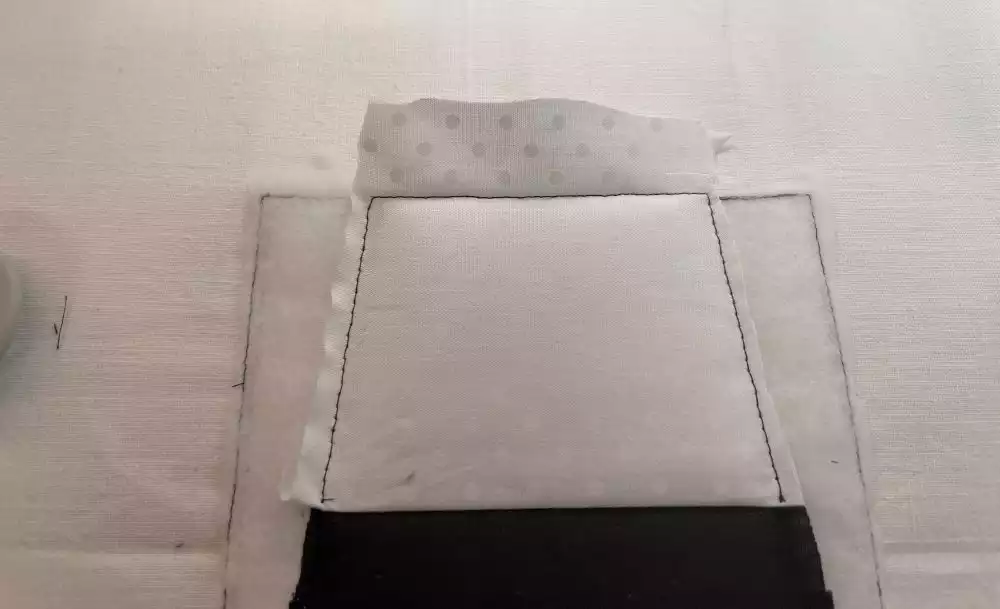
43. Add the sky fabric at the right side of the lighthouse, stitch in place, flip out and secure in place. Cut away excess seam allowance, but remember to leave at least ⅜” (1cm) seam allowance at the outer edge (right side)
44. Repeat on the left side of the lighthouse.
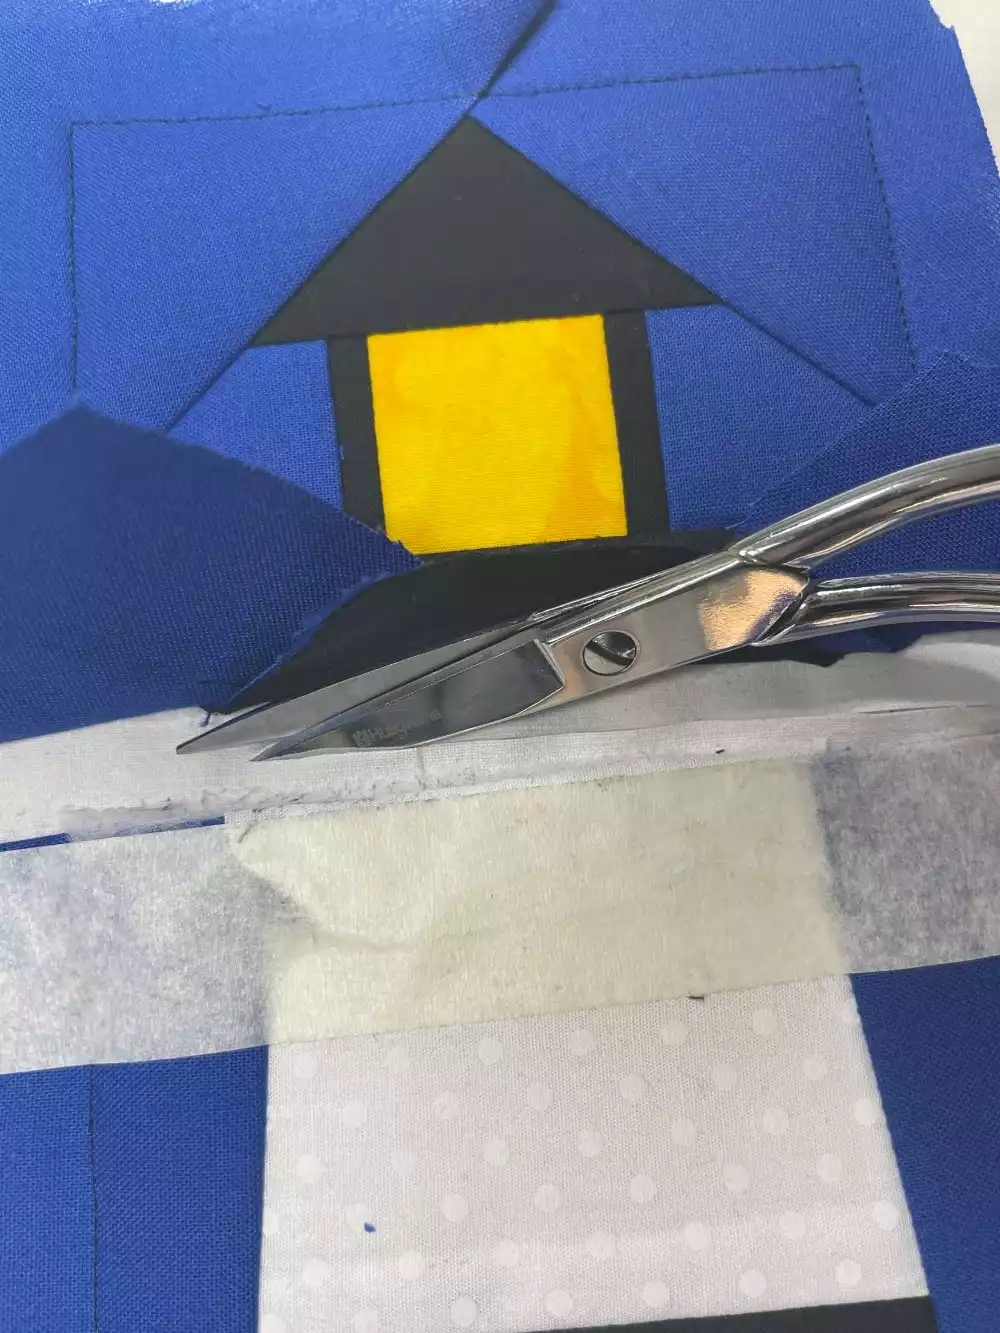
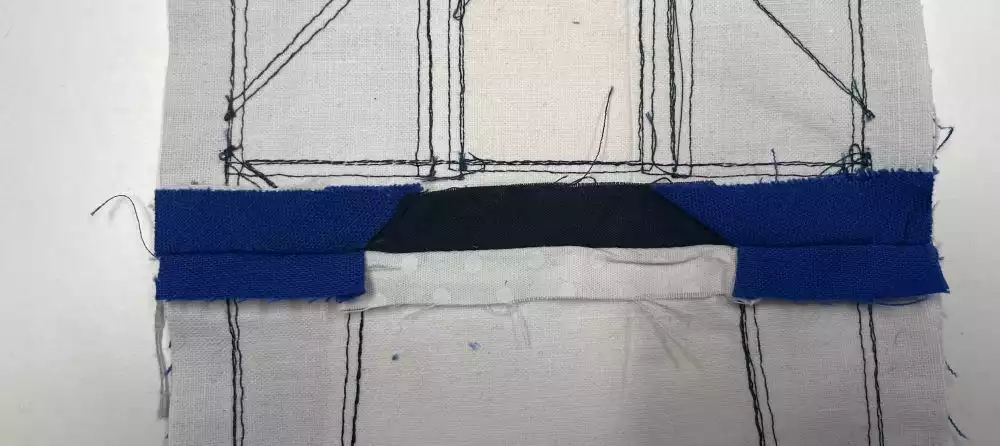
45. The first lighthouse block is now finished. At the top edge use masking tape to fold the seam allowances out of the way before proceeding.
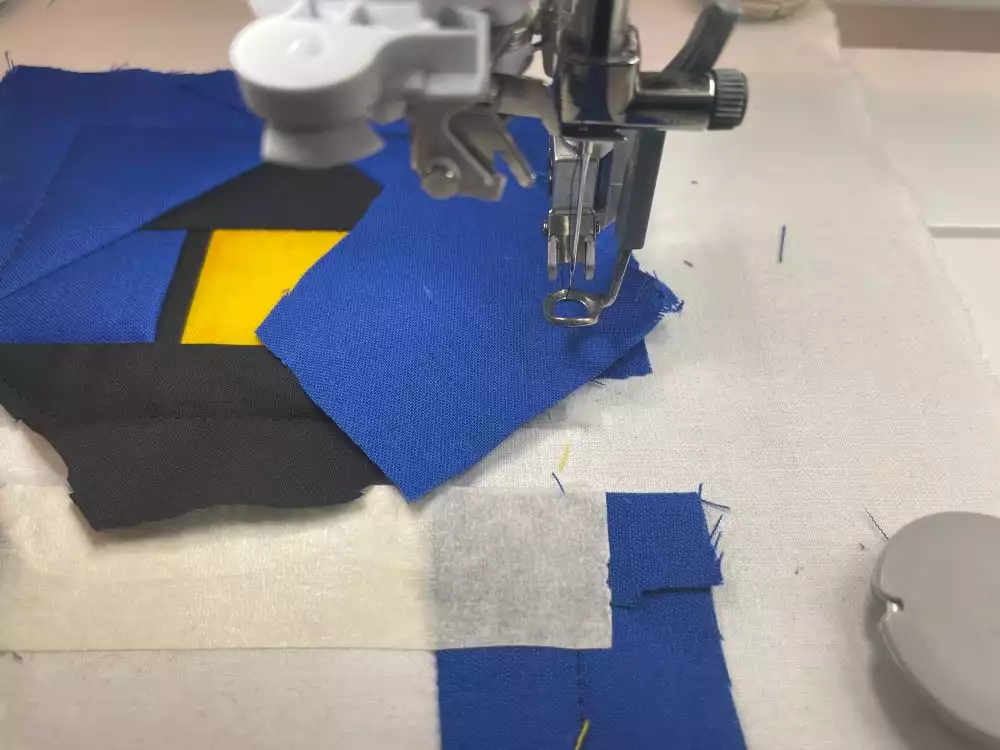
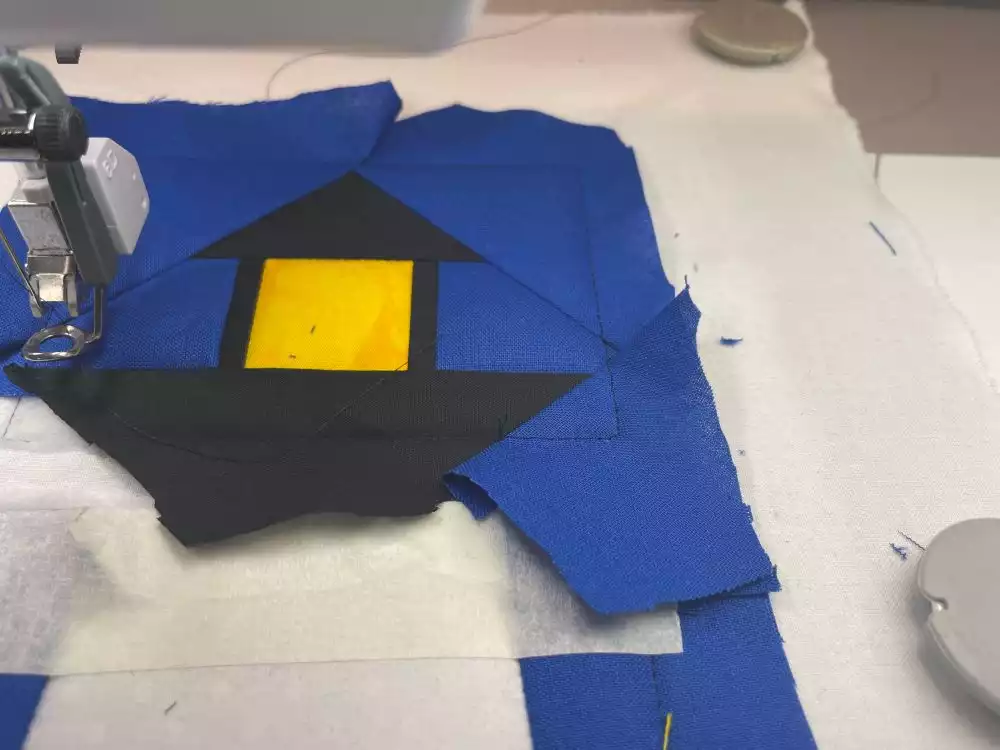
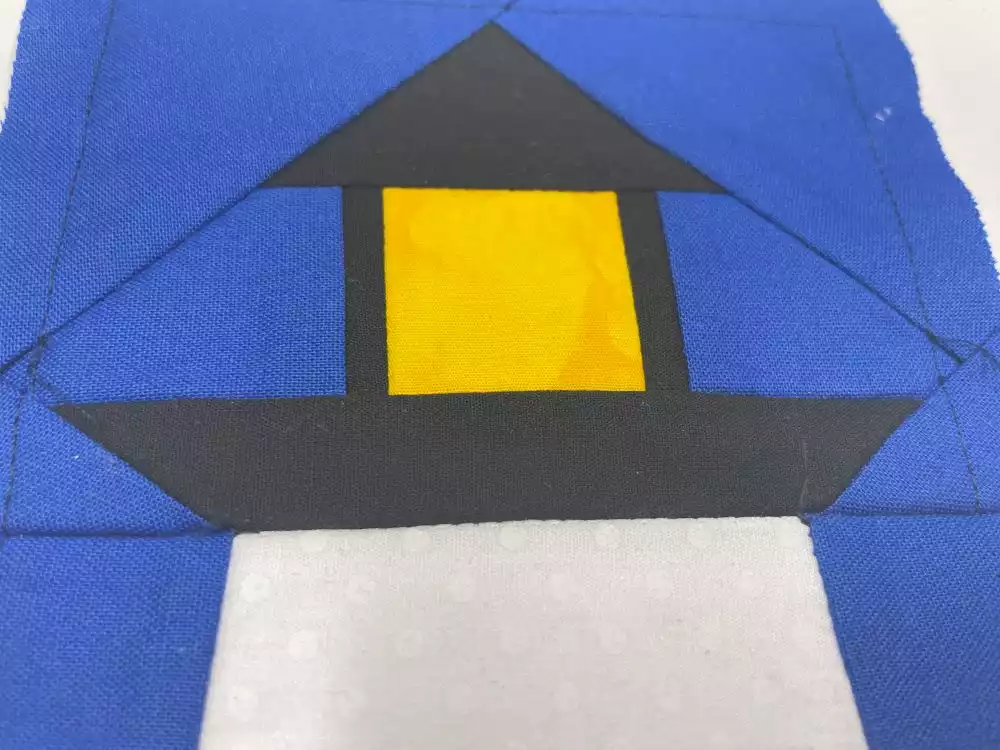
Section 2 (the lighthouse lantern)
46. Stitch out the next color, this will show where to place the batting. Place the batting on top of the stitched line and secure it with the next color. This will also stitch out the placement lines on the batting. Cut away excess batting close to the stitching.
47. Place the center fabric (the light) in the middle section, making sure it covers the area to be stitched. Stitch next color to secure the fabric, cut away excess fabric outside the stitching.
48. Place the fabric for the edge of the lantern on the right side, stitch in place, flip out and secure.
49. Place the sky fabric at the right side, stitch in place, flip out and secure with next color. Cut away excess fabric, but remember to leave at least ⅜” (1cm) seam allowance at the outer edge.
50. Place the fabric for the edge of the lantern on the left side, stitch in place, flip out and secure.
51. Place the sky fabric at the left side, stitch in place, flip out and secure with the next color. Cut away excess fabric, but remember to leave at least ⅜” (1cm) seam allowance at the outer edge.

52. Place the fabric for the roof, stitch, flip out and secure. Cut away excess fabric .
53. Place the sky fabric for the top right side. Stitch in place, flip out and secure. Cut away excess fabric, but remember to leave at least ⅜” (1cm) seam allowance at the outer edges.
54. Repeat on left side.
55. Place the fabric for the lower edge of the lantern in place, stitch, flip out and secure. Cut away excess seam allowance but remember to leave at least ⅜” (1cm) at the lower edge.
56. Place the sky fabric at the right corner and stitch in place, secure and cut away excess fabric, leave at least ⅜” (1cm) at the outer edges.
57. Repat on the left side.
58. The two sections are now finished. Unhoop and cut between the blocks without cutting the seam allowances.
59. Cut away excess fabric around the sections, leaving a ⅜” (1cm) seam allowance.
60. Pin the sections right sides together. Stitch inside the outer stitching line to avoid stitching showing on the right side.. Press the seam allowances apart.
61. The lighthouse block is now finished!
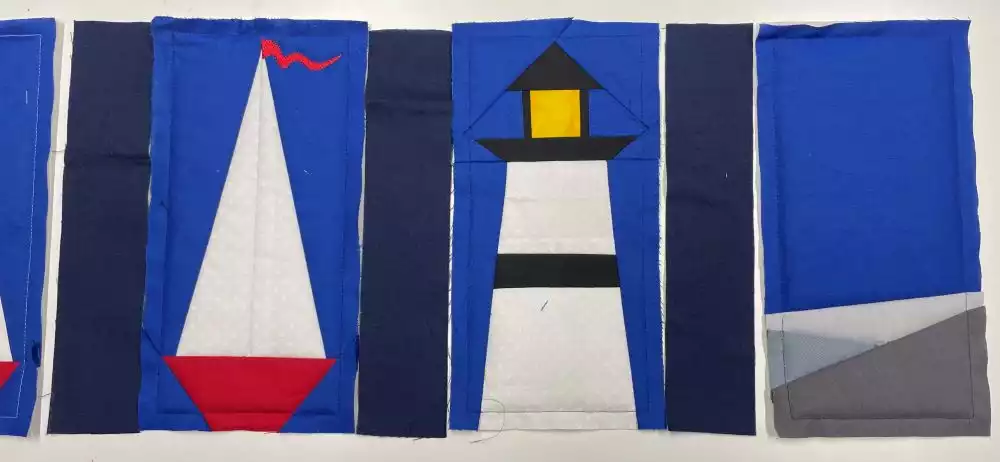
Now all the blocks are finished!
Putting it all together
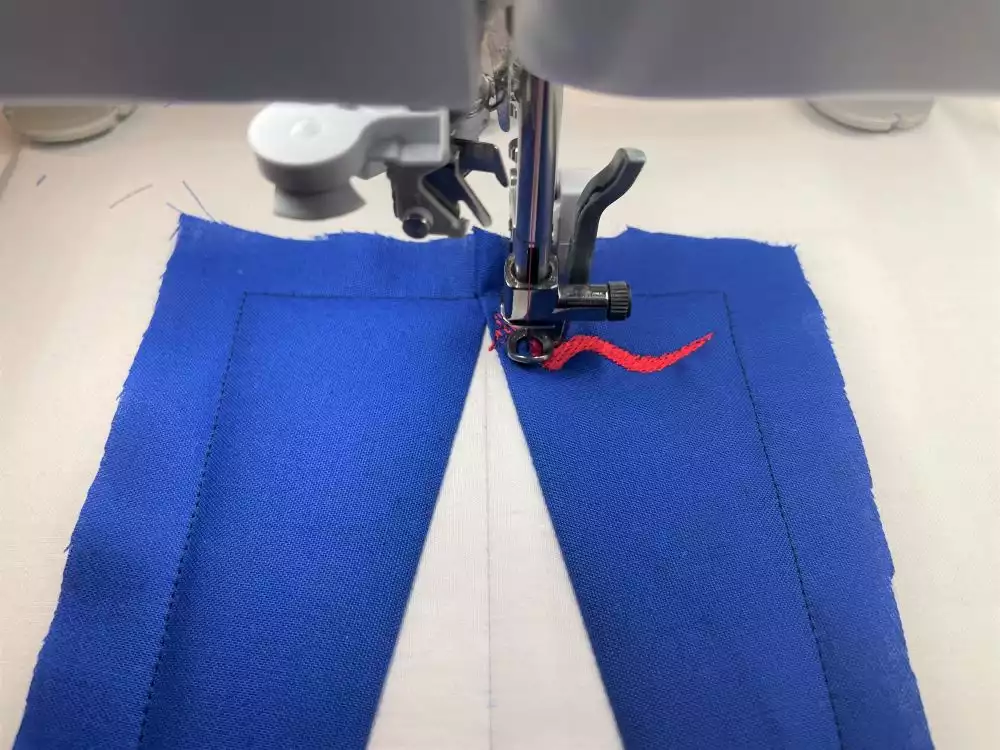
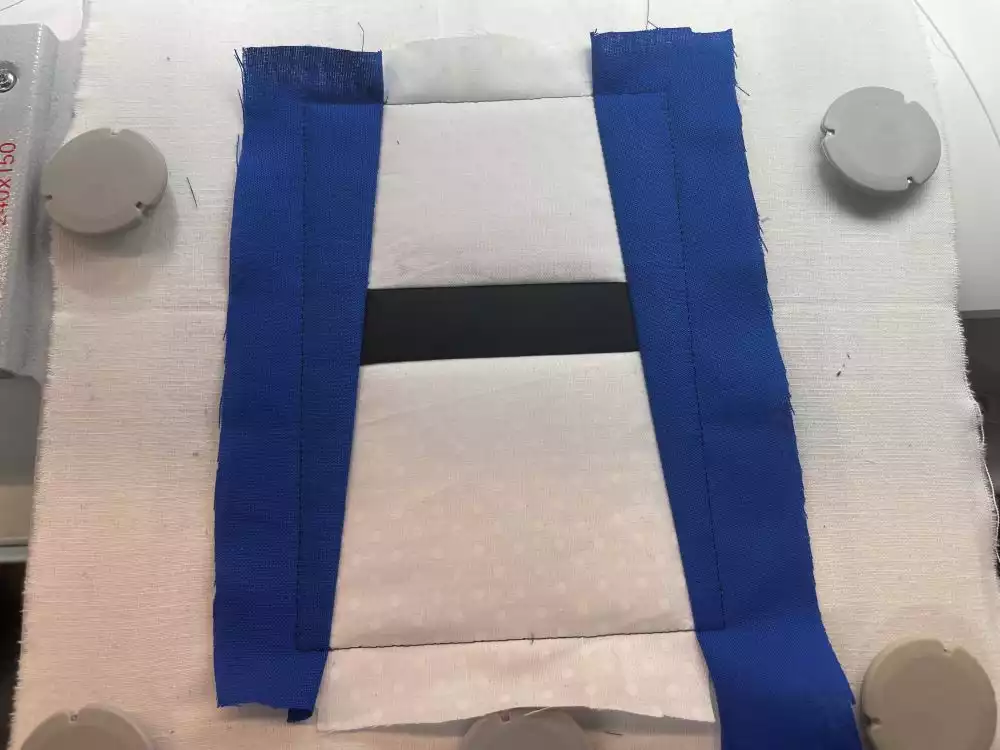
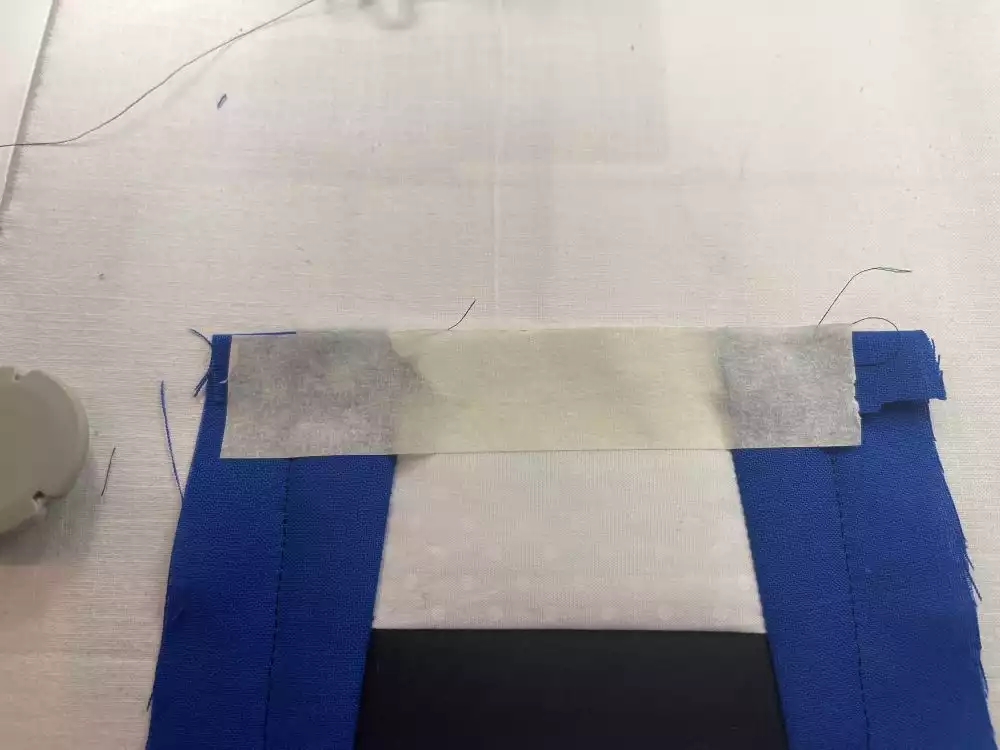
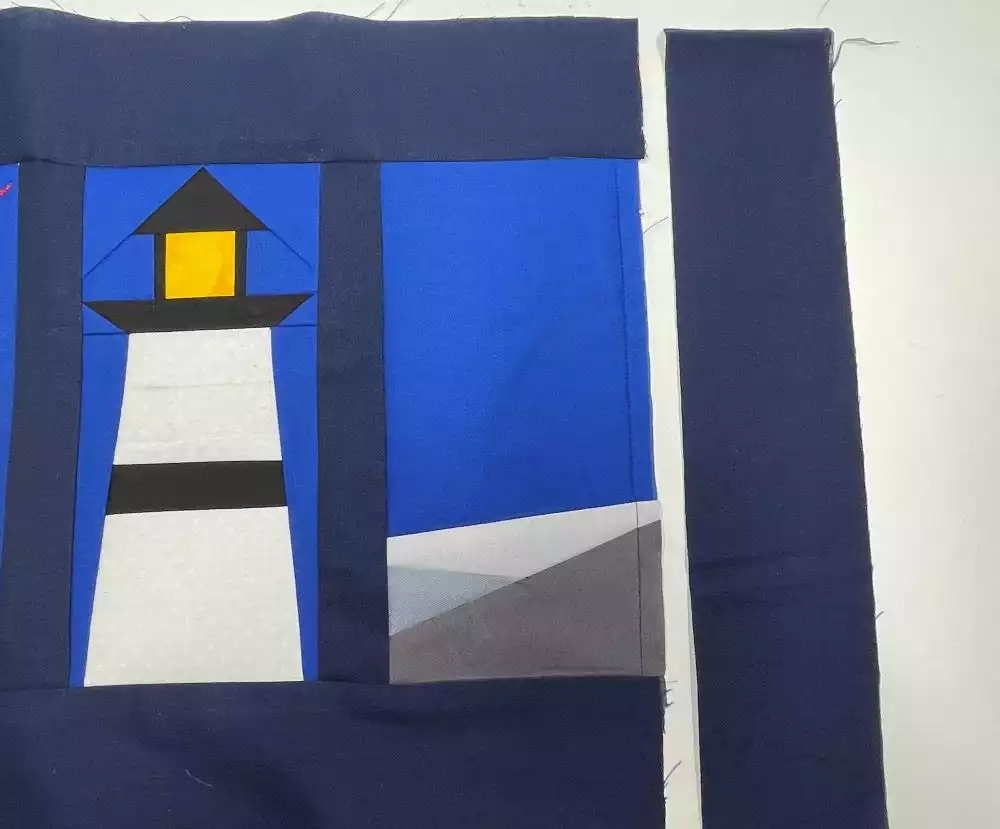
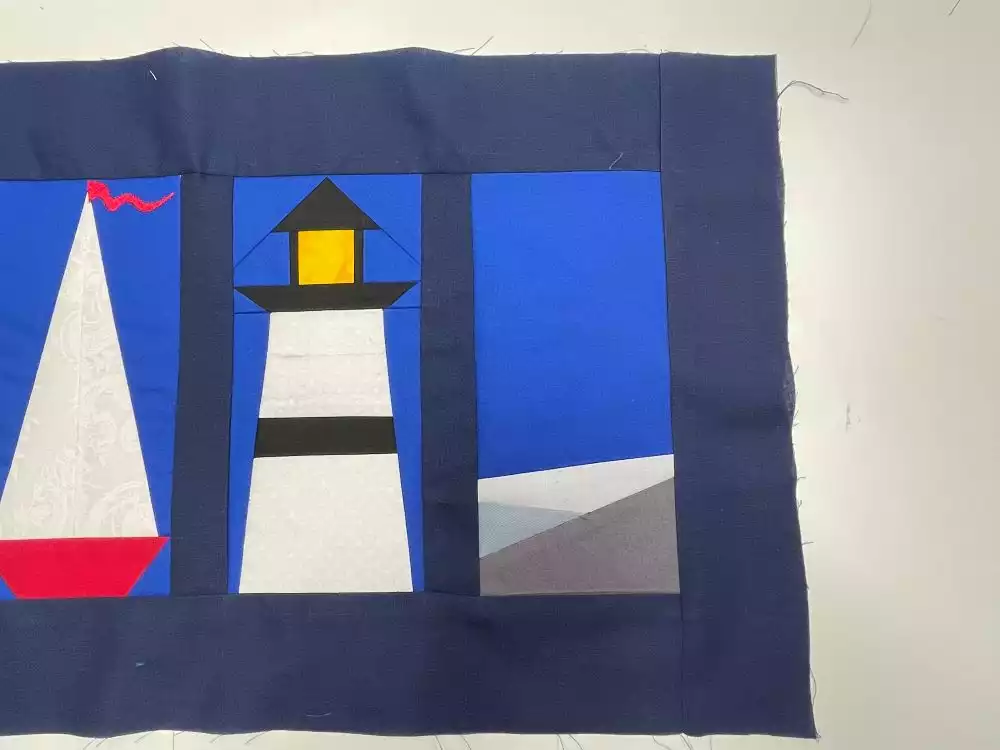
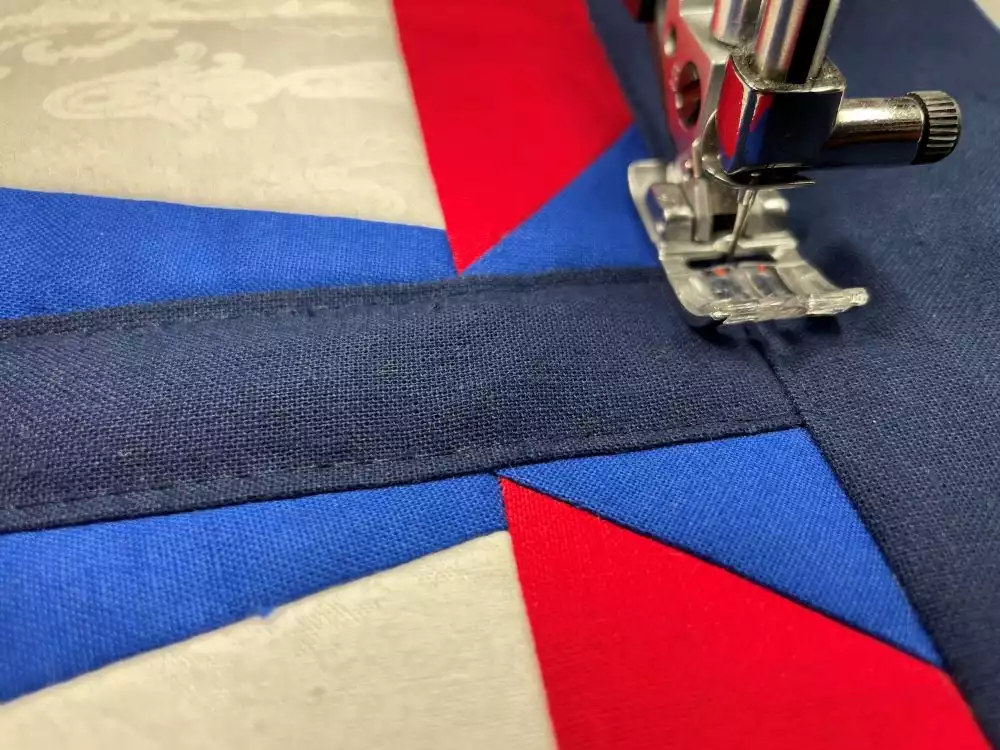
62. Cut out 6 sashing pieces 2”x9½” (5x24cm) from the dark blue fabric. Also cut 3 strips 3” (7.5 cm) wide from the same fabric for borders.
63. Sew the sashes between the blocks. Sew just inside the outer stitched line (between the two stitched lines.)

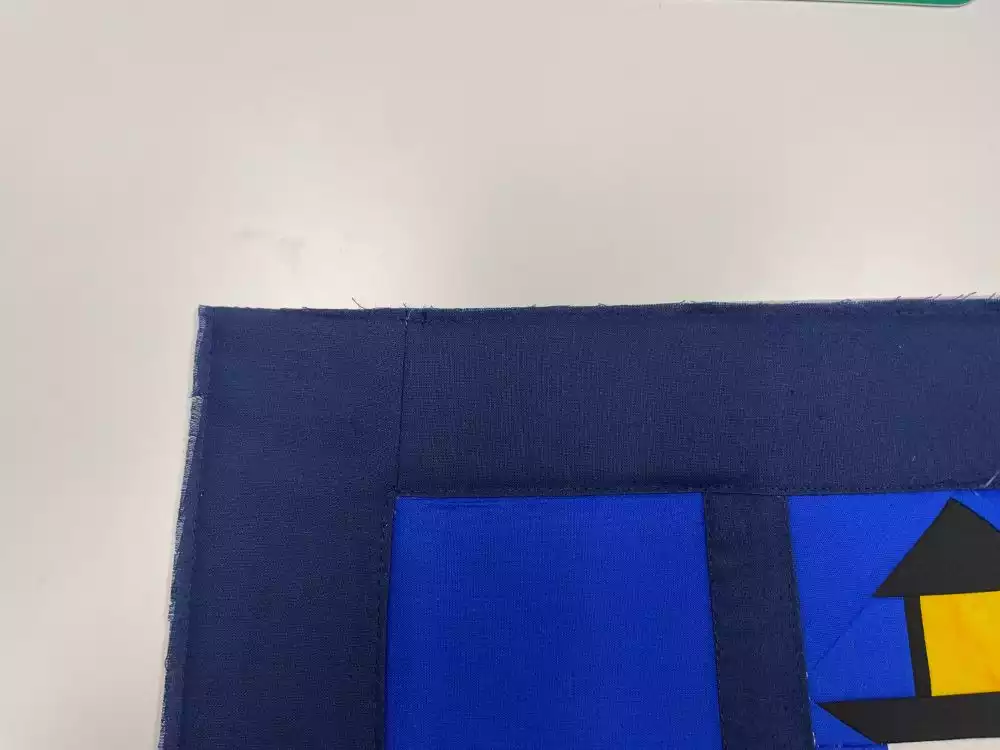
64. Attach two of the strips at top and bottom of the quilt.
65. Attach strips at the short sides.
66. Lay the backing fabric on the table right side down. Put thin batting on top.
67. Lay the quilt on top and make sure the backing and batting extends at least 1” (2,5cm) on all sides.Pin in place and quilt around the edges of the blocks.
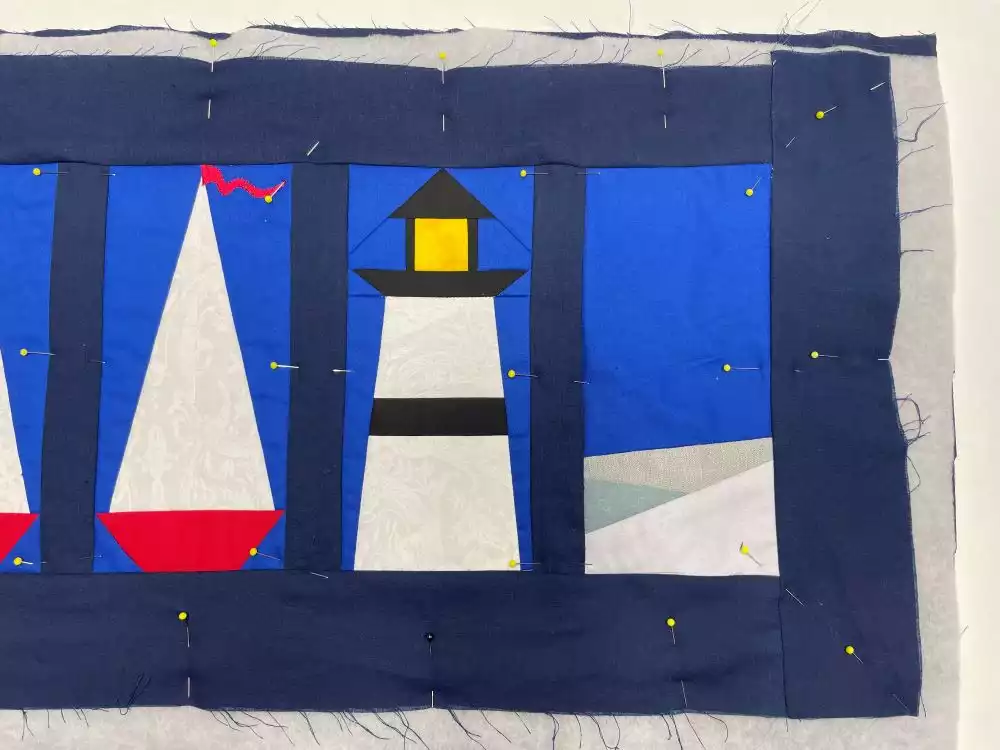
68. Topstitch close to the edge around the quilt and cut off excess fabric and batting. The border should be about 2½” (6,5cm)
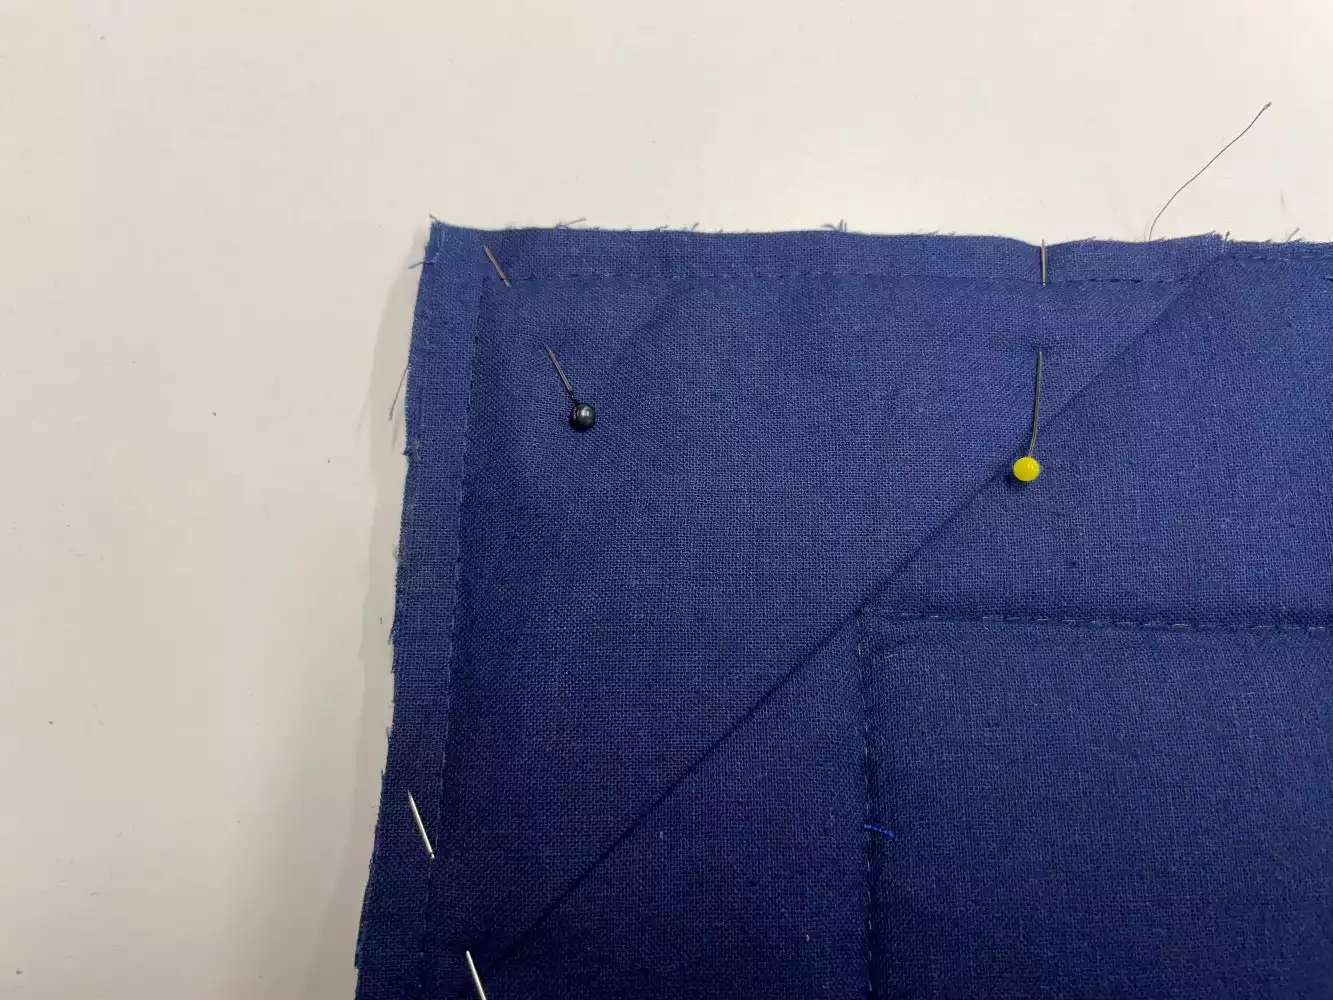
69. Add corners for hanging: Cut four squares 5” (12cm) and fold them diagonally.
70. On the back of the quilt, place one folded square in each corner,raw edges even with the outer edge of the quilt. Stitch in place.
71. Add the binding to the quilt. See instructions here: The strips should be cut 2” (5cm) x width of fabric, the finished edge will be ⅜” (1cm).
72. Make a hanging rod with the same length as the distance between the corners. You can make one more to put in the lower corners as well, this makes the quilt hanging better on the wall.
Your quilt is now finished. The quilting blocks would also look great on placemats, pillows and table runners.
